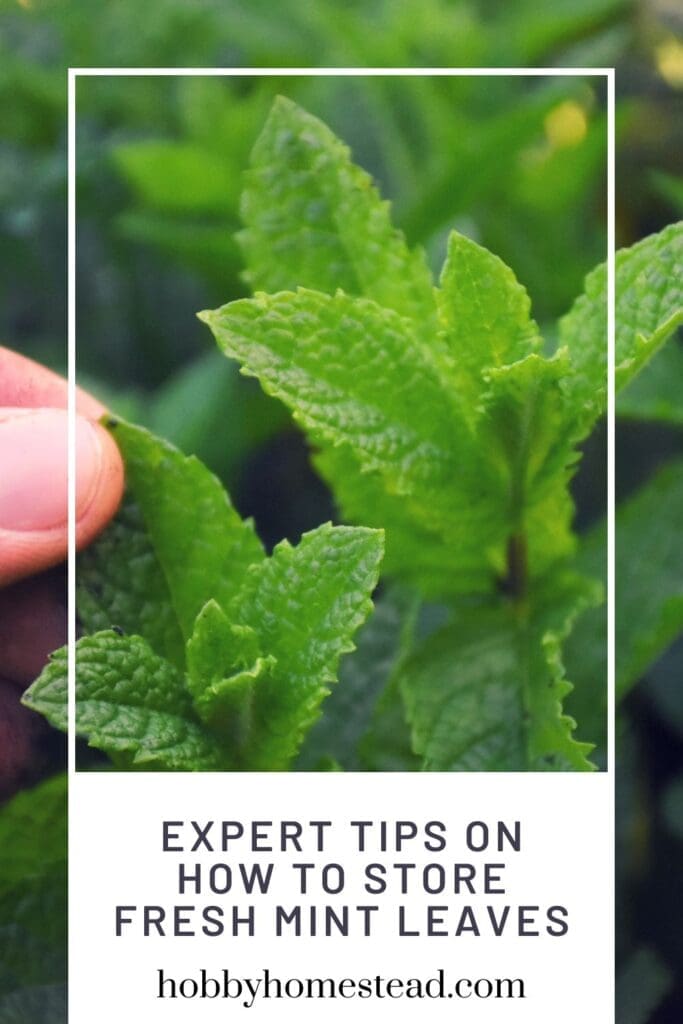
Finding the best way to store fresh mint leaves is a good idea for every home cook or gardener with large harvests.
If your herb garden is overflowing with mint plants this season, you’re not alone. We’re in the same boat! While mint is a versatile herb we love tossing into iced tea, mint pesto, or using to make our own mint tea, it also tends to grow faster than we can keep up.
In this post, we’ll show you the different methods to store mint for both short-term freshness and long-term storage, including freezing without water, using a damp paper towel, and drying mint the right way.
Whether you need to store a handful of mint or the entire bunch, we’ve got you covered with high quality, low-waste solutions perfect for the homesteading lifestyle.
Why Proper Storage Matters
Mint is a delicate herb with a very short shelf life if left on the kitchen counter. Without proper storage, those bright green leaves can quickly wilt, turn black, or grow moldy.
But with the right way to store it, you can preserve the flavor of mint, reduce waste, and make use of it long after the growing season ends.
Expert Tips on How to Store Fresh Mint Leaves
From freezing to drying, let’s dive into the best methods to store mint and enjoy its sweet flavors all year long.
Start with the Best Leaves
For any storage method to work, start with clean, healthy leaves.
- Pick mint in the morning when essential oils are at their peak.
- Choose leaves that are free of yellowing, black spots, or insect damage.
- Give the mint a quick rinse in cold water and pat completely dry with a towel.
✅ Clean cuts on the mint stems help reduce bruising and keep the bunch fresh longer.
Method 1: Store Mint Like a Bouquet (Water Jar Method)
This is one of the best ways to keep a bunch of mint fresh for everyday use.
What You’ll Need:
- A mason jar or glass
- Plastic bag or plastic wrap
- Sharp scissors or garden shears
Instructions:
- Trim the ends of the mint stems with clean cuts.
- Place the stems in a jar with 1–2 inches of water.
- Loosely cover the top with a plastic bag to trap humidity.
- Store on the kitchen counter (for up to 3 days) or in the fridge (for up to 2 weeks).
- Change the fresh water every other day.
This method works especially well when you’re using mint for drinks or recipes throughout the week.

Method 2: Wrap in a Damp Paper Towel
Perfect for short-term refrigeration and quick access to fresh mint leaves without taking up much space.
Instructions:
- Wash and gently pat dry the mint.
- Spread in a single layer on a slightly damp paper towel.
- Roll it loosely and place inside a freezer bag or airtight container.
- Store in the fridge’s crisper drawer.
✅ This method keeps the leaves fresh for up to a week and is low effort. Perfect during a busy harvest season.
Method 3: Freeze Mint Without Water
Freezing is an excellent option for long-term storage, especially when you’ve got a lot of mint. While many people use the ice cube method with water or olive oil, you can also freeze fresh herbs like mint without water.
How to Freeze Mint Leaves (No Water Needed):
- Rinse mint and pat thoroughly dry.
- Strip whole leaves from the stems or chop as desired.
- Spread in a single layer on a baking sheet lined with parchment.
- Freeze for 1–2 hours.
- Transfer to a freezer bag or airtight container and label.
✅ Frozen mint won’t have the same texture but retains flavor beautifully for soups, sauces, or teas. Great for hot dishes and preserving sweet flavors.
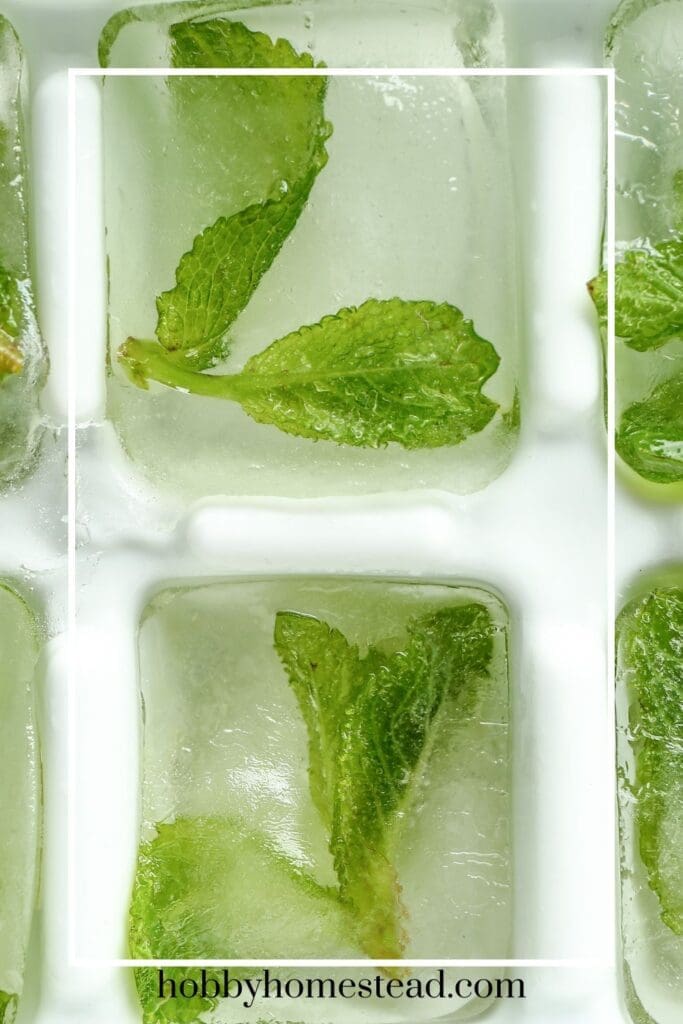
Method 4: Make Mint Ice Cubes
This TikTok-made trend is actually a homestead favorite in disguise.
How to:
- Place chopped or whole mint leaves into an ice cube tray.
- Cover with enough water or olive oil.
- Freeze, then pop cubes into a freezer bag for later use.
Use mint cubes in drinks, cooking, or to flavor water on hot summer days.
Method 5: Drying Mint for Pantry Storage
Drying is the best method for storing mint from large harvests. Ideal for winter use and zero-waste kitchens. Here are three different ways to dry mint, depending on your tools and time.
Air Drying (Low-Tech Option)
- Tie mint stems into small bundles with twine.
- Hang upside down in a dark, dry, well-ventilated space.
- Optional: Cover loosely with a paper bag to keep out dust.
⏳ Time: 1–2 weeks
✅ Mint is ready when leaves are crisp and crumble easily.
Dehydrator Method
- Remove leaves from stems.
- Lay in a single layer on trays or a baking sheet.
- Set dehydrator to 95–115°F (low temp for tender herbs).
⏳ Time: 2–4 hours
💡 Rotate trays halfway for even drying.
Oven Drying
- Preheat oven to 170°F or lowest setting.
- Spread mint on a parchment-lined baking sheet.
- Keep door slightly ajar to allow air circulation.
⏳ Time: 1–2 hours
✅ Check every 15 minutes after the first hour to avoid burning.
How to Store Dried Mint
Once fully dry:
- Crush or leave as whole leaves.
- Store in an airtight container, glass jar, or paper bag.
- Keep away from light and heat.
✅ Stored properly, dried mint lasts up to 12 months and is perfect for your own mint tea or seasoning blends.
Mint Storage Method Comparison Chart
| Storage Method | Shelf Life | Prep Time | Best For | Notes |
| Water Jar (Bouquet Style) | 7–14 days | 5 minutes | Daily use, drinks, quick access | Keep in fridge with loose plastic bag on top |
| Damp Paper Towel | 5–7 days | 5 minutes | Short-term fridge storage | Wrap in towel, then seal in freezer bag or container |
| Freezing Without Water | 3–6 months | 10 minutes | Cooking, sauces, teas | Flash freeze first for best texture |
| Mint Ice Cubes (Water or Oil) | 3–6 months | 10 minutes | Iced drinks, soups, sautés | Use ice cube tray + olive oil or water |
| Air Drying | 6–12 months | Low effort | Teas, dry rubs, seasoning blends | Hang in a cool, dark spot with airflow |
| Dehydrator | 6–12 months | Medium effort | Fast drying for large harvests | Set to 95–115°F, rotate trays |
| Oven Drying | 6–12 months | Medium effort | Small batches, no dehydrator needed | Use low heat, keep oven door ajar |
Common Mistakes to Avoid
Even if you have the best method in mind, these small oversights can lead to wilted, moldy, or flavorless mint. Here are the top mistakes home cooks make and how to avoid them:
1. Leaving Mint Out on the Counter
Mint wilts quickly if exposed to open air and dry indoor conditions. Unless you’re using it within 24 hours, storing mint on the kitchen counter without water or covering will shorten its life drastically.
Instead, use the water jar method with an inch of water to keep stems hydrated and leaves vibrant.
2. Storing Wet Leaves in Sealed Plastic Bags
Storing fresh mint leaves that are still wet inside a sealed plastic bag or container creates the perfect environment for mold and decay.
Mint needs a balance of moisture and airflow. Always pat leaves dry thoroughly or use a damp paper towel method that allows humidity without sogginess.
3. Skipping the Trimming Step for Jar Storage
Placing untrimmed stems in water can reduce how long your mint stays fresh.
Why? Old stem ends can block water absorption. Clean cuts help mint stems take up moisture efficiently. Just like flowers in a vase. Always trim about ½ inch off the ends before placing them in a mason jar or water-filled glass.
Harvest Your Mint
If you’ve got a lot of mint right now, you’ve got options! Whether you want to keep it fresh for the week or preserve it for the winter, these different methods will help you store mint the right way with minimal waste.
From mint ice cubes to dried mint tea, having preserved herbs on hand is just one more way to keep your kitchen skills sharp and your pantry stocked with high-quality ingredients. These are the kinds of small steps that make a big difference in a zero-waste, homestead-style kitchen.