These easy homemade yeast rolls are a staple at Sunday suppers, holiday meals, and community potlucks. They’re impressive enough for special gatherings, yet easy enough for a weeknight dinner. With their golden-brown tops, tender pull-apart texture, and that classic buttery yeast roll flavor we all love, this is a recipe you’ll want to keep in your homestead kitchen binder.
On the homestead, baking from scratch isn’t just about food. It’s about nourishing our families, carrying on family traditions, and enjoying the simple comfort of homemade goodness.
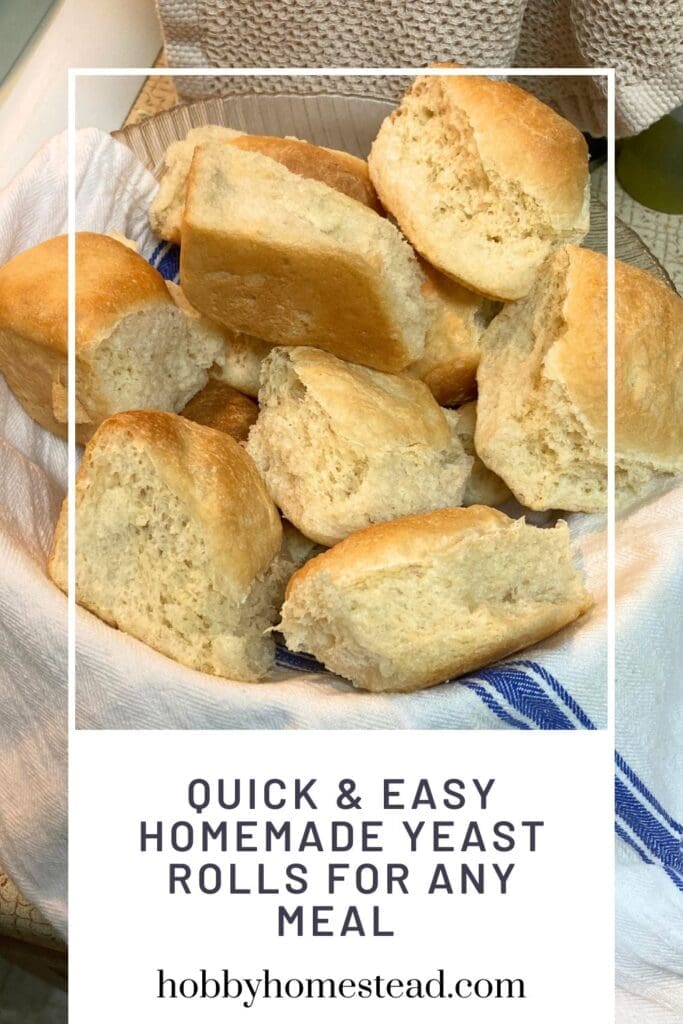
There’s something heartwarming about gathering in a cozy kitchen, the smell of fresh bread drifting through the house, and a pan of soft, fluffy, buttery homemade yeast rolls cooling on the counter.
If you’ve been wanting a reliable, from-scratch yeast roll recipe, this one is simple, foolproof, and perfect for both yeast bread beginners and seasoned bakers.
Why We Love This Recipe
This recipe checks all the boxes for a busy homestead kitchen:
✅ Uses common pantry staples
✅ Easy to prepare in batches
✅ Freezer-friendly for future meals
✅ Comforting, wholesome, and made from scratch
From the first rise to the second rise, each piece of dough develops warmth, flavor, and texture.
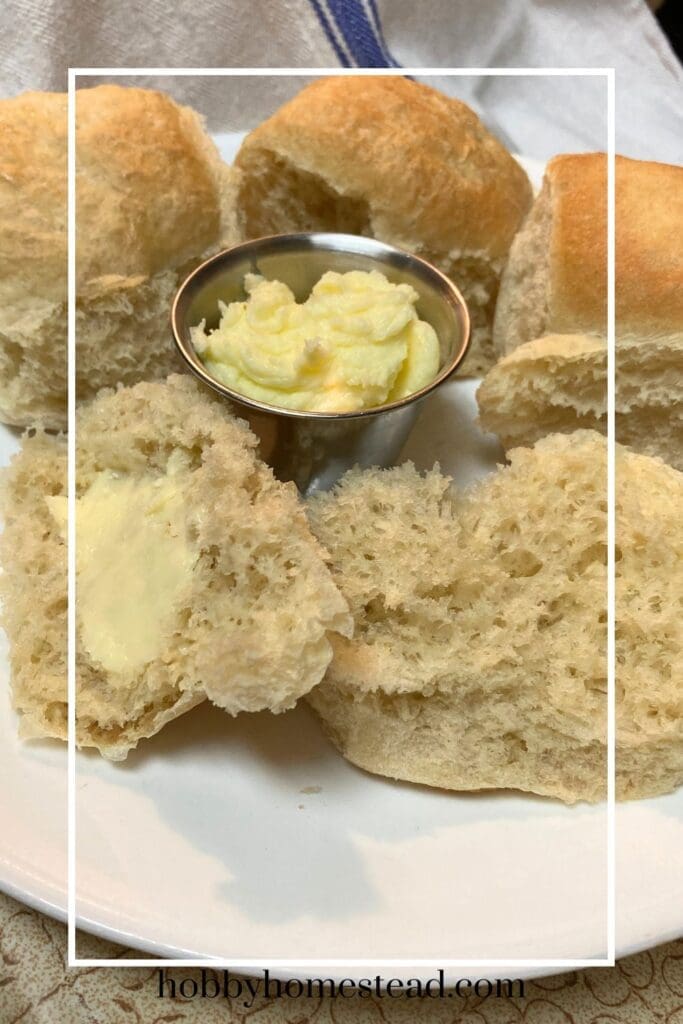
Transforming simple ingredients into rolls that make any meal feel special. Brush them with melted butter or farm fresh honey butter, and you’ll have a basket of soft rolls that disappear fast.
Quick & Easy Homemade Yeast Rolls for Any Meal
As an Amazon Associate I earn from qualifying purchases.
Equipment

Ingredients
- 4–5 Cups All-Purpose Flour
- 2 Tablespoons Instant Yeast rapid rise
- 1/3 Cup Granulated Sugar or Honey
- 1 Teaspoon Salt
- 1 ½ Cups Whole Milk warmed to 110°F
- 5 Tablespoons Butter melted
- 1 Large Egg room temperature
- 2 Tablespoons Butter Melted for brushing
- Optional: egg wash for a shiny top just before baking
Instructions
- Mix the Dough. In a large mixing bowl, combine 3 cups of the flour, yeast, sugar (or honey), salt, warm milk, melted butter, and the egg.4–5 Cups All-Purpose Flour, 2 Tablespoons Instant Yeast, 1/3 Cup Granulated Sugar, 1 Teaspoon Salt, 1 ½ Cups Whole Milk, 5 Tablespoons Butter, 1 Large Egg
- Attach the dough hook to your stand mixer and mix on low speed until the flour is incorporated, scraping the sides of the bowl as needed.
- Increase to medium speed and mix for 2 minutes.
- Add another ½ cup of flour, blend, and repeat with another ½ cup. Continue mixing until a soft dough forms and pulls away from the bottom of the bowl. If too sticky, add a few tablespoons more flour.
- First Rise. Place the dough into a lightly oiled bowl, cover with plastic wrap or a clean kitchen towel, and set in a warm area to rise for about 30 minutes.
- Shape the Rolls. Punch down the dough and divide dough into 24 dough balls. Place in a prepared pan, baking sheet, or baking dish, leaving a little space between each ball. Cover and let rise again for 30–45 minutes (second rise).
- Bake. Brush rolls with egg wash if you want a shiny finish.Optional: egg wash for a shiny top just before baking
- Bake at 375°F for 12–15 minutes on the center oven rack, or until beautifully golden brown. Rolls should sound hollow when tapped.
- Brush with melted butter while warm and serve immediately.2 Tablespoons Butter
Notes
Tips for Beginner Bakers
Making bread on the homestead is a life skill worth mastering. Here are a few helpful tips.- Warm liquids help yeast activate. Aim for 105–110°F.
- Add flour gradually; too much flour makes dense rolls.
- Knead until dough is a smooth ball. Either by hand or mixer.
- Allow time for both rises; a warm environment helps.
- For pull-apart rolls, place dough balls touching in the pan.
Troubleshooting (Common Real-Life Baking Issues)
- Dense rolls → too much flour or rushed rise time
- Sticky dough → add a little flour at a time
- Rolls spread → dough balls weren’t tight enough or pan too large
- Uneven browning → adjust oven rack to the middle
Nutrition
Perfect Spreads for Homemade Rolls
Make your rolls even more irresistible:
- Farm-fresh honey cinnamon butter
- Homemade jams or preserves
- Garlic or herb-infused butter
- Cream cheese for a hearty breakfast roll

Make-Ahead Options for Busy Homesteads
Because not every baking day is slow-paced, here are time-savers.
Refrigerate the Dough
Shape into dough balls, cover, and refrigerate overnight. Bring to room temperature before baking.
Freeze Rolls for Later
Perfect for harvest season or before holidays.
You can freeze either baked rolls or unbaked dough.
How to Bake Frozen Yeast Roll Dough Balls
Freezing dough is one of the best make-ahead tricks for busy homestead days, especially during harvest season or the holidays. Here’s how to turn those frozen dough balls into fresh-baked, fluffy rolls:
- Remove From Freezer
Take the frozen dough balls out of the freezer and place them into your prepared baking dish or on a baking sheet. Leave a little space between each one so they can rise. - Cover and Thaw
Cover loosely with plastic wrap or a clean kitchen towel.
Let the dough thaw and rise in a warm spot in your kitchen.
This can take 3–5 hours, depending on room temperature.
Speed Thawing and Rising Tip: If your kitchen is cold heat the oven to 200 degrees Fahrenheit. (Turn the Oven OFF). Place the covered pan in an oven that has been slightly warm. Let them sit for 2 hours or until doubled in size. - Check for Readiness
They’re ready to bake when the dough balls have puffed up, look airy, and are nearly doubled in size. If they still look dense, give them more time. - Bake as Usual
Bake at 375°F for 12–15 minutes, or until golden brown.
Brush with melted butter after baking for that warm, bakery-style finish.
Tip: Flash Freeze for Better Quality
When initially freezing, place dough balls on a baking sheet and freeze until firm before transferring to a freezer bag. This keeps them from sticking together and makes it easy to pull out just the amount you need for a meal.
How to Store Homemade Rolls
Let rolls cool fully before storing.
Keep in an airtight container on the counter for up to 2 days.
For longer storage, freeze baked rolls or shaped dough balls in a freezer bag and reheat as needed.
They reheat beautifully and taste just as fresh the next day. Especially with a brush of butter.
There you have it. Soft, buttery, homemade rolls that fit beautifully into a homesteading kitchen. Whether they’re served with soup after a long day of chores, placed on the Sunday dinner table, or shared with neighbors, these rolls are made to bring people together.


My family loved this!