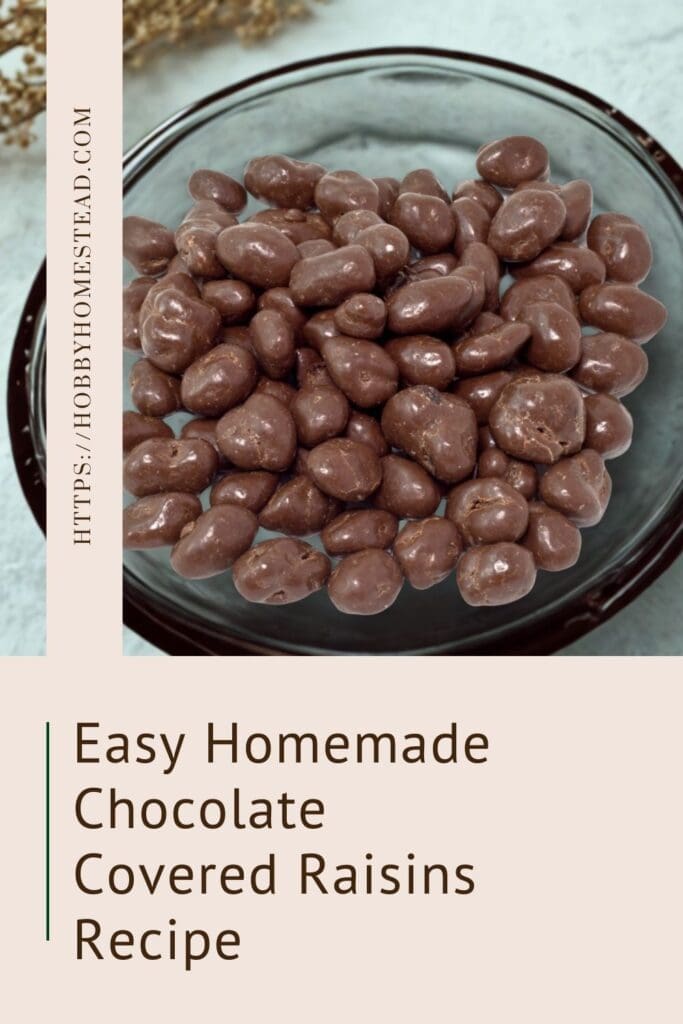
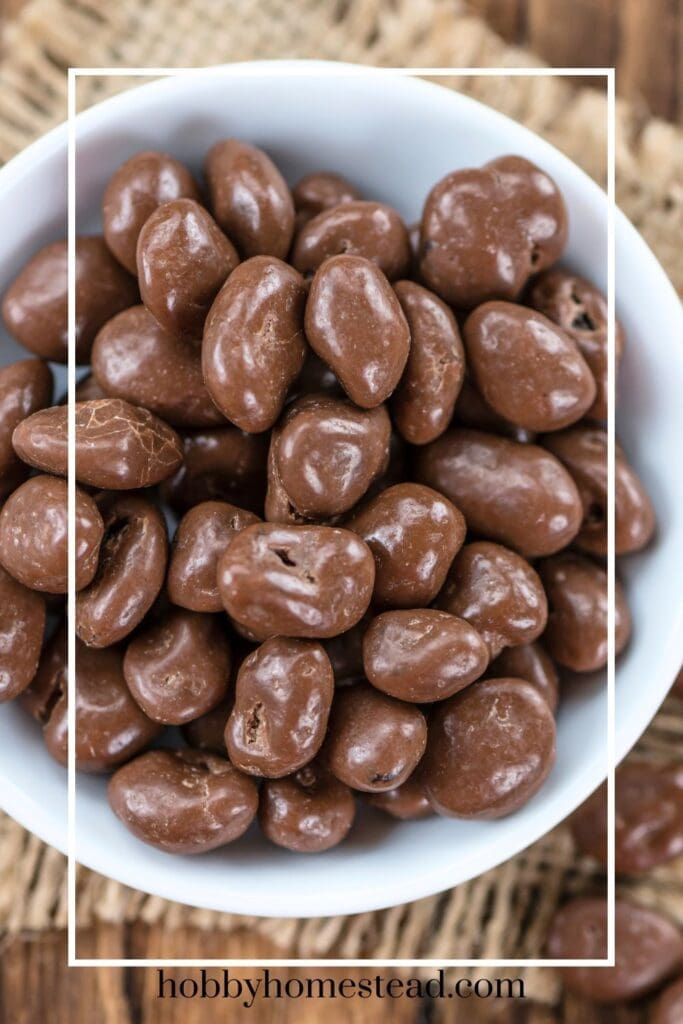
If there’s one candy I can never walk past in the store, it’s chocolate covered raisins. They feel a little nostalgic, a little old-fashioned, and somehow both candy and snack all at once.
But once I started making them at home, I realized just how easy they are. And honestly, I think they taste even better than the store-bought version.
Making homemade chocolate covered raisins is one of those simple kitchen projects that fits perfectly into my busy lifestyle. No fancy equipment, no special skills, just good ingredients and a little patience while they set. It’s also a great treat to make with kids or grandkids, especially when you want something fun but not complicated.
Whether you’re making these for movie night, holiday treats, or just to keep a sweet snack on hand, this is a recipe you’ll come back to again and again.
Why Make Chocolate Covered Raisins at Home?
Sure, you can buy them at the store, but homemade chocolate covered raisins have a few big advantages:
- You control the ingredients (no extra waxes or preservatives)
- You can choose your favorite type of chocolate
- They’re surprisingly affordable to make in batches
- You can customize them with different coatings or flavors
Plus, there’s just something satisfying about turning a simple pantry staple like raisins into a homemade candy.
Ingredients You’ll Need
You only need two basic ingredients to make chocolate covered raisins:
- Raisins – Regular or jumbo raisins both work well
- Chocolate – Milk chocolate, semi-sweet, or dark chocolate
Optional Add-Ins
If you want to change things up, you can also try:
- A tiny splash of coconut oil for smoother melting
- A sprinkle of sea salt on top before the chocolate sets
- A drizzle of white chocolate over dark chocolate for contrast
Equipment
- Microwave-safe bowl or double boiler
- Spoon or fork for scooping
- Sheet pan or large plate
- Parchment paper or wax paper (I prefer wax paper as the chocolates are easier to remove)

Easy Homemade Chocolate Covered Raisins Recipe
As an Amazon Associate I earn from qualifying purchases.
Equipment

Ingredients
- 2 Cups Raisins
- 1 ½ Cups Milk Chocolate Chips or chopped dark chocolate
Instructions
- Line a sheet pan or large plate with parchment paper or wax paper to prevent sticking. A parchment-lined baking sheet makes cleanup quick and easy.
- Melt the Chocolate on low heat using one of these methods:1 ½ Cups Milk Chocolate Chips
- Microwave Method. Place chocolate in a microwave-safe bowl. Heat in 20–30 second intervals, stirring each time, until smooth.
- Double Boiler Method. Place chocolate in a heatproof bowl over a pot of gently simmering water. Stir until melted and smooth.
- Coat the raisins. Add the raisins to the bowl of melted chocolate and gently stir until fully coated.2 Cups Raisins
- Using a fork or small spoon, lift individual raisins (or small clusters) and place them onto the prepared baking sheet. Try to separate them so they don’t clump together.
- Alternatively, you can form small clusters. Using a spoon or small cookie scoop, lift out small clusters of raisins and place them onto the prepared pan. This creates easy-to-grab chocolate raisin clusters once they set.
- Add toppings (optional). Sprinkle with a pinch of sea salt, dust lightly with cocoa powder, or drizzle with white chocolate mixed with a little maple syrup for sweetness.
- Allow the chocolate to firm up at room temperature, or refrigerate for faster setting. At room temp, they usually set within about 30–45 minutes.
- Once set, gently peel them off the parchment paper and transfer to a storage container.
Notes
What Kind of Raisins Work Best?
Most people use regular seedless raisins, and they work perfectly. If you want a bigger, juicier bite, jumbo raisins are also a great option and feel extra candy-like once coated in chocolate. Make sure your raisins are fresh and plump, not dried out. Very dry raisins don’t coat as nicely and can make the candy feel tougher when you bite into it.Best Chocolate for Chocolate Covered Raisins
You can use:- Chocolate chips
- Baking chocolate bars (chopped)
- Candy melts (not my favorite for flavor, but they work)
For Gift-Giving or Packaging
If you’re using them for the holiday season or party favors:- 2 cups will fill about 4 small treat bags or jars (½ cup each)
- Or about 8 small snack-size bags (¼ cup each)
Nutrition
Storage Tips
Homemade chocolate covered raisins should be stored in:
- An airtight container
- A cool, dry place or the refrigerator
They’ll keep well for about 1–2 weeks at room temperature or up to 3 weeks in the fridge (if they last that long in your house!).
If your kitchen is warm, refrigeration helps prevent melting and sticking.
Can You Freeze Chocolate Covered Raisins?
Yes! These freeze surprisingly well.
Place them in a freezer-safe container and freeze for up to 2 months. Let them sit at room temperature for a few minutes before eating so the chocolate isn’t too hard.
Frozen chocolate covered raisins are also delicious straight from the freezer on a hot day.
Fun Variations to Try
Once you’ve made the basic version, it’s easy to experiment:
- Dark Chocolate Almond Raisins. Add chopped toasted almonds to the melted chocolate
- Yogurt-Covered Raisins. Use vanilla candy coating or yogurt melts
- Spiced Chocolate Raisins. Add a pinch of cinnamon to the melted chocolate
- Trail Mix Clusters. Drop spoonfuls of chocolate-coated raisins mixed with peanuts or pretzels
These also make great homemade gifts during the holidays when packaged in small jars or treat bags.
Common Problems and How to Fix Them
Why Is My Chocolate Not Sticking to the Raisins?
This usually happens if the raisins are too moist. Make sure they are completely dry before coating.
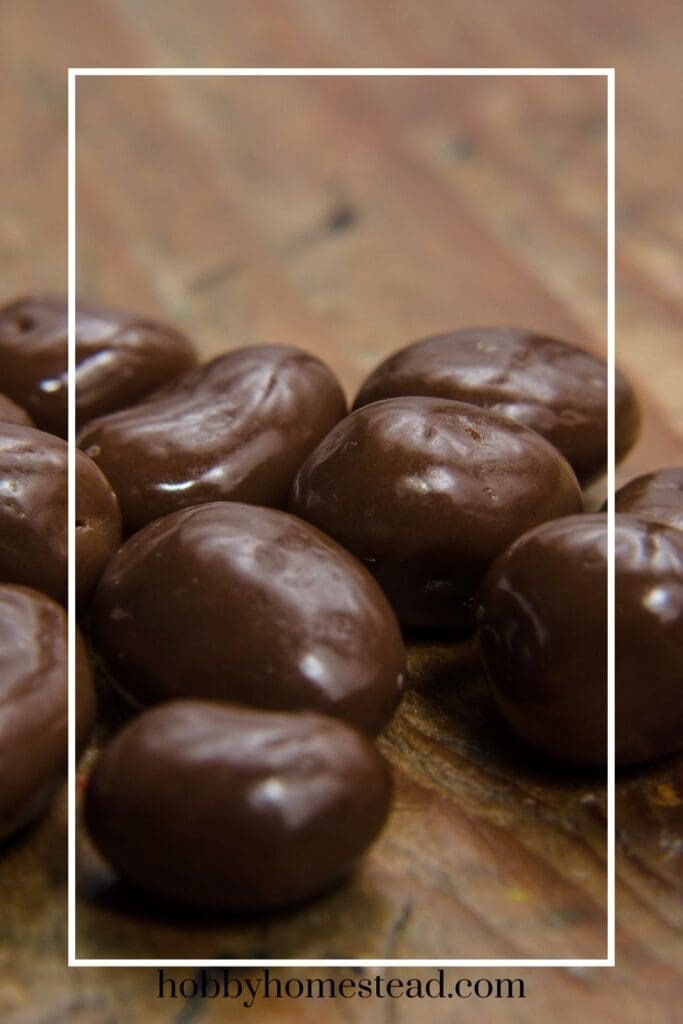
Why Does My Chocolate Look Dull or Streaky?
This is normal if the chocolate wasn’t tempered. It doesn’t affect taste, just appearance. If you want a glossy finish, tempering is the solution, but it’s not necessary for everyday treats.
Why Did My Raisins Clump Together?
If they’re dropped too close together, they’ll stick as the chocolate sets. Try spacing them out more on the tray, or gently separate them with a fork right after placing them down.
A Simple Treat That Never Goes Out of Style
Chocolate covered raisins may not be fancy, but they’re one of those timeless treats that always seem to disappear fast around here. I love having a jar of them on the counter for a little sweet bite after supper or for movie nights with the family.
If you’ve never tried making them at home before, I hope you’ll give it a try. It’s a small, simple kitchen project, but sometimes those are the ones that bring the most joy — and the best snacking.
This chocolate-covered raisins recipe uses simple ingredients, no fancy equipment, and comes together in just 5–10 minutes of hands-on time. With chewy raisins coated in smooth melted chocolate, these little bites make a perfect snack, dessert topping, or homemade candy for the holiday season.


My family loved this!