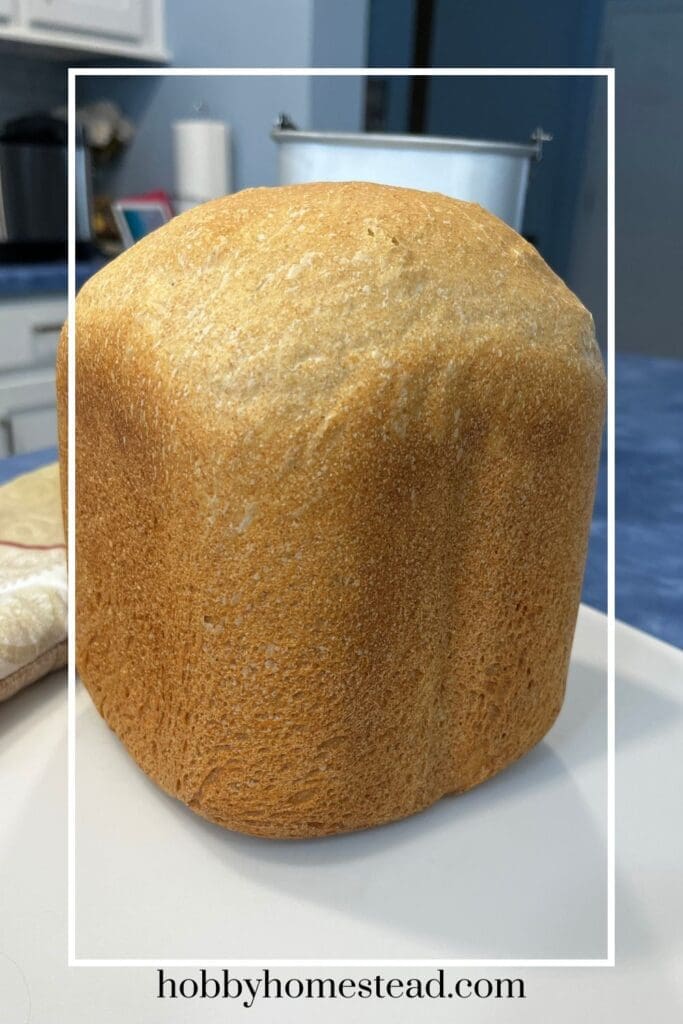
There’s something incredibly comforting about pulling a warm loaf of sourdough bread out of your bread maker. This recipe is perfect for beginners because it combines the tangy flavor of sourdough with the reliability of yeast and the convenience of a bread machine.
Whether you’re working with a ripe, bubbly starter or using up sourdough discard, this loaf delivers soft texture, great rise, and classic sourdough flavor. Without complicated steps.
If you’re new to sourdough or still learning how your starter behaves, don’t worry. This post walks you through exactly what to look for along the way so you can bake with confidence.
Blending Traditions
We love recipes that blend tradition with modern convenience, and this bread maker sourdough does exactly that.
This recipe is perfect for busy families. Perfect for anyone who wants the flavor of classic sourdough without spending all day in the kitchen. By using a bread machine and a touch of commercial yeast, you get reliable results while still honoring the old-fashioned practice of keeping a sourdough starter.
Whether you’re baking for family breakfasts, packed lunches, or simply want to fill your home with the comforting smell of fresh bread, this loaf fits beautifully into everyday homestead life.

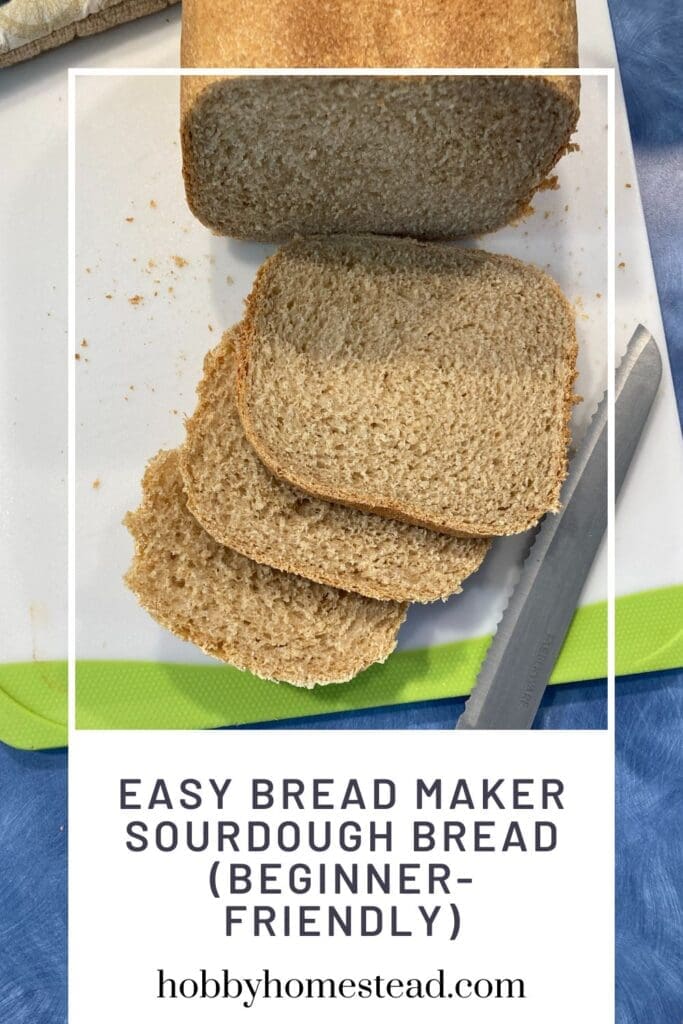
Easy Bread Maker Sourdough Bread (Beginner-Friendly)
As an Amazon Associate I earn from qualifying purchases.

Ingredients
1½-Pound Loaf
- 2 Teaspoons Active Dry Yeast or instant yeast
- 1½ Teaspoons Table Salt (9g)
- 1½ Teaspoons Granulated Sugar
- 2½ Cups All-Purpose Flour (300g) or Bread Flour
- 2 Cups Sourdough Starter (454g) ripe (fed) or discard
- 2 Tablespoons Vegetable Oil (25g)
- 4 to 6 Tablespoons Lukewarm Water (57g–85g) as needed
1-Pound Loaf
- 1 Teaspoons Active Dry Yeast or instant yeast
- 1 Teaspoon Table Salt (6g)
- 1½ Teaspoons Granulated Sugar
- 1 2/3 Cups All-Purpose Flour (200g) or Bread Flour
- 1 1/3 Cups Sourdough Starter (301g) ripe (fed) or discard
- 1 Tablespoons Vegetable Oil (13g)
- 3 to 4 Tablespoons Lukewarm Water (43g–57g) as needed
Instructions
- For best results, weigh your flour. If using cups, gently spoon the flour into the measuring cup and level it off. Don’t scoop directly from the bag, which can pack in too much flour.2½ Cups All-Purpose Flour
- Place all ingredients into the bread pan in the order recommended by your bread machine manufacturer. This order matters for proper mixing and yeast activation.2 Teaspoons Active Dry Yeast, 1½ Teaspoons Table Salt, 1½ Teaspoons Granulated Sugar, 2 Cups Sourdough Starter, 2 Tablespoons Vegetable Oil, 4 to 6 Tablespoons Lukewarm Water
- Select the Right Cycle. Choose a long-rise cycle like the French Bread cycle. The dough needs extra time to develop volume and flavor.
- Check the Dough Early. About 10 minutes into kneading, lift the lid and look at the dough. It should form a smooth, soft dough ball. If it looks dry or crumbly, add water 1 tablespoon at a time. If it looks sticky or slumps flat, sprinkle in a little flour. This step is the key to success, especially when working with sourdough.
- Bake and Cool. When the cycle is complete, carefully remove the bread from the pan and place it on a wire rack. Let it cool completely before slicing. This helps the crumb set properly.
Notes
Notes
This recipe is written for both 1½-pound and 1-pound loaves, depending on your bread machine size.Tips from My Kitchen
Start with Less Water. Because sourdough starters vary in thickness, always begin with the smaller amount of water and add more only if needed. The most important thing to remember is that every sourdough starter is different. Knowing your starter’s hydration level and visually checking the dough as it kneads will give you the best results every time. Best Cycle for Sourdough. If your bread maker allows custom cycles, aim for longer rise times similar to French or whole-grain settings. Choose a long second rise time. If your bread machine has a French bread cycle, this is a good one to choose. If you have a setting that kneads the dough for 30-40 minutes with a first rise of 40-50 minutes, and a second rise of 140-150 minutes. This is the cycle to pick. Using Discard. For best results, use discard that’s been fed within the past week. Very old, neglected starter may not rise well. Crust Preference. For a crustier loaf, replace the vegetable oil with water. Variations Whole Wheat Blend Variation If you’d like to gently introduce whole wheat flour:- Replace up to ½ cup of the all-purpose flour with whole wheat flour
- Expect to add 1–2 extra tablespoons of water
Nutrition
Understanding the Ingredients (Helpful for Beginners)
Sourdough Starter. You can use either a ripe, recently fed starter or discard. A fed starter gives slightly more rise and flavor, but discard works beautifully when it hasn’t been neglected. No Starter Yet? You can make your own sourdough starter at home. Plan for 5–7 days of feeding before it’s ready to bake.
Yeast. This recipe includes yeast to make sourdough baking more predictable, especially in a bread maker.
Water. The exact amount depends on your starter’s hydration. This is why checking the dough early is so important.
Oil. Adds softness to the crumb. You can swap it for water if you prefer a crustier loaf.
Storage & Leftovers
- Room Temperature: Store cooled bread in a bread bag or loosely wrapped in a towel for up to 2 days.
- Freezing: Slice the loaf, then freeze in an airtight container or freezer bag for up to 3 months.
- Reheating: Toast slices straight from frozen or warm whole loaves in a 350°F oven for 10–15 minutes.
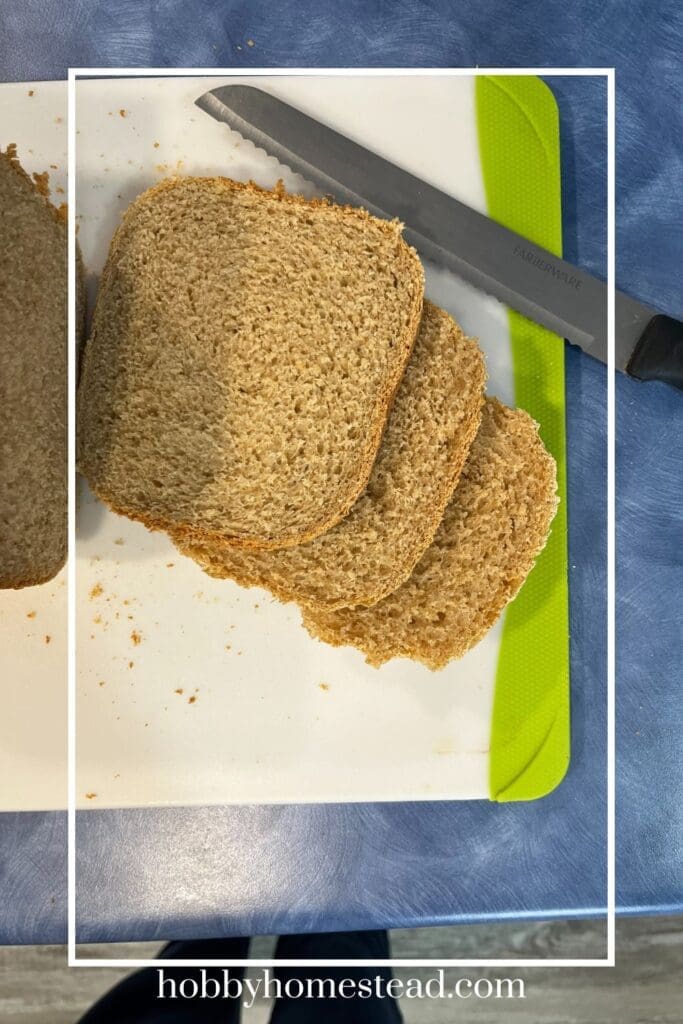
This bread maker sourdough recipe is a wonderful way to enjoy homemade sourdough without the stress of traditional methods.
With a little observation and a quick dough check early on, you’ll be rewarded with a flavorful, soft loaf that’s perfect for sandwiches, toast, or serving warm with butter.


My family loved this!