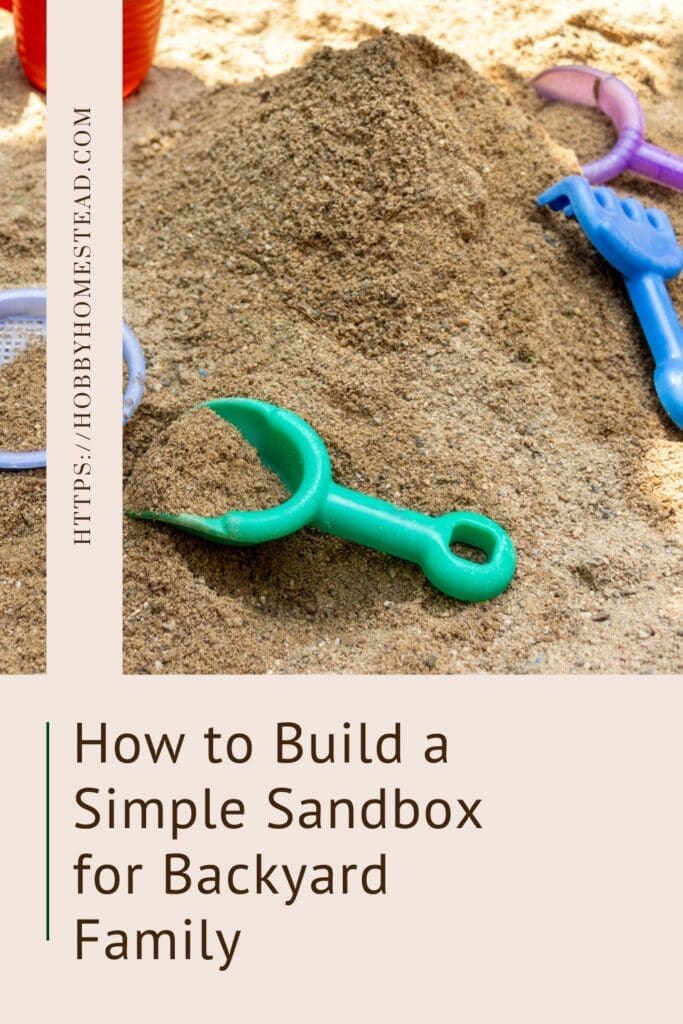
Build a simple sandbox in a weekend. Long before plastic playsets and battery-powered toys, children were content with a shovel, a bucket, and a pile of sand. On a homestead, simple builds like this aren’t just about play — they’re about creating spaces where imagination grows, grandchildren gather, and memories are made.
There’s something timeless about a sandbox.
Making Memories in the Sand
There was a time on the farm when a simple pile of sand was all our daughter needed. While we were out milking cows in the barn, she would be nearby with her buckets and spoons, completely content creating roads, barns, and who-knows-what-else in that sandy little world. It wasn’t fancy. It wasn’t framed. Just a pile of sand — and it was perfect.
These days, we don’t milk cows anymore. The rhythm of the farm has changed, and now our daughter is raising her own little boy here. Our grandson loves being outside just as much as his mama did. We started him off with one of those classic plastic turtle sandboxes with the lid — the kind so many of us recognize from childhood. It worked beautifully for a while. But as he grew, so did his imagination… and his need for space.
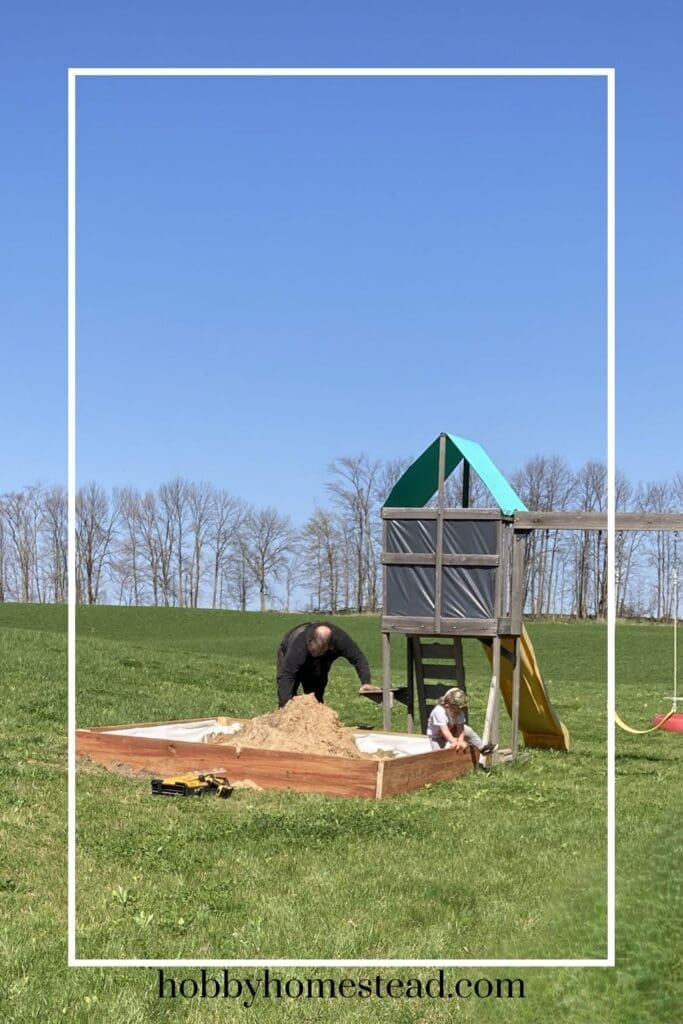
Before long, we realized we weren’t just watching him play — we were right in the sand with him. Digging. Building. Laughing. And that little turtle simply wasn’t big enough for all of us. We wanted something large enough for several kids — or kids and adults — to sit together and really play.
So we built one.
We chose this size because it keeps the build simple. No complicated cuts. No advanced carpentry skills required. Just solid cedar boards, minimal prep work, and a design that goes together quickly — leaving you more time for what really matters: making memories in the sand.
Easy DIY Project with Minimal Tools
If you’re looking for an easy DIY project that requires minimal tools, no complicated cuts, and just a few sturdy materials, this cedar sandbox is a perfect weekend build.
Whether you’re a retired farmer building something special for visiting grandkids or a young family creating a backyard haven, this project fits beautifully into the Hobby Homestead way of life.
Why We Chose Cedar
Cedar boards are naturally rot-resistant, insect-resistant, and hold up beautifully outdoors without needing heavy chemical treatments. That makes them a safer, long-lasting option for children’s play areas.
Plus, cedar ages gracefully. Over time, it develops that beautiful silvery-gray patina many of us love in rustic homestead settings.
Cedar Sandbox Build at a Glance
Designed for easy assembly with minimal cuts and no complicated carpentry.
Finished Size: 10 ft x 10 ft
Wall Height: 12 inches
Materials List
- Cedar Boards: 2 in x 12 in x 10 ft (4 boards)
- 4 in x 4 in x 8 ft Post: (1 post)
- Deck screws (exterior grade)
- Landscape Fabric 12 ft X 12 ft
- 1–2 cubic yards play sand
That’s it. Simple materials, easy to source from your local lumberyard.
Cut List
- Cedar boards: No cuts required
- Cut the 4×4 post into four 1-foot pieces (these will serve as interior corner braces)
Keeping the cedar boards at full length makes this project incredibly beginner-friendly.
Tools Needed
- Saw (for cutting 4×4 post)
- Drill/driver
- Measuring tape
- Level
- Rake
Basic Steps
- Choose and level your build area.
- Cut 4×4 post into four 1-foot corner braces.
- Form a square with cedar boards.
- Secure boards to corner braces with deck screws.
- Check for level and square.
- Lay landscape fabric across the ground.
- Fill with play sand and rake smooth.
Step-by-Step Instructions
1. Prepare the Build Area
Choose a level spot in your yard. Look for a location that gets partial shade if possible — especially helpful during warm summer afternoons.
Clear away:
- Grass
- Rocks
- Roots
- Debris
You want a flat, stable surface so your sandbox sits evenly.
Optional: Lay landscape fabric underneath to help prevent weeds from growing up through the sand.
2. Install the Side Walls
Lay out your four cedar boards in a square.
Take your 1-foot 4×4 corner braces and stand one inside each corner. These act as structural anchors.
Butt the cedar boards tightly against the 4×4 braces and secure each board with deck screws. Use multiple screws per corner to ensure a solid hold.
Because there are no angled cuts, this assembly comes together quickly.
Tip: Pre-drilling can help prevent splitting, especially near board ends.
3. Check for Level and Stability
Before filling with sand, check:
- Are all corners flush?
- Is the box square?
- Is it level on the ground?
Make adjustments now if needed.
4. Adding a Bottom
For our sandbox, we chose to add landscape fabric across the entire bottom before filling with sand, and we’re so glad we did.
Here’s why:
- It helps prevent weeds from growing up through the sand
- It allows rainwater to drain naturally
- It creates a barrier between the soil and the play sand
- It helps keep the sand cleaner over time
After leveling the ground, we rolled out landscape fabric to cover the full interior footprint of the sandbox. You can secure it with landscape staples if needed, especially on uneven ground. Once the frame was in place, we filled directly on top of the fabric.
It’s a simple step that adds long-term durability with very little extra work — something we always appreciate on the homestead.
5. Fill with Sand
Use clean play sand (often labeled as sandbox sand).
Distribute the sand evenly and rake it smooth.
For a 10 ft x 10 ft sandbox with 12-inch high sides, you’ll need a substantial amount of sand — typically 1 to 2 cubic yards depending on how full you want it.
Start shallow and add more over time if needed.
Safety Considerations
- Inspect annually for loose screws.
- Sand down any rough edges.
- Consider adding a simple cover to keep out debris and animals.
- Teach children not to throw sand (an old lesson that never goes out of style).
Optional Add-Ons
If you want to enhance your sandbox build:
- Add corner seats on top using extra boards.
- Create a removable wooden cover.
- Install a small sunshade.
- Add built-in toy storage nearby.
You can keep it rustic or make it a little backyard showpiece.
How Much Sand Do You Need?
One of the most common questions with a large sandbox build is: How much sand should we buy?
For a 10 ft x 10 ft sandbox with 12-inch-high sides:
- Filling it halfway (about 6 inches deep) typically requires around 1 to 1½ cubic yards of sand
- Filling it deeper will require closer to 2 cubic yards
We prefer starting with about 6–8 inches. That gives plenty of digging depth without making it difficult for little legs to climb in and out.
Tip: If possible, order bulk play sand from a local landscape supplier. It’s often more affordable than buying dozens of small bags from a home improvement store.
What Type of Sand Is Best?
Look specifically for:
- Play sand
- Washed sand
- Sand labeled safe for children
Avoid construction sand or masonry sand, which may contain sharp particles.
If you’re unsure, ask your local supplier directly if it’s appropriate for a children’s sandbox.
Should You Add a Bottom?
This is optional, and it depends on your yard.
Some families choose to:
- Leave it open to the ground for natural drainage.
- Add landscape fabric to prevent weeds.
- Install a layer of gravel under landscape fabric for extra drainage.
We like landscape fabric because it allows water to drain while helping keep weeds from pushing through.
Do You Need a Cover?
A cover is highly recommended, especially in rural areas.
It helps:
- Keep out leaves and debris
- Prevent neighborhood cats or wildlife from using it as a litter box
- Reduce excess moisture from heavy rain
You can build a simple wooden lid, use a fitted tarp, or even create a hinged cover if you want something more permanent.
A well-secured tarp works just fine. Sometimes practical often wins over fancy.
Making It Comfortable for Adults, Too
One thing we quickly realized is if we’re going to be sitting in the sand, comfort matters.
You might consider:
- Adding a wide board around the top edge as a sitting ledge
- Placing a few sturdy outdoor chairs nearby
- Keeping a small storage bin for toys close by
Because let’s be honest — grandparents and parents end up playing just as much as the kids.
Annual Maintenance Tips
Like anything on a homestead, a little yearly attention goes a long way.
Each spring:
- Check screws and tighten if needed
- Inspect boards for splinters
- Rake and refresh the sand
- Top off with fresh sand if levels have dropped
If properly cared for, a cedar sandbox can last many years.
Why Bigger Was Better for Us
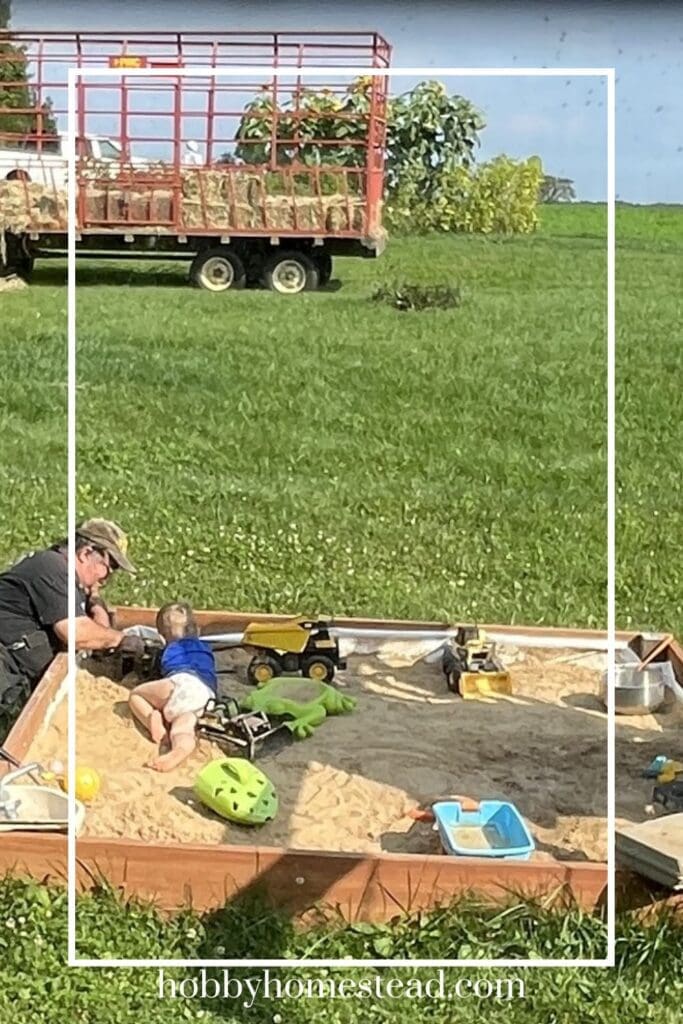
When our grandson was small, that little turtle sandbox was perfect. But creativity expands. Soon he wasn’t just digging — he was building farms, hauling “grain,” burying treasure, and inviting us into the story.
This larger sandbox gave us room to kneel beside him instead of hovering over him. It gave cousins space to visit and play together. It turned sand play into something shared.
And maybe that’s the part worth mentioning most.
A sandbox isn’t just a project. It’s a gathering place.
We believe in building things that serve more than one generation. Sometimes that looks like restoring equipment. Sometimes it looks like planting fruit trees.
And sometimes, it looks like building a big enough sandbox so there’s room for everyone.
How to Maintain Your Sandbox
To keep your sandbox fresh:
- Rake sand regularly.
- Remove leaves and debris promptly.
- Replace sand every couple of years, depending on use.
- Cover during heavy rain to prevent compaction.
Cedar will naturally weather, but you can apply a child-safe outdoor sealant if desired.
Why Projects Like This Matter
On our homestead, we value usefulness. We fix things instead of replacing them. We build instead of buying when we can. And we create places where children can experience simple, creative play.
A sandbox may seem small — but it becomes:
- A construction site
- A bakery
- A racetrack
- A castle kingdom
And sometimes, it becomes the place where Grandpa teaches patience, where Grandma shares stories, and where muddy hands are just part of a good afternoon.
That’s what Hobby Homestead is about — empowering and inspiring families with generational wisdom.
It’s funny how something as simple as sand can carry so many memories. Years ago, it was our daughter sitting near the barn while we milked cows. Now it’s our grandson building highways and farms of his own — and us right there beside him.
The chores look different these days. The seasons of life have shifted. But the joy of watching a child create something from nothing? That hasn’t changed at all.
If you decide to build a sandbox for your family, we hope it becomes more than just a project. We hope it becomes a place for stories, laughter, and sandy shoes by the back door. From our homestead to yours — may you always build things that bring generations together.