Let’s learn about How to Stratify Seeds at Home. If you’ve ever struggled with getting certain seeds to sprout, seed stratification might be the answer. Some types of seeds require a period of cold or warm treatment to break their dormancy and start growing into beautiful plants.
This natural process mimics the environmental conditions seeds experience in the wild, ensuring they germinate at the right time. In this guide, I’ll explain how to cold stratify seeds at home, the tools you’ll need, and tips to get the best results for your garden.
What Is Seed Stratification?
Seed stratification is the process of exposing seeds to specific conditions to simulate natural seasonal changes. For many perennial plants, like black-eyed Susan, butterfly weed, and purple coneflower, this means experiencing a period of cold temperatures before they’ll sprout.
This period is known as cold stratification and is common for seeds from temperate climates or plants with hard seed coats.
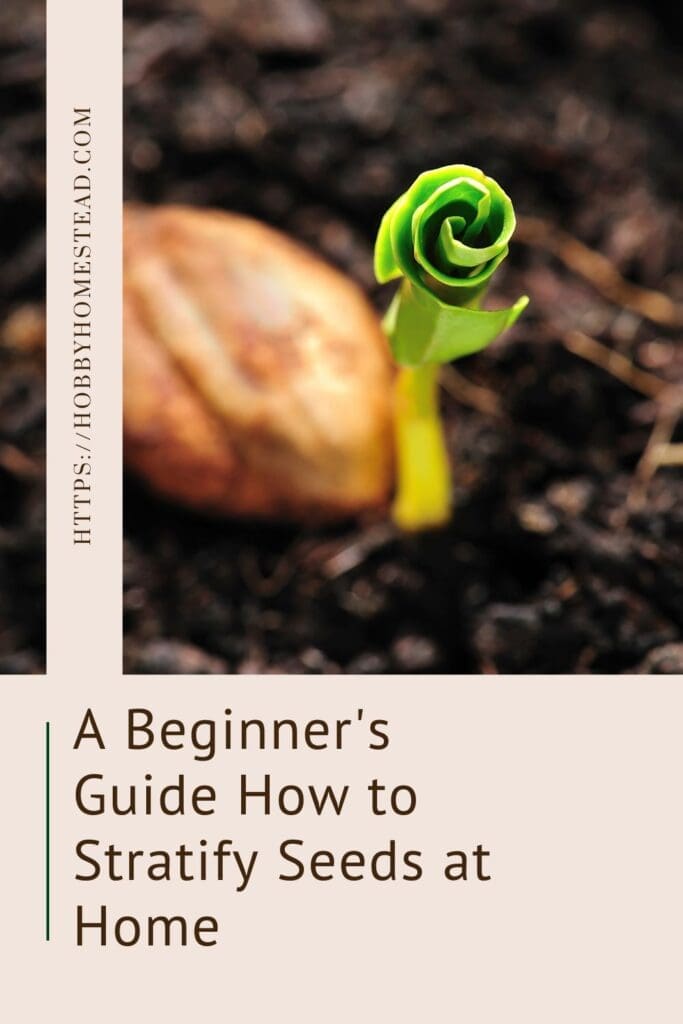
Why Stratify Seeds?
In nature, seeds of many native plants fall to the ground in late fall and spend the winter months under snow or cold soil. The prolonged cold conditions trigger the seeds to germinate when warm temperatures return in next spring. By replicating these required conditions at home, you can give your seeds a good chance to grow into strong, healthy plants.
How to Cold Stratify Seeds
Cold stratification is the most common method. Here’s a step-by-step guide.
Materials Needed
- Seeds
- Moist paper towel or peat moss
- Plastic bag or ziploc bag
- Labels or markers
- Refrigerator
Steps
Prepare the Seeds. For small seeds, place them on a damp paper towel. For larger seeds, use a moist medium like sphagnum moss or peat moss.
Moisten the Medium. Add a few drops of water to create damp conditions—not soaking wet, as too much moisture can harm seed viability.
Seal and Label. Place the seeds and medium into a sandwich bag, ensuring it’s airtight. Label the bag with the seed name and start date.
Store in the Fridge. Place the bag in the fridge (not the freezer) to maintain a constant temperature of around 35–40°F.
Wait the Required Time. Check the seed packet or do research to determine the length of time needed for stratification. Some seeds need 2–3 weeks, while others require several months.
Alternative Methods for Stratification
Dry Stratification. For some species of plants, you can skip the moisture and simply store seeds in a dry, cool place.
Outdoor Stratification. Plant seeds in late fall, allowing nature to provide the cold treatment through the winter months.
For seeds with very hard seed coats, you may also need to perform scarification of seeds first by rubbing them with sheets of coarse sandpaper to help moisture penetrate the outer shell.
Table of contents
- What Is Seed Stratification?
- Why Stratify Seeds?
- How to Cold Stratify Seeds
- What Seeds Need Stratification?
- General Steps for Stratifying Tree and Shrub Seeds
- Seeds That Don’t Need Stratification
- How Can you Tell Which Seeds Need Stratification and Which Seeds Do Not?
- Factors That Influence Stratification Success
- The Role of Warm Stratification
- Seed Stratification a Fun Project to do with Kids
Common Mistakes and Tips for Success
Using Clean Materials. Always use clean materials to avoid mold or bacteria.
Avoid Overwatering. Seeds need a moist environment, not soggy conditions.
Check Regularly. Look for signs of germination and plant seeds in trays or the garden once ready.
What Seeds Need Stratification?
Not all seeds need stratification, but many perennial flowers, tree seeds, and plants with hard seed coats benefit from it.
A helpful guide for gardeners to identify seeds that require stratification and those that don’t. Use this as a reference for planning your planting and ensuring successful germination.
Perennial Flowers and Plants. Many perennials, particularly those adapted to warmer climates or those grown from divisions or cuttings, don’t require stratification at all. These plants typically grow from roots, rhizomes, or tubers that are planted directly into the soil, bypassing the need for seed germination techniques like stratification.
However, stratification is needed for certain perennial seeds, particularly those from plants that grow in colder climates. Here are some perennials that generally require stratification to help their seeds break dormancy and germinate.
Top Seeds That Need Stratification
Many seeds require a period of cold or warm treatment to germinate effectively. Here’s a list of popular seeds that benefit from stratification.
Butterfly Weed (Asclepias tuberosa)
Soak the seeds in warm water for 24 hours to soften the seed coat. After soaking, place the seeds in a damp paper towel or moist sand in a plastic bag. Store the bag in the refrigerator (35-40°F or 1-4°C) for 30-60 days. After stratification, plant the seeds in pots or directly in the ground when the soil is warm enough (typically in spring).
False Indigo (Baptisia) and Pasque Flower (Anemone patens)
They have a hard seed coat and benefit from cold stratification. Scarification (optional). Some people scarify Baptisia seeds by nicking or rubbing the hard seed coat with sandpaper before stratifying, but this step isn’t always necessary.
Place the seeds in a damp paper towel or a moist medium like sand or peat moss in a plastic bag and refrigerate at 35-40°F for 30-60 days. Planting: After stratification, sow the seeds in pots or directly in the soil. Plant them in the spring once the weather has warmed.
Milkweed (Asclepias species)
Cold Stratification. Soak the seeds in warm water for about 24 hours to soften the seed coat, then place them in a damp paper towel, sand, or vermiculite inside a plastic bag. Store in the refrigerator at 35-40°F for 30-60 days.
After stratification, plant the seeds indoors in pots or directly in the garden in the spring, after the risk of frost has passed.
Hellebore (Helleborus)
Cold Stratification. Hellebore seeds can be sown in pots, or you can use a moist medium like sand or peat.
After sowing, place the pots or bags in the refrigerator (35-40°F or 1-4°C) for 30-90 days. This longer stratification period helps break the seed dormancy. After the cold stratification period, the seeds can be planted in pots or directly in the garden. Hellebores have slow germination, so be patient.
Lupines (Lupinus spp.)
Many species of lupine, including those native to temperate regions, need cold stratification to germinate.
Columbine (Aquilegia spp.)
Seeds of columbine typically require cold stratification for 30-60 days to break dormancy.
Coneflower (Echinacea spp.)
While some varieties may germinate without stratification, it’s often recommended for best results, especially for native species.
Shasta Daisy (Leucanthemum × superbum)
Seeds benefit from cold stratification, though they can also germinate without it if given the right conditions.
Black-eyed Susan (Rudbeckia hirta)
Similar to coneflowers, black-eyed Susan seeds benefit from a cold stratification period to increase germination rates.
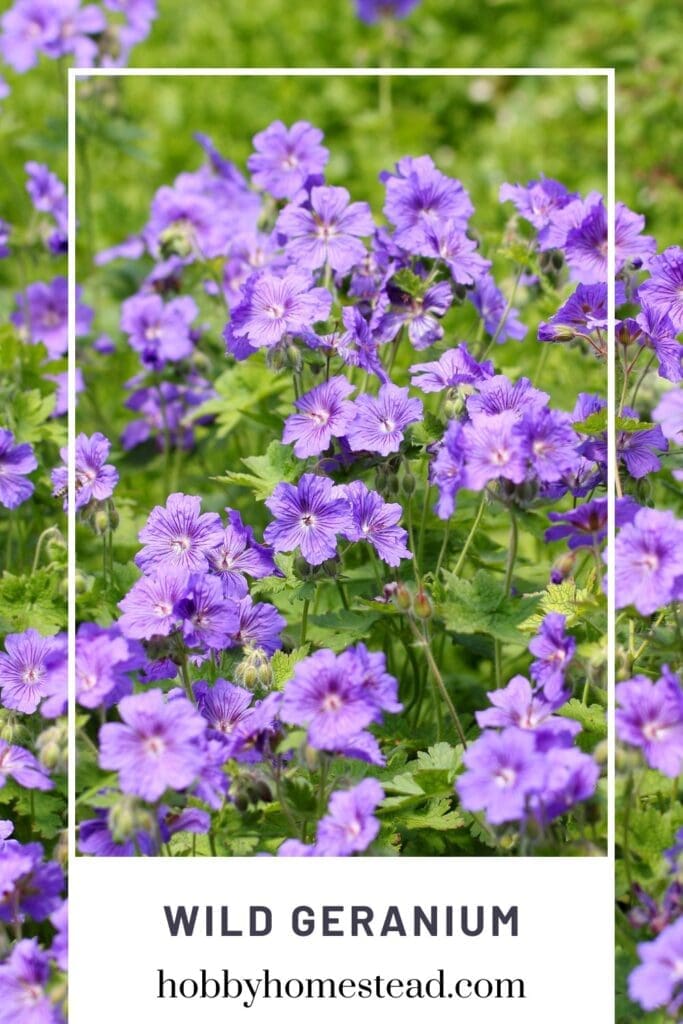
Wild Geranium (Geranium maculatum)
Needs stratification to overcome seed dormancy for proper germination.
Lady’s Mantle (Alchemilla mollis)
Seeds of this perennial are known to require a period of cold stratification to germinate well.
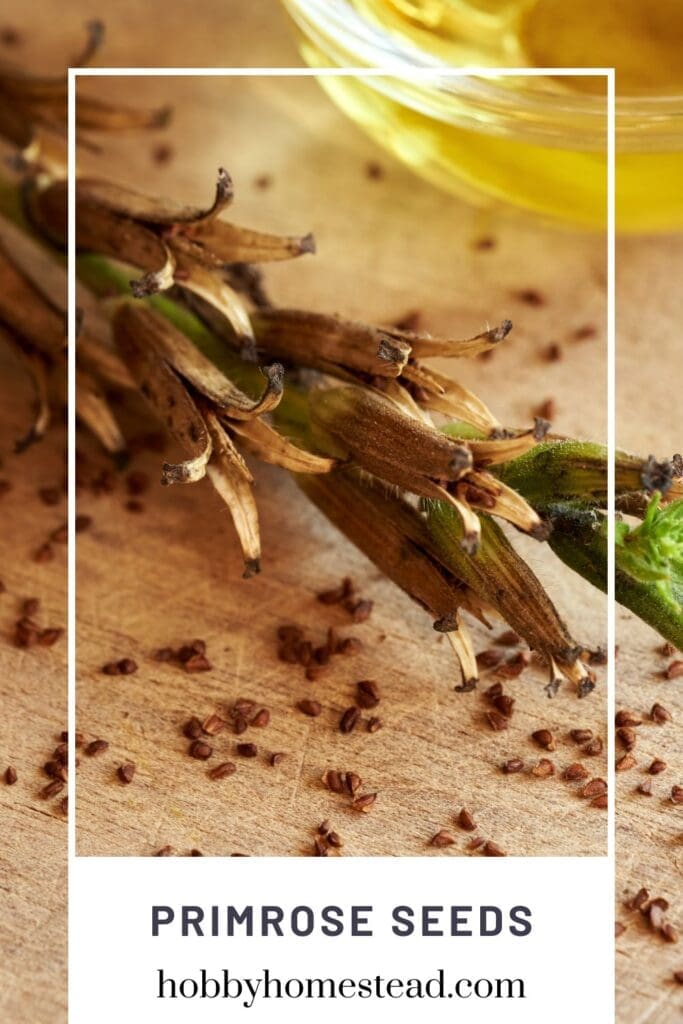
Primrose (Primula spp.)
Many primroses, especially those from temperate regions, need stratification to help with seed dormancy.
Penstemon (Penstemon spp.)
Some species of penstemon, especially those native to cooler climates, may need stratification to germinate successfully.
Virginia Bluebell (Mertensia virginica)
These woodland perennials typically require cold stratification for 30 days before planting.
Trees and Shrubs
- Oak Trees (Quercus)
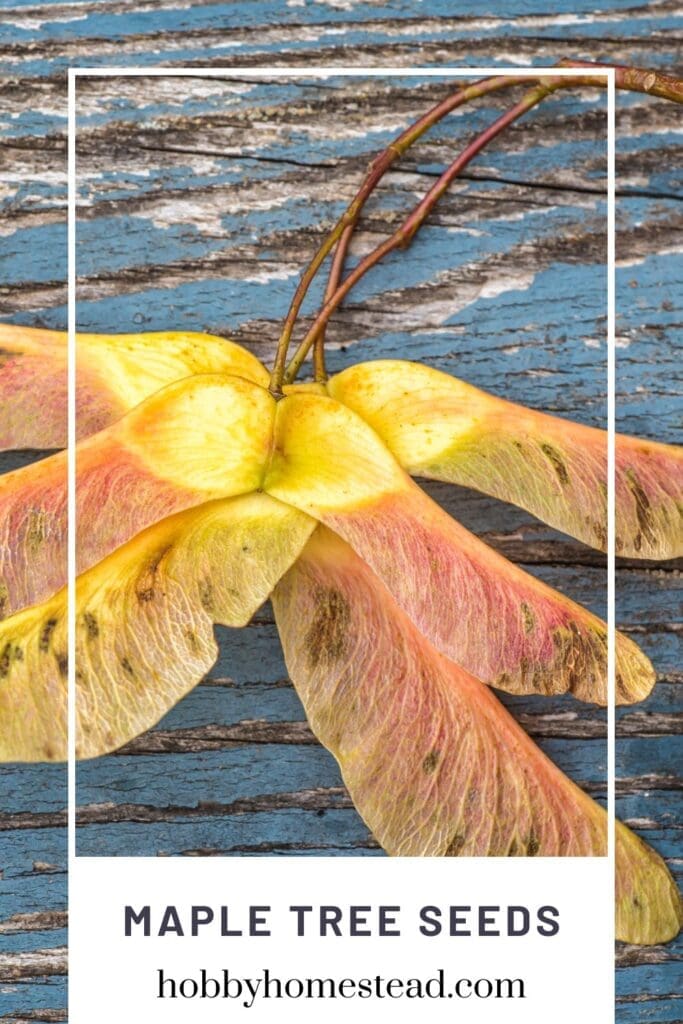
- Maple Trees (Acer)
- Apple (Malus domestica)
- Cherry (Prunus species)
- Pawpaw (Asimina triloba)
- Redbud (Cercis canadensis)
- Hawthorn (Crataegus)
- Dogwood (Cornus)
- Lilac (Syringa vulgaris)
- Rose (Rosa species)
General Steps for Stratifying Tree and Shrub Seeds
- Soak the Seeds (Optional for Some Species). For many species, soaking the seeds in warm water for 24 hours helps soften the seed coat and kickstart the process.
- Prepare Moist Medium. Dampen sand, peat moss, or vermiculite to provide a moist environment for the seeds.
- Refrigeration. Place the seeds and medium in a sealed plastic bag or container and refrigerate at 35-40°F (1-4°C) for the required period (usually 30-90 days, depending on the species).
- Planting. After stratification, sow the seeds in pots or directly in the garden when the weather is appropriate for the species.
Key Differences
- Some species (like Pawpaw and Apple) require longer stratification periods (90-120 days), while others (like Redbud and Hawthorn) can be stratified for 30-60 days.
- Scarification may be necessary for seeds with tough seed coats, such as Redbud, Maple, and Pawpaw.
- Maple and Apple seeds, in particular, may not need full stratification under ideal conditions, while other species (like Hellebore and Pawpaw) require more attention.
Seeds That Don’t Need Stratification
Some seeds germinate readily without requiring special pre-treatment. Here are examples of seeds you can sow directly.
Vegetables
- Tomatoes
- Lettuce
- Carrots
- Radishes
- Peppers
Annual Flowers
- Zinnias
- Marigolds
- Sunflowers
- Petunias
- Snapdragons
Herbs
- Basil
- Cilantro
- Dill
- Chives
- Parsley
Grasses and Ground Covers
- Sweet Alyssum
- Ornamental Grasses (many varieties)
- Clover (White Clover)
How Can you Tell Which Seeds Need Stratification and Which Seeds Do Not?
Seeds that don’t require stratification often come from plants native to warmer climates or fast-growing annuals.
Determining whether seeds need stratification often depends on their natural growing conditions, plant species, and the type of dormancy they experience. Here are some guidelines to help you figure out which seeds require stratification, and which do not:
Check the Seed Packet
The easiest and most reliable method is to read the seed packet. Most reputable seed companies include specific instructions for germination, including whether cold stratification, dry stratification, or other pre-treatments like scarification of seeds are necessary.
Consider the Plant’s Natural Habitat
Seeds from plants that thrive in cold climates or temperate climates often require a period of cold stratification to mimic the natural process of going through winter before germinating in spring. This includes many perennial flowers, cold hardy perennials, and tree seeds.
Conversely, seeds from plants native to tropical or warm climates generally germinate without needing a cold period. These seeds are more likely to sprout immediately under the right room temperature and moist environment.
Observe Dormancy Patterns
Seeds with hard seed coats or those that have evolved to withstand harsh conditions (like surviving through a cold winter) often require stratification. These seeds are adapted to prevent sprouting until conditions are ideal. Examples include morning glory, butterfly weed, and purple coneflower.
On the other hand, seeds that sprout quickly, like annual flowers (e.g., zinnias, marigolds) or vegetable seeds (e.g., lettuce, radishes), don’t usually have dormancy mechanisms and don’t need stratification.
Research Specific Plant Species
If the seed packet doesn’t provide enough information, look up the requirements for the specific plant species. There are many gardening books, websites, and Facebook groups where gardeners share lists of seeds that need stratification or can germinate without it.
Look for Common Indicators
Seeds that likely need stratification
Seeds of perennial plants and native plants in colder zones. In General, seeds with thick outer shells or tough coatings.
Plants that naturally drop seeds in the fall and germinate the following spring, such as black-eyed Susan, false indigo, and certain tree seeds.
Seeds that likely don’t need stratification
Small seeds from fast-growing annuals. Seeds from plants with short life cycles, like basil or sunflowers. Tropical or subtropical species like tomatoes or peppers.
Experiment With Germination
If unsure, try both methods.
Stratify half the seeds by placing them in a moist medium (e.g., damp paper towel, sphagnum moss, or peat moss) inside a ziploc bag and refrigerate for the recommended length of time (usually a few weeks to a few months).
Sow the other half at room temperature and see if they sprout.
This method allows you to observe whether stratification is necessary for that species.
Key Takeaway
Understanding whether seeds need stratification is largely about mimicking their natural conditions. Checking the seed packet, considering the plant’s climate zone, and researching the species are the best ways to ensure you meet their germination needs. For seeds you’re unsure about, trial and error is a helpful learning process for any gardener.
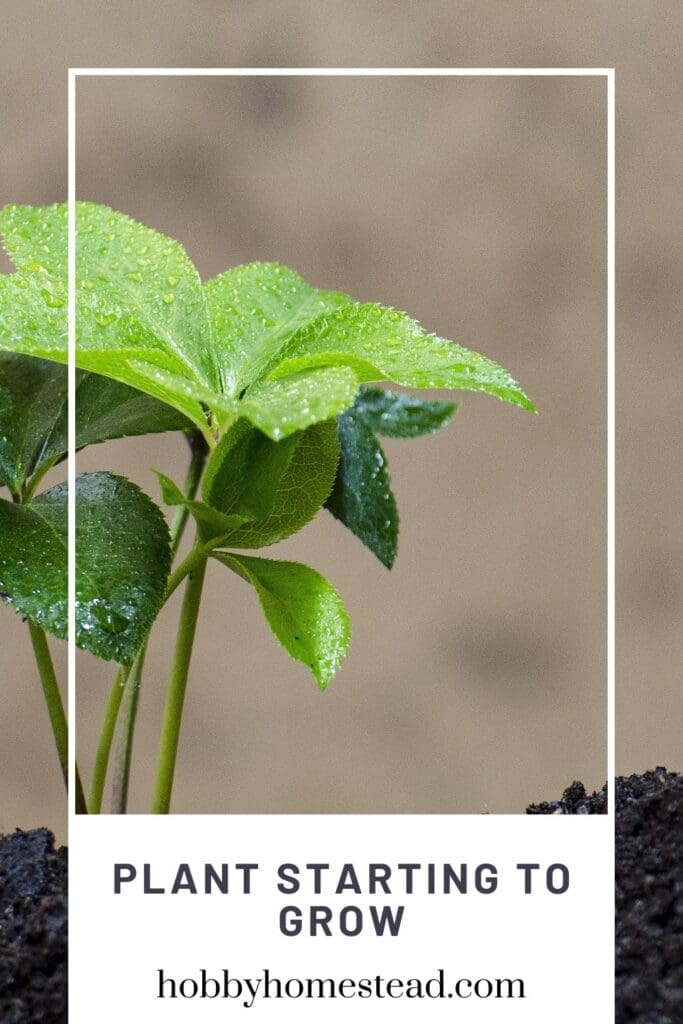
Planting Stratified Seeds
Once the stratification period is over, it’s time to plant. Use seed trays or sow seeds directly into your garden. Ensure the soil temperature is suitable for the plant species, as different species have different requirements for germination.
How do I know if my seeds need stratification?
Check the seed packet or consult online resources like Facebook pages or gardening groups.
Can I stratify seeds without refrigeration?
Yes, outdoor stratification or using a cold frame are great options for cold hardy perennials.
What’s the best way to store stratified seeds?
Store in a cool, dry place until planting, or plant immediately for best results.
Mimicking Wild Germination for Specific Plants
Many wildflowers and native plants rely on stratification to thrive in gardens. Plants like purple coneflower, black-eyed Susan, and other prairie flowers need a period of cold to germinate. Stratifying these seeds mimics the natural conditions they’d experience outdoors during winter, allowing them to grow strong and healthy.
For edible perennials like asparagus and rhubarb, stratification helps establish robust roots and promotes better harvests. By understanding the needs of these plants, you can cultivate a garden that supports local ecosystems or provides sustainable, homegrown food.
Combining Stratification with Scarification
Some seeds require more than just stratification—they also need scarification to weaken their hard outer shells. For example, morning glory and false indigo seeds benefit from being scratched with coarse sandpaper or soaked in hydrogen peroxide before undergoing cold stratification.
The process helps water and oxygen penetrate the seed coat, jump-starting germination. Combining scarification and stratification can greatly improve germination rates, especially for seeds with naturally tough shells.
Factors That Influence Stratification Success
Achieving successful stratification requires balancing key factors.
Moisture Levels. Seeds need to be kept in a moist medium, such as damp paper towels, sphagnum moss, or peat moss, but overwatering can cause mold. Check the medium occasionally to ensure it stays damp, not wet.
Temperature Consistency. Seeds need steady cold temps, typically between 34°F and 41°F (1°C to 5°C), to mimic winter conditions. While refrigerators are ideal, storing seeds in a cold frame may work for gardeners in colder regions.
Duration. The amount of time needed for stratification varies. Some seeds require only a few weeks, while others, like certain tree seeds, may need several months to break dormancy.
The Role of Warm Stratification
While cold stratification is more commonly discussed, some seeds also benefit from warm stratification before or after a cold period. For example:
Peach and plum seeds often need a warm stratification phase to soften their shells before chilling.
Tropical species may need extended warmth to mimic their natural habitat.
For these seeds, store them in a warm, moist environment (70°F to 80°F) before transitioning to cold conditions. Warm stratification is especially useful for seeds with complex dormancy requirements.
Climate-Specific Gardening Tips
Warm Climates: Gardeners in warmer regions can replicate a cold winter using a refrigerator or a specialized stratification fridge. Another option is to use cold frames or insulated containers filled with a moist medium to chill seeds artificially.
Cold Climates. In colder regions, gardeners can take advantage of natural conditions by sowing seeds outdoors in late fall. The seeds will naturally stratify over winter and sprout in next spring.
Seed Viability and Stratification
Stratification can sometimes breathe new life into older seeds. Over time, seed viability decreases, but the cold treatment may stimulate germination in certain species. This is particularly useful for rare, or heirloom seeds you want to propagate.
Unique Stratification Mediums
Although moist paper towels and peat moss are commonly used, other materials may work better for specific seeds.
Coconut Coir. A sustainable alternative that retains moisture without becoming waterlogged.
Sand. Fine sand is excellent for large seeds that need damp conditions but not excessive moisture.
Experiment with these mediums to find the best method for your seed varieties.
By following these steps, you can unlock the potential of your seeds and enjoy a flourishing garden in early summer or late spring. Stratifying seeds is a natural process that helps with a better germination and a successful growing season.
Seed Stratification a Fun Project to do with Kids
Seed stratification can be a fun and educational project to do with kids! It introduces them to the science of how plants grow while engaging them in hands-on activities. Here’s why it’s a great activity and some tips to make it enjoyable.
Why It’s a Fun Project for Kids
Hands-on Learning. Kids can touch and prepare seeds, explore their textures, and learn about different types of plants.
Science in Action. Stratification teaches kids about dormancy and how seeds need specific conditions (like cold or warmth) to sprout.
Patience and Observation. It’s a great way to teach delayed gratification as kids monitor their seeds over days or weeks.
Connection to Nature. Stratification helps kids understand the natural life cycles of plants and how seasons affect growth.
Creative Play. You can add art and creativity by decorating seed packets or journaling the process with drawings.
Tips to Make It Kid-Friendly
Choose Seeds Together. Let kids pick the seeds they’re most excited about, such as flowers, fruits, or trees.
Simple Instructions. Demonstrate how to prepare seeds for stratification, such as placing them in damp paper towels or soil.
Use Visual Aids. Show a diagram or video of the seed germination process to spark curiosity.
Create a Tracking Chart. Help them design a chart to record the seeds’ progress and make predictions about when they will sprout.
Include a Story Element. Explain how these seeds would naturally germinate in the wild, making it a “seed adventure” story.
Ideas for Stratification Activities
Cold Stratification. Use the refrigerator to mimic winter. Place seeds in a zip-top bag with moist sand or paper towels.
Outdoor Experiment. Bury seeds in a small, marked container in the yard for a natural stratification experience.
Warm Stratification. Soak seeds in warm water overnight, a faster process that can keep younger kids engaged.
Follow-Up Activities
Plant the Seeds. Once they’re ready, let the kids plant the seeds in pots or a garden.
Craft a Mini-Garden. Use recycled containers to create a fun and sustainable planting space.
Document Growth. Keep a “seed diary” with photos or drawings of the plants as they grow.
It’s a memorable way to combine learning, creativity, and nature into a fun project for kids of all ages.
How to Cold Stratify Seeds
As an Amazon Associate I earn from qualifying purchases.
Equipment
Materials
- Seeds
- Moist paper towel or peat moss
Instructions
- Prepare the Seeds. For small seeds, place them on a damp paper towel. For larger seeds, use a moist medium like sphagnum moss or peat moss.Seeds, Moist paper towel or peat moss
- Moisten the Medium. Add a few drops of water to create damp conditions—not soaking wet, as too much moisture can harm seed viability.
- Seal and Label. Place the seeds and medium into a sandwich bag, ensuring it’s airtight. Label the bag with the seed name and start date.
- Store in the Fridge. Place the bag in the fridge (not the freezer) to maintain a constant temperature of around 35–40°F.
- Wait the Required Time. Check the seed packet or do research to determine the length of time needed for stratification. Some seeds need 2–3 weeks, while others require several months.
Notes
Alternative Methods for Stratification
Dry Stratification. For some species of plants, you can skip the moisture and simply store seeds in a dry, cool place. Outdoor Stratification. Plant seeds in late fall, allowing nature to provide the cold treatment through the winter months. For seeds with very hard seed coats, you may also need to perform scarification of seeds first by rubbing them with sheets of coarse sandpaper to help moisture penetrate the outer shell.References
Better Homes and Gardens. What Is Seed Stratification? Plus, How to Stratify Seeds for Planting.
Practical Self Reliance. How to Stratify Seeds Before Planting.




Thanks for this information.