Last updated on August 3rd, 2025 at 11:25 am
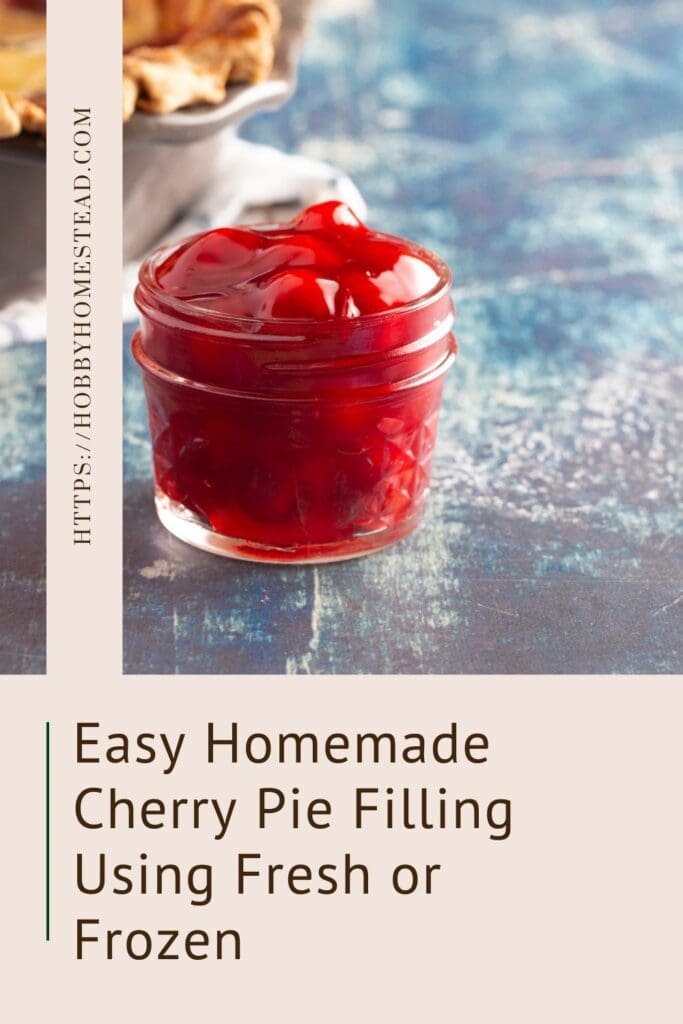
This easy homemade cherry pie filling is one of those staple recipes that lets you turn a simple harvest into something incredibly special.
Cherry pie has always held a special place in our family. It was my father-in-law’s favorite dessert, and every time we enjoy a slice or even sneak a spoonful of this thick, glossy homemade cherry pie filling, we think of him. He had a knack for always ending up with the pit—even in supposedly pitted cherries—which became a running family joke we still laugh about.
Though he’s no longer with us, his love for cherry pie lives on in every pie we bake and every scoop of fresh cherry pie filling we spoon over ice cream or layer into cherry pie bars. Recipes like this aren’t just about the food—they’re about the stories and people we hold dear.
We’re also lucky to live near Door County, Wisconsin, a place known for its vibrant sour cherries. Each summer, the orchards here overflow with the perfect fruit for making the best cherry pie filling.
Whether you’re gathering cherries straight from the tree, grabbing a frozen stash from your last U-pick trip, or buying them from a local market, this recipe is one I return to year after year.
Cherry Pie Filling Made from Scratch
On our homestead, we try to make the most of what each season brings. Especially when the cherry trees are heavy with fruit or when we’ve stocked up on frozen cherries during a good sale.
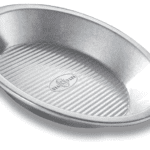
It’s thick, naturally sweetened, and works just as well with fresh fruit as it does with frozen. Whether you’re baking a homemade cherry pie, layering it into bars, or topping off a cheesecake.
Best of all, it comes together in minutes with pantry basics you likely already have.

Easy Homemade Cherry Pie Filling Using Fresh or Frozen
As an Amazon Associate I earn from qualifying purchases.
Equipment


Ingredients
- 5 Cups Cherries Pitted, we love using fresh tart cherries, dark sweet cherries, or bing cherries, but frozen cherries work beautifully too
- ¾ Cup Granulated Sugar adjust depending on the sweetness of your fruit
- ¼ Cup Corn Starch or sub in tapioca starch/tapioca flour for a clear finish
- 2 Tablespoons Lemon Juice balances the sweetness and helps preserve color
- ½ Teaspoon Almond Extract adds a warm, old-fashioned flavor
- Pinch Salt
- Optional: ¼ cup water if the sauce seems dry
Instructions
- Pit the cherries. Use a cherry pitter, metal straw, paper clip, or even the blunt end of a chopstick. This part is hands-on but satisfying, especially if you’ve got little helpers.5 Cups Cherries
- Combine cherries, lemon juice, and sugar mixture in a large saucepan. Cook over medium heat until the cherries begin to soften and release their cherry juice.¾ Cup Granulated Sugar, 2 Tablespoons Lemon Juice
- Mix corn starch with a few tablespoons of water to form a slurry, then stir into the hot cherry mixture.¼ Cup Corn Starch, Optional: ¼ cup water if the sauce seems dry
- Lower the heat and simmer gently until thickened—about 5 to 8 minutes.
- Stir in your almond extract, pinch of salt, and let cool to room temperature.½ Teaspoon Almond Extract, Pinch Salt
- Use a slotted spoon to check thickness. The sauce should cling but still flow.
Nutrition
Why This Recipe Belongs in Every Homestead Kitchen
- Uses what you have on hand: fresh or frozen cherries
- Avoids store-bought cans full of additives
- Perfect way to preserve a bounty of cherries
- Great for pies, desserts, or canning for later use
- Lets you control the amount of sugar and ingredients. Ideal for real food lovers
🥧 Using the Filling
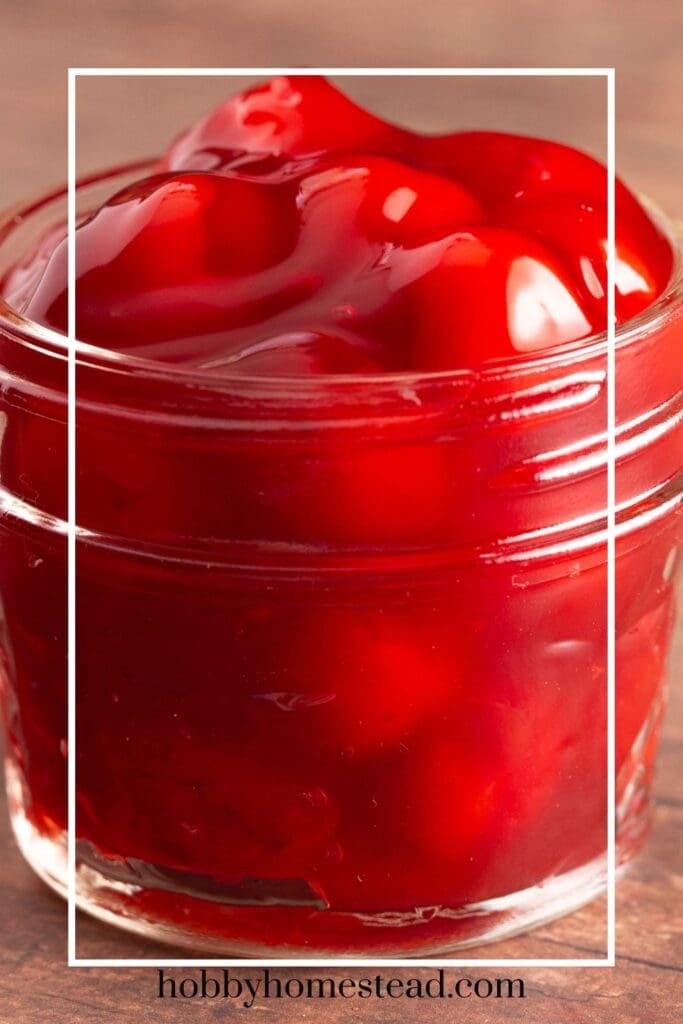
Once cooled, you can use this easy cherry pie filling right away in:
- A classic cherry pie recipe with a homemade pie crust
- Rustic cherry cobblers, pie bars, or spooned over bake cheesecake
- Tucked into cherry turnovers or even stirred into a yogurt parfait
Tip. Store extra in a mason jar or airtight container in the fridge for up to 5 days. Or freeze it to enjoy long after cherry season ends.
🔥 Homestead Baking Tips
- No need to par-bake the crust. This filling is thick enough to bake beautifully with the raw bottom crust.
- Bake at 400°F on the middle oven rack until the top crust is golden brown, usually 40–45 minutes.
- If the edges brown too fast, cover them with aluminum foil partway through baking.
- Always let the cooled pie rest before slicing.This helps the filling set and keeps the crust crisp.
🧺 From the Orchard or the Freezer
Whether you’re harvesting your own or buying in bulk, here’s a breakdown of the best cherries for this recipe:
- Sour cherries. for traditional tart pie lovers
- Dark sweet cherries. naturally sweeter, perfect with less sugar
- Rainier cherries. mild, beautiful, and unique
- Frozen cherries. convenient and just as tasty when drained properly
This easy recipe is one of the many ways we stretch what we grow, freeze, or forage into comforting meals and desserts. Whether it’s your first time making your own cherry pie, or you’re simply stocking your pantry with homemade pie filling, this one is a keeper.


My family loved this!