Last updated on August 3rd, 2025 at 11:37 am
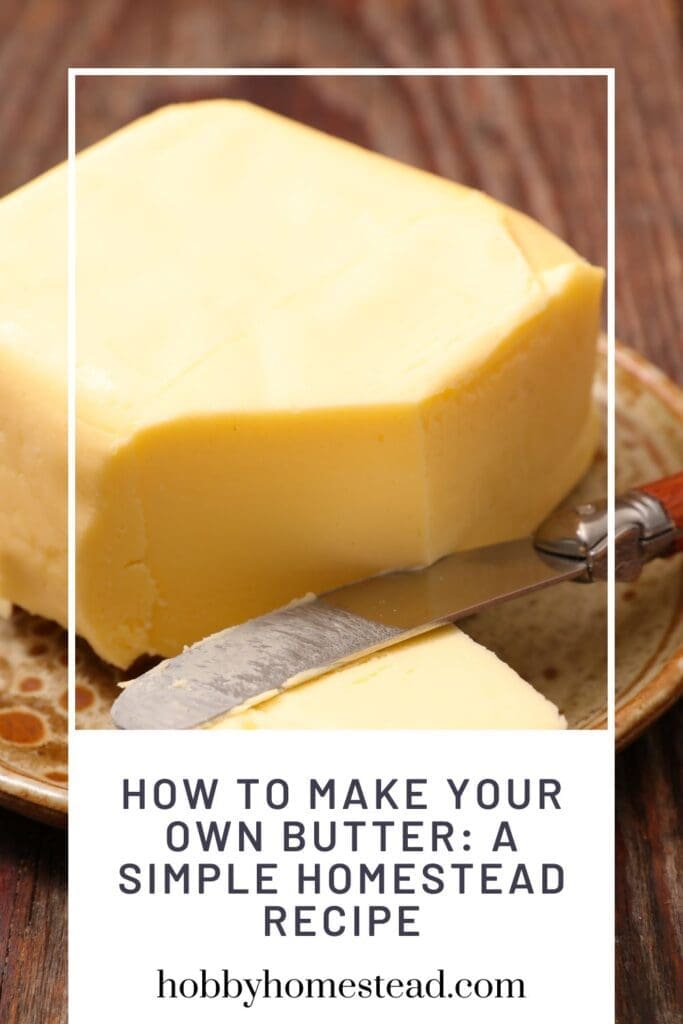
Learn how easy it is to make your own butter.
Making butter at home is not only a rewarding experience but also a simple way to connect with traditional homesteading practices.
If you’ve ever wanted to savor fresh, creamy butter made from scratch, you’re in for a treat. With just a few basic ingredients and modern tools like a food processor or hand mixer, you can whip up a delicious butter that tastes far better than anything you’d buy at the grocery store.
Goat Milk vs Cow Milk
When I was growing up, we made butter from goat milk. A cream separator is key with goat milk. After I married a cow dairy farmer, I made butter from cow’s milk.
They produce a lot more cream and all I did was use a sterilized glass gallon jar and fill it with milk from our bulk tank. Let it sit overnight in the refrigerator and skim the cream off the top in the morning. I was ready to make butter.
Truth be told, I like the taste of cow milk better.
If you don’t have dairy animals on your homestead, no worries. You can purchase heavy whipping cream at your local grocery store.
Quick and Easy Butter Recipe
This easy homemade butter recipe is perfect for anyone looking to enjoy the richness of real dairy products made right in their kitchen.
Whether you’re using heavy whipping cream or experimenting with raw milk from your homestead, the whole process of making butter is surprisingly quick.
Plus, it’s a great way to get the family involved in the kitchen. Especially if you’re teaching kids about food science and where their favorite dairy products come from. Let’s dive into this fun activity and start making your own butter at home.

How to Make Your Own Butter: A Simple Homestead Recipe
As an Amazon Associate I earn from qualifying purchases.
Equipment

Ingredients
- 2 Cups Heavy Whipping Cream room temperature
- A pinch of salt optional
- Cold water for rinsing
Instructions
- Pour the heavy whipping cream into the large bowl of your stand mixer, using the whisk attachment or a hand mixer.2 Cups Heavy Whipping Cream
- Beat the cream on medium-high speed until it thickens and reaches the whipped cream stage (soft peaks).
- Continue mixing until the cream breaks and separates into butter solids and liquid buttermilk.
- Strain the mixture using a fine mesh sieve or clean bowl to remove the excess liquid (buttermilk). Set the liquid buttermilk aside for later use.
- Place the butter solids in a large mixing bowl and pour cold running water over them. Gently press the butter with a spoon to remove the remaining buttermilk. Continue rinsing under cold water until the water runs clear. Optionally, you can also dunk the ball of butter in an ice water bath and squeeze the buttermilk out of the butter. Switch out the ice water 3-4 times.Cold water for rinsing
- Knead in a pinch of salt for flavor or leave it as unsalted butter.A pinch of salt
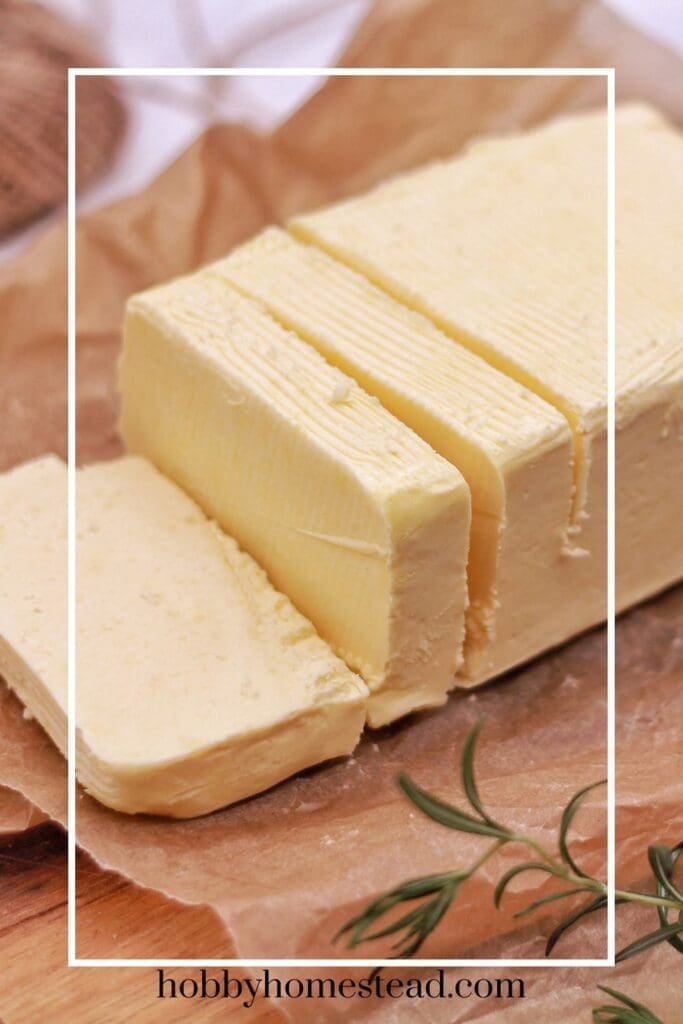
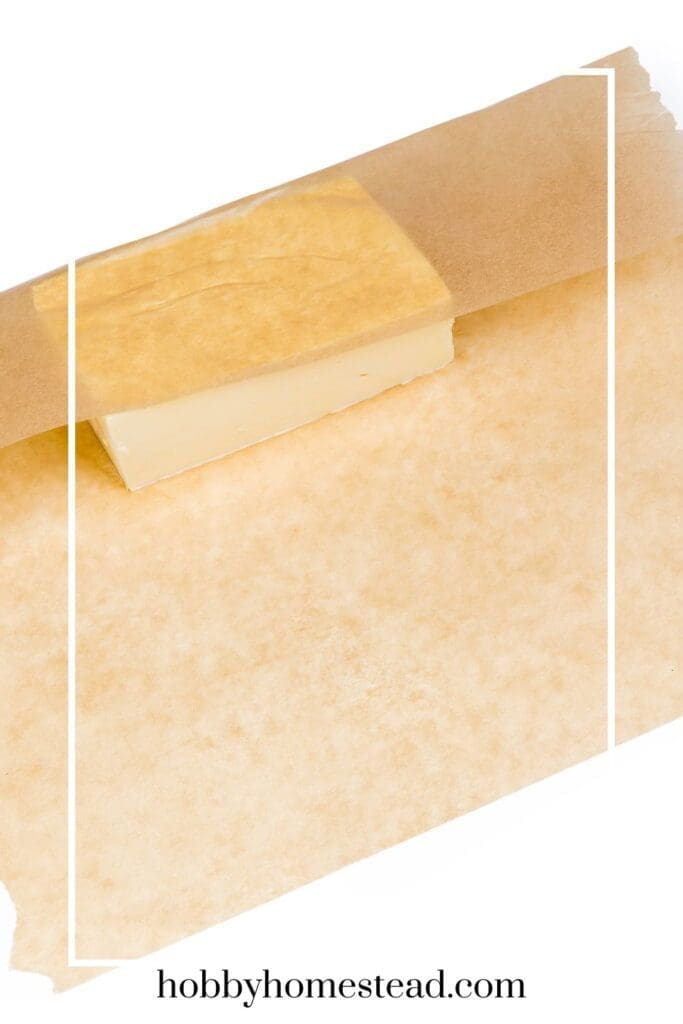
- Shape the butter into a block, wrap it in plastic wrap, and store it in an airtight container or mason jar for later use.
Nutrition
How to Store Homemade Butter
Once your butter is ready, you can store it in an airtight container in the fridge for up to two weeks. If you want to store it longer, wrap the butter in parchment paper or plastic wrap and freeze it in a freezer bag. For a softer texture, keep the butter at room temperature for a short time before use.
Recipe Variations
Unsalted Butter. Follow the recipe as is without adding salt for a classic unsalted butter that works great in baking.
Compound Butter. Mix in herbs, garlic, or vanilla extract to make flavored butter for special occasions or to add a delicious flavor to your meals.
Raw Milk Butter. If you have access to raw milk, try making butter from fresh, unpasteurized cream for a real treat.
Make Your Own Butter Additional Tips
Cold Water Rinse. Rinsing the butter in cold water ensures that any residual buttermilk is removed. It helps the butter last longer without spoiling.
Leftover Buttermilk. Save the liquid buttermilk for baking or cooking. It adds a tangy flavor to pancakes, biscuits, or even salad dressings.
Different Ways to Make Butter. You can also make butter using a mason jar, by shaking the cream vigorously, or use a food processor for an easy way to achieve the same result.
Modern Technology. Butter churns were used in the Middle Ages. Today’s tools like a food processor, hand mixer, or stand mixer make the process much quicker and easier.
Making your own homemade butter is a fun, rewarding activity that brings a taste of homesteading into your kitchen. Plus, it’s a great skill level for beginners and experts alike.
How would you get the heavy cream if you use raw cow’s milk or goat’s milk?
If you’re using raw cow’s or goat’s milk to make homemade butter, you’ll first need to separate the cream from the milk. Here’s how you can do that.
Steps to Get Heavy Cream from Raw Milk
Let the Milk Sit. Pour your raw milk into a large, clean container, such as a wide-mouthed glass jar or bowl. Place it in the refrigerator and allow it to sit undisturbed for 12-24 hours. During this time, the cream will naturally rise to the top of the milk because it’s less dense than the milk itself.
Skim the Cream. Once the cream has risen, you’ll notice a thick layer at the top of the jar—this is your cream! Use a spoon or a special cream skimmer to carefully skim the cream off the top of the milk. You’ll want to be gentle to avoid scooping up too much of the milk underneath.
Use the Cream. After skimming, the cream is ready to be used in your butter-making process. The amount of cream you get will vary depending on the fat content of your raw mil. Typically ranges between 1-2 cups of cream per gallon of milk.
Store the Remaining Milk. The milk left behind is now lower in fat and can be used as skim milk for drinking, baking, or other purposes.
Note: Cow’s milk typically produces more cream than goat’s milk. Gats’ milk is naturally homogenized, meaning the fat molecules are smaller and don’t separate as easily.
To separate cream from goat’s milk, you may need a cream separator. It’s a simple piece of equipment designed to mechanically separate cream from milk.
This process connects back to traditional homesteading practices. Allowing you to enjoy fresh butter while making use of the dairy products from your own animals.


This worked exactly as written, thanks!