Last updated on March 3rd, 2026 at 09:10 am
When I was a young child, I had my first experience learning to navigate in the wilderness. On our farm, we’ve spent countless hours exploring the woods with our family, marking trails, and teaching them how to find their way without relying on technology.
Navigating the wilderness is one of those skills that seems mysterious at first, but once you know the basics, it becomes empowering and even fun.
Those moments taught me that wilderness navigation is not just a survival skill, it’s also a wonderful way to connect with the land and pass down practical knowledge to the next generation.
Whether you’re creating trails on your property, leading kids on a camping trip, or simply wanting to be prepared for emergencies, this guide will help you master navigation in a safe, family-friendly way.
Why Learn Wilderness Navigation?
Even on familiar land, being able to orient yourself is invaluable. Cell phones and GPS devices can fail due to dead batteries, no signal, or harsh weather. Having the ability to find your way using maps, compasses, and natural landmarks ensures that you and your family stay safe in the great outdoors.
On our farm, kids often explore the back acreage. Early on, we marked simple trails with ribbon and natural markers. It quickly became clear how much they enjoyed learning to read the land and use a compass, giving them confidence and a sense of independence.
Learning navigation also supports land management, trail creation, orienteering, and safety for backwoods activities. Teaching these skills early helps children develop spatial awareness, patience, and problem-solving abilities. All while enjoying the wilderness.
Quick Look: Wilderness Navigation Essentials
1. Stay Oriented
- Use a compass to take bearings and follow a direction of travel.
- Orient your map to true north before heading out.
2. Read the Map
- Understand contour lines (steep vs. flat).
- Learn map symbols for trails, rivers, and landmarks.
- Check scale to estimate distances.
3. Natural Navigation Tips
- Sun rises in the east, sets in the west.
- Track shadows with a stick to create a rough east-west line.
- Observe terrain, rivers, and valleys for direction cues.
- Moss alone isn’t a reliable guide. Use multiple indicators.
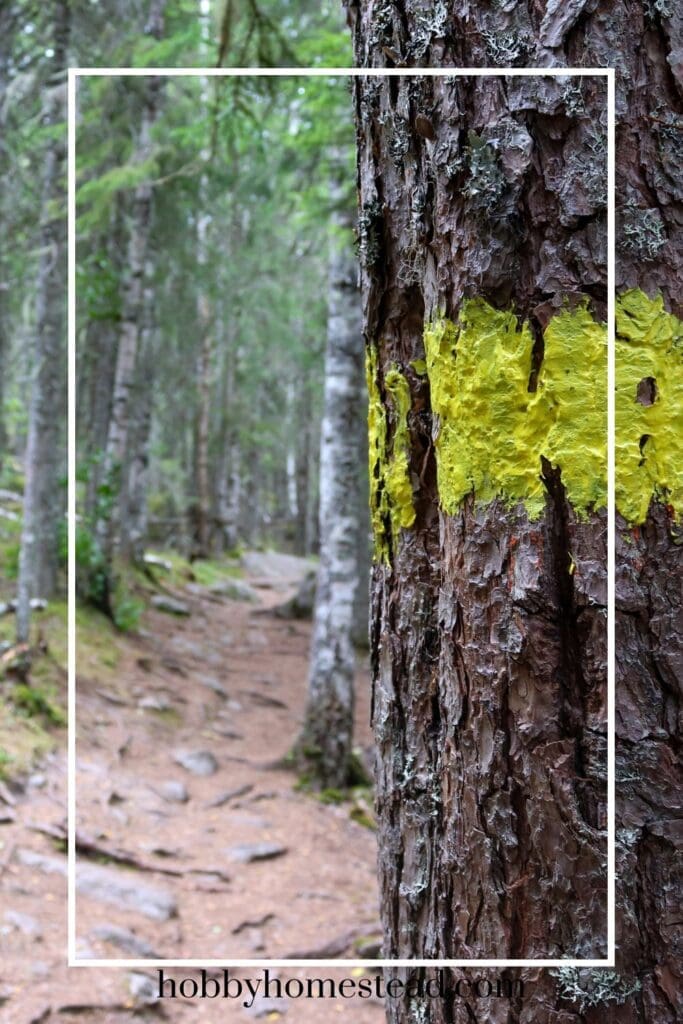
4. Trail Marking & Property Navigation
- Use natural markers (rocks, logs, unique trees).
- Low-impact ribbons or colored tape help beginners follow trails.
- Refresh markers seasonally; document trails on paper or GPS.
5. Family & Kid-Friendly Activities
- Compass scavenger hunts
- Shadow tracking exercises
- Map-drawing hikes
- Landmark relay games
6. Lost in the Wilderness? Remember S.T.O.P.
- S – Stop
- T – Think
- O – Observe
- P – Plan
7. Essential Gear to Carry
- Compass & map
- Whistle & reflective tape
- Emergency blanket
- Pencil & paper
- Optional: GPS backup
8. Safety Reminders
- Always check bearings and landmarks regularly.
- Practice on familiar land before heading farther.
- Teach kids to stay calm and slow down. Navigation is observation + patience.
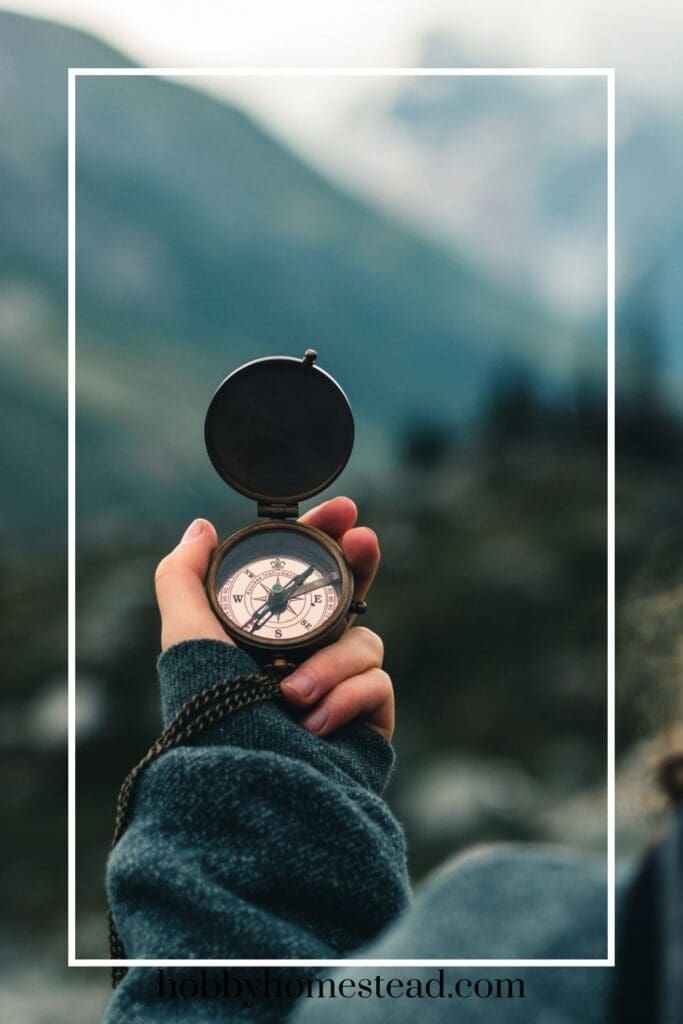
Using a Compass
A compass is one of the most reliable tools for wilderness navigation. Even if you know your surroundings, a compass keeps you oriented when trails become confusing or landmarks look different from memory.
Key Steps for Beginners
- Understand the parts. Baseplate, direction of travel arrow, rotating bezel, and magnetic needle.
- Orient the map. Place your compass on the map and align the needle with true north.
- Take a bearing. Point the direction-of-travel arrow at your destination, rotate the bezel to match the needle, then follow the arrow.
- Practice. Walk short distances on your property or a local trail while following a compass bearing. Stop every 50–100 feet to recheck direction.
On our farm, I remember one afternoon teaching my youngest how to take a bearing to a hidden landmark. It was slow at first. She kept turning the bezel the wrong way. But by the third try, she confidently led us straight to the old oak tree. That moment highlighted how practice and patience make navigation accessible for all ages.
Pro Tip. Always double-check your bearings if you’re moving through dense woods or uneven terrain. Small mistakes can add up quickly.
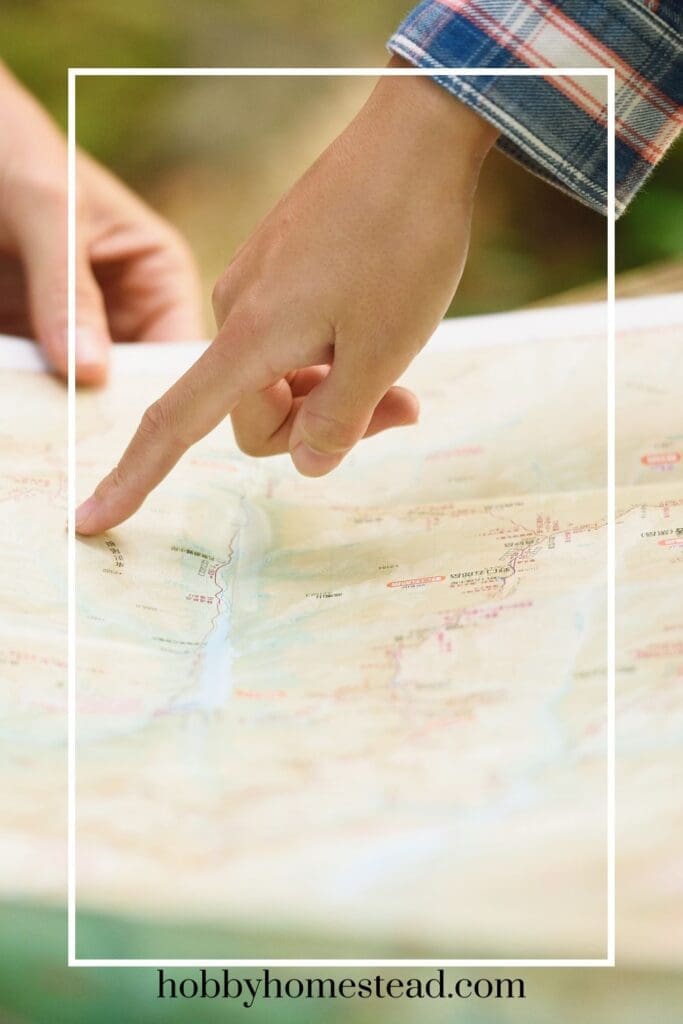
Reading a Map & Topographic Basics
Maps complement the compass by providing context and details about the terrain. Topographic maps are especially useful, showing elevation, rivers, trails, and other key features.
How to Use a Map Effectively
- Understand contour lines. Close lines indicate steep terrain, widely spaced lines show flatter areas.
- Learn symbols. Identify rivers, trails, roads, and other natural landmarks.
- Check the scale. Know how distance on the map translates to real-world distance.
Practice Idea: Take your kids on “map hunts,” where they try to find a hill, stream, or large rock formation using only a printed map. Not only does this teach navigation, it also encourages observation and attention to detail. Skills that are valuable for both survival and land stewardship.
Navigating Without a Compass or Technology
Sometimes, you won’t have a compass or GPS. Nature provides subtle clues to help you find your way.
- The Sun. The sun rises in the east and sets in the west. Observing its position at different times of day can help you estimate direction.
- Shadows. A stick planted in the ground can be used to track the sun’s movement. Mark the tip of the shadow every 15–20 minutes to create a rough east-west line.
- Vegetation and Landforms. Moss on trees is often thought to indicate north, but this is unreliable. Instead, use valleys, ridges, and water flow as orientation guides. Rivers generally flow from higher to lower elevations. Following a stream downstream often leads to roads or human settlements.
- Stars at Night. If you know the constellations, the North Star is a consistent indicator of true north in the Northern Hemisphere.
We’ve used these techniques on family hikes when the trail markers were covered by snow or leaves. Even the youngest kids were excited to use shadows and the sun to orient themselves. It’s amazing how intuitive nature navigation becomes with a little practice.
Family & Kid-Friendly Orienteering Activities
Teaching children to navigate can be both educational and fun. Some activities to try on your property or during camping trips.
- Scavenger Compass Hunt. Give kids a compass and a list of landmarks to find on your homestead.
- Trail Marking Challenge. Mark a short trail with natural markers or ribbons. Let kids try to navigate it using a map.
- Shadow Lines. Have children use sticks to track shadows and determine approximate cardinal directions.
- Landmark Relay. Kids take turns describing landmarks and giving directions to others, encouraging teamwork and spatial awareness.
These activities build confidence and make wilderness skills memorable. All while reinforcing safety and observation skills.
Marking Trails and Property on Land
Creating safe, easy-to-follow trails on your property is not only fun but practical. Here’s how to do it effectively.
- Use natural markers. Rocks, logs, and unique trees can guide hikers or children along a trail.
- Low-impact ribbon markers. Bright, biodegradable ribbons help beginners find their way without permanently altering the land.
- Seasonal Considerations. Snow, rain, and leaf cover can obscure markers. Check trails regularly and refresh markers as needed.
- Documentation. Keep a simple hand-drawn map or GPS track as a backup. It can help teach kids about recording information while exploring.
On our land, I often pair a short hike with kids’ map-drawing exercises. They enjoy tracking where they’ve been, and it helps them internalize directions for future outings.
What to Do If You Get Lost
Even experienced hikers sometimes lose their bearings. Teaching a simple, calm method can save lives:
S.T.O.P. Method
- S – Stop. Pause to avoid panic and assess the situation.
- T – Think. Review your last known location and the direction you came from.
- O – Observe. Look for landmarks, sun position, sounds, and signs of water or roads.
- P – Plan. Decide whether to stay put or move toward a safe location. Always mark your path if you move.
Signal for help if necessary. Whistles, mirrors, and bright-colored clothing can attract attention without putting you at risk. Teaching children this method helps them stay calm and think clearly in unfamiliar surroundings.
Optional Tips & Level-Up Ideas
- Keep a Small Navigation Kit. Compass, map, whistle, emergency blanket, reflective tape, and a pencil for marking your map.
- Practice Often. Frequent short hikes or backyard orienteering drills help everyone gain confidence.
- Combine Skills. Use both map/compass and natural navigation methods. Redundancy improves safety.
- Teach Patience. Navigation is as much about observation and patience as tools. Encourage kids to slow down and notice the terrain.
Final Thoughts
Wilderness navigation is more than just a survival skill. It’s a way to connect with your land, teach children valuable lessons, and feel confident exploring even when technology fails.
By combining compasses, maps, natural cues, and fun family exercises, you can create a learning experience that’s practical, memorable, and enjoyable for all ages.
On our farm, every hike, compass hunt, and trail-marking exercise has turned into a teaching moment, showing that navigation skills aren’t just for emergencies. They’re a life skill that enriches every outdoor adventure.