Last updated on August 10th, 2024 at 12:23 pm
Learn how to use the double digging method to till a garden by hand. This method may be laborious and time consuming, but it does get the job done effectively. It is also great for people that have small gardens planned or do not have access to a rototiller or garden tractor.
I decided to give double digging my garden a try because I got sick of waiting on a tiller. My thought was, people dug gardens and even entire fields before the use of plows and beasts of burden. How hard could it be?
The answer is: pretty hard. However, there are two saving graces to this method. 1) it’s best for use in small spaces and 2) you don’t need any equipment other than a shovel and hand cultivator. Your hands also do a great job of breaking up larger clumps of soil.

How to till a garden with the double digging method.
With the double digging method, you are basically using your shovel the same way a plow turns the soil over. Then you break up the soil using a cultivator, your hands, or other garden tools you like. It is best to do this method the day after a rainfall so the soil is easier to work with. You could also moisten the area with a garden hose.
Step 1. Mow or kill the grass and weeds off the area. This process may take several days if you decide to use an herbicide. You could also dig off the topsoil layer, but I find you loose organic matter and nutrients when doing this.
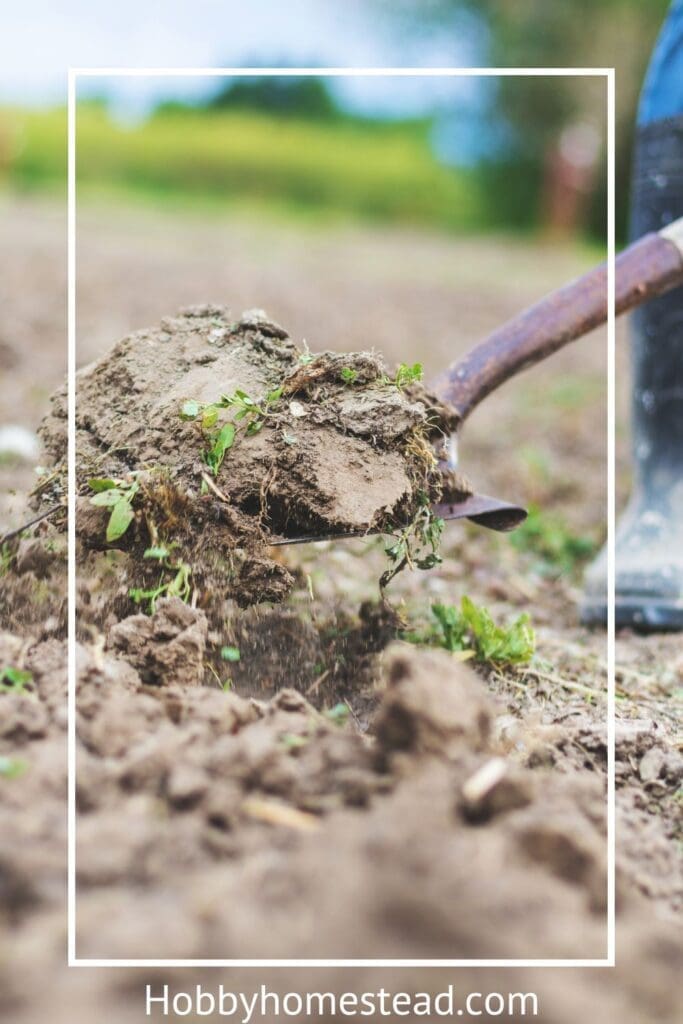
Step 2. Using a standard spade shovel, dig out a row of soil, placing the soil alongside the row on the starting end of your garden. Work this row across the length of your garden. You will want to do this in slices or small chunks at a time, as deep as the shovel, about 8 inches. Again, place the removed soil on the side of the row that is on the “outside” of your garden or space or in the opposite direction you plan to go for your next row.
Step 3. Place any compost material you desire in the furrow and mix it into the “subsoil.”
Step 4. Dig your second row parallel to your first and place the soil from that row into the furrow, or ditch, of your first row. Just flip the soil over into the first dug out ditch/row.
Step 5. Repeat this process across your entire space, working the dirt from one row into the previous row’s furrow. This is done in parallel lines/rows across your garden.
Step 6. Place the starting soil into the last furrow, if desired.
Step 7. Use your shovel to break up the soil into large clumps.
Step 8. Break up the soil into the fine consistency you desire by using a hand cultivator. A hand cultivator is the one with a handle and three tines, similar in look to a rake. I suggest using a metal one with a long handle. You could also add more compost material to the top at this time to mix it into the topsoil.
Once your soil is broken up the way you like it, you are all set to plant your seeds!
My results and tips for success:
I found that it was difficult to break into the ground at first. I was shoveling too much dirt at a time. You’re better off taking smaller slices of soil instead and almost working walking backwards.
When breaking into your first row, you could place your soil into a wheelbarrow or bucket to make it easier to transport it to fill in your last furrow.
It was also very difficult to keep a straight line, so string or marking of some sort would be helpful.
This method also takes a great deal more time than tilling with a piece of equipment. I found it took me almost quadruple the amount of time it took the rototiller attachment on our tractor.
The double digging method is also great for reducing soil compaction as compared to traditional tilling methods.
You can see a video of us starting our garden using the double digging method.
How to Till a Garden by Hand: the Double Digging Method
As an Amazon Associate I earn from qualifying purchases.
Equipment


Materials
- Appropriate clothing for outside work
Instructions
- Step 1. Mow or kill the grass and weeds off the area. This process may take several days if you decide to use an herbicide. You could also dig off the topsoil layer, but I find you loose organic matter and nutrients when doing this.
- Step 2. Using a standard spade shovel, dig out a row of soil, placing the soil alongside the row on the starting end of your garden. Work this row across the length of your garden. You will want to do this in slices or small chunks at a time, as deep as the shovel, about 8 inches. Again, place the removed soil on the side of the row that is on the “outside” of your garden or space or in the opposite direction you plan to go for your next row.
- Step 3. Place any compost material you desire in the furrow and mix it into the “subsoil.”
- Step 4. Dig your second row parallel to your first and place the soil from that row into the furrow, or ditch, of your first row. Just flip the soil over into the first dug out ditch/row.
- Step 5. Repeat this process across your entire space, working the dirt from one row into the previous row’s furrow. This is done in parallel lines/rows across your garden.
- Step 6. Place the starting soil into the last furrow, if desired.
- Step 7. Use your shovel to break up the soil into large clumps.
- Step 8. Break up the soil into the fine consistency you desire by using a hand cultivator. A hand cultivator is the one with a handle and three tines, similar in look to a rake. I suggest using a metal one with a long handle. You could also add more compost material to the top at this time to mix it into the topsoil.


Thank you for sharing these tips.
Thanks for all the great information.