On our homestead, roasted garlic is a kitchen staple. We spread it on homemade bread, mix it into mashed potatoes, or stir it into soups and sauces for that deep, earthy flavor only slow roasting can deliver.
If you’ve ever grown your own garlic or picked up a bundle from the farmers market, roasting it is one of the best ways to bring out its rich, mellow sweetness.
Easy Roasted Garlic Recipe
What I love most is how simple this recipe is. Just garlic, olive oil, and a bit of time in the oven. No fuss, just wholesome flavor.
Roasted garlic becomes sweet, buttery, and mellow. Nothing like its raw counterpart. Spread it on fresh bread, mix it into mashed potatoes, stir it into soups, or swap it in for regular garlic in your favorite recipes. It’s a great way to stretch your grocery budget and elevate everyday meals using ingredients you likely already have on hand.
Roasted garlic keeps well too, making it a great way to preserve a garlic harvest or prep ahead for busy days. Whether you’re cooking for the family or adding flavor to your from-scratch recipes, this is one little trick every homestead kitchen should know.
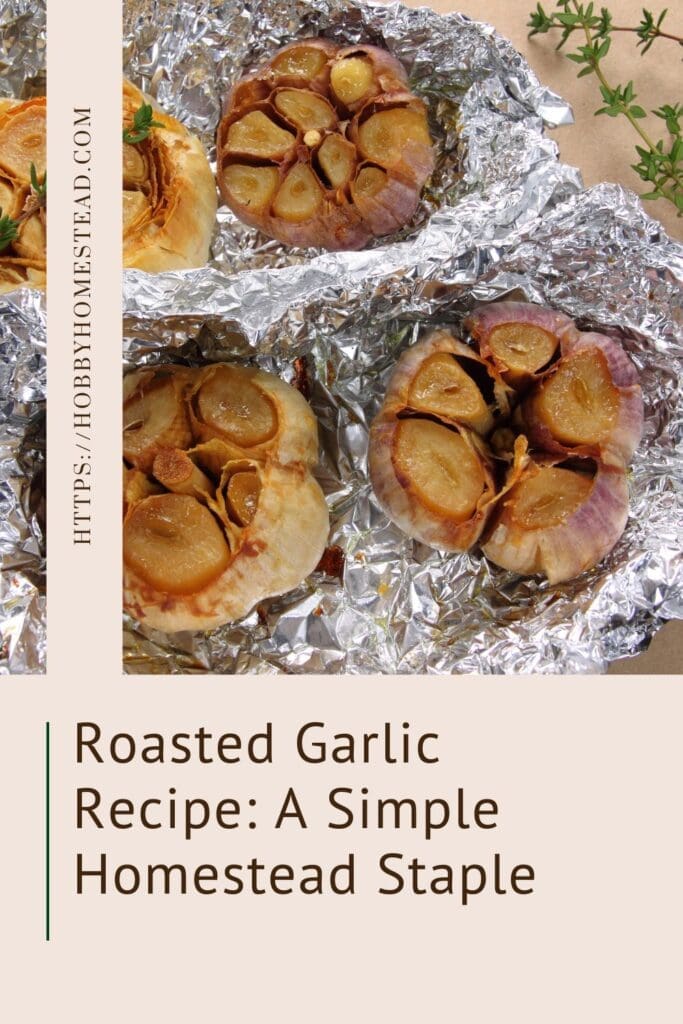
Roasted Garlic Recipe: A Simple Homestead Staple
As an Amazon Associate I earn from qualifying purchases.
Equipment
Ingredients
- 1 Large Head of Garlic or more whole heads of garlic (or even elephant garlic for a milder flavor)
- 1 Teaspoon Extra Virgin Olive Oil or your favorite oil
- A pinch of salt optional
Instructions
- Preheat oven to 400°F (200°C). Line a small baking dish or ramekin with foil or parchment paper.
- Prepare the garlic. Peel off the loose outer layers of the garlic bulb, but keep the head intact.1 Large Head of Garlic
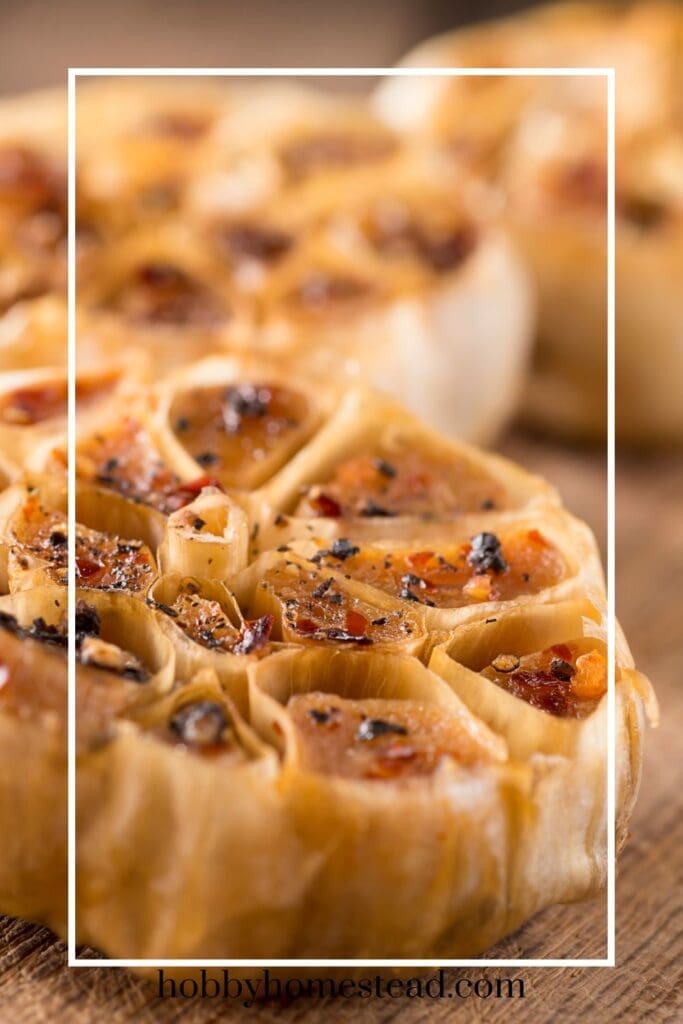
- Slice about ¼ inch off the top of the bulb to expose the tops of the cloves.
- Drizzle with oil. Place the bulb cut-side up on the prepared dish. Drizzle with olive oil, letting it soak into the cloves. Add a pinch of salt if desired.1 Teaspoon Extra Virgin Olive Oil, A pinch of salt
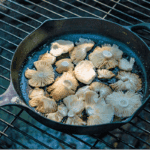
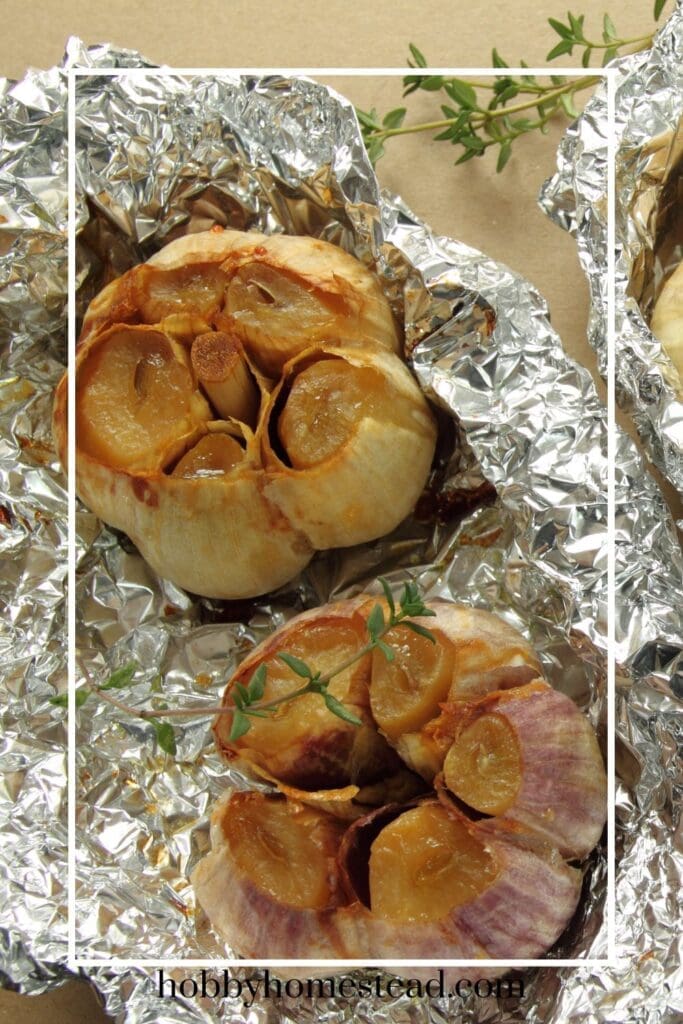
- Cover and roast. Wrap the bulb in foil or cover with a small inverted bowl to keep it moist.
- Roast in the oven for 40–45 minutes, or until the cloves are soft and golden brown.
- Cool and use. Let the garlic cool slightly, then squeeze the cloves out of their skins. Use immediately or store.
Nutrition
How to Store Roasted Garlic
- Refrigerator. Store in an airtight container for up to 2 weeks. Submerge in olive oil for best freshness.
- Freezer. Mash the cloves and freeze in small portions (ice cube trays work well) for up to 3 months.
Homestead Tips & Serving Ideas
- Spread on bread. Mix with your homemade butter for the ultimate garlic toast.
- Mash into potatoes or mix with roasted vegetables.
- Add to soups, sauces, and salad dressings for flavor without the bite.
- Combine with homemade mayonnaise for an easy garlic aioli.
Can you substitute roasted garlic for raw garlic?
Yes! Roasted garlic has a sweeter, milder flavor than raw garlic and can be substituted in most recipes. It works especially well in mashed potatoes, soups, sauces, and spreads.
Can you use melted butter instead of olive oil?
Yes, melted butter can be used to coat the garlic bulbs before roasting. It adds a rich, buttery flavor but has a lower smoke point than olive oil, so keep an eye on it if roasting at higher temps.
How long does roasted garlic last?
Store roasted garlic in an airtight container in the fridge for up to 5 days, or freeze in small portions (like in an ice cube tray) for up to 3 months.
What can you use roasted garlic for?
Spread on toast, mix into mashed potatoes, add to pasta dishes, stir into soups, or blend into salad dressings, dips, or compound butter.
Can you roast peeled garlic cloves instead of whole heads?
Absolutely. Toss peeled cloves in oil or butter, wrap in foil or place in a baking dish, and roast until soft and golden.
Roasting garlic is one of those small, satisfying kitchen skills that pays off big in flavor. If you’ve ever wondered how to take your meals from good to unforgettable, the answer might just be a head of garlic and a hot oven.
Whether you’re roasting garlic to preserve for later or adding rich, homemade flavor to tonight’s dinner, this from-scratch method fits perfectly into any homestead kitchen routine.

My family loved this!