Last updated on April 25th, 2025 at 09:56 am
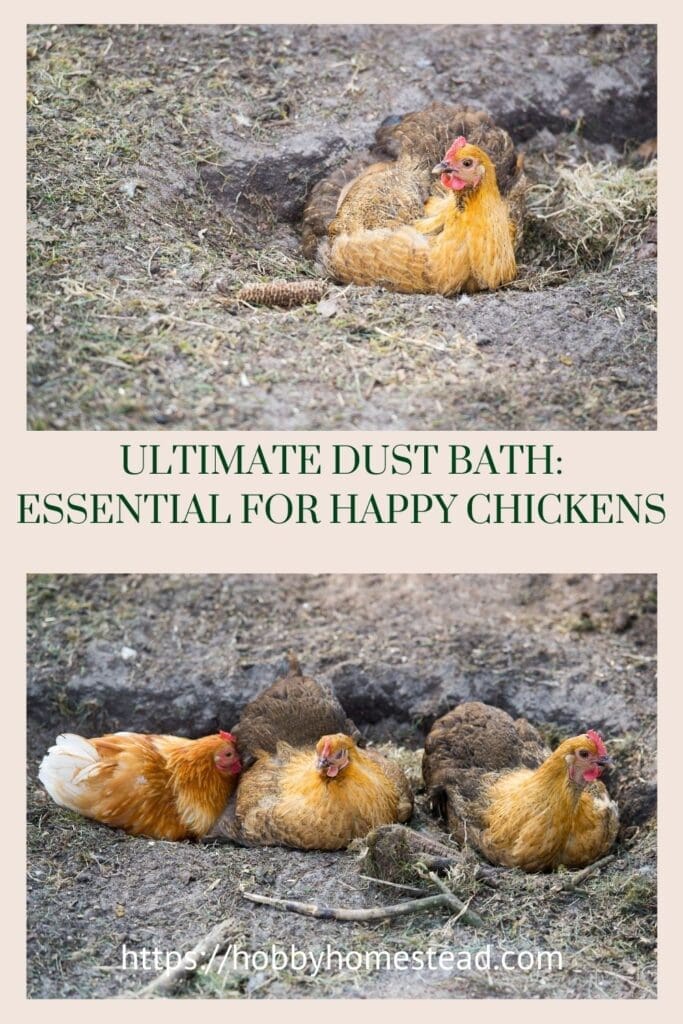
Why do your backyard chickens need a dust bath? If you’ve ever seen your hens flopping around in a cloud of dust, you might wonder what all the fuss is about.
But for chickens, dust bathing is more than just fun—it’s a critical component of their daily preening process. It helps them maintain healthy chickens’ skin, ward off parasites, and bond with flockmates through a communal activity that brings joy and health benefits alike.
Whether you’re raising baby chicks, managing free-ranging hens, or running a cozy backyard coop, a well-designed chicken dust bath setup is a great addition to any chicken run or chicken pen.
Why Dust Baths Are So Important
The act of dust bathing is chickens’ natural way to clean themselves. Instead of using water, chickens roll in loose dirt, fine sand, and other dry materials to clean their feathers, remove excess oils of their feather shafts, and suffocate external parasites like lice and mites.
This behavior also serves as a social activity, much like gossiping over coffee.
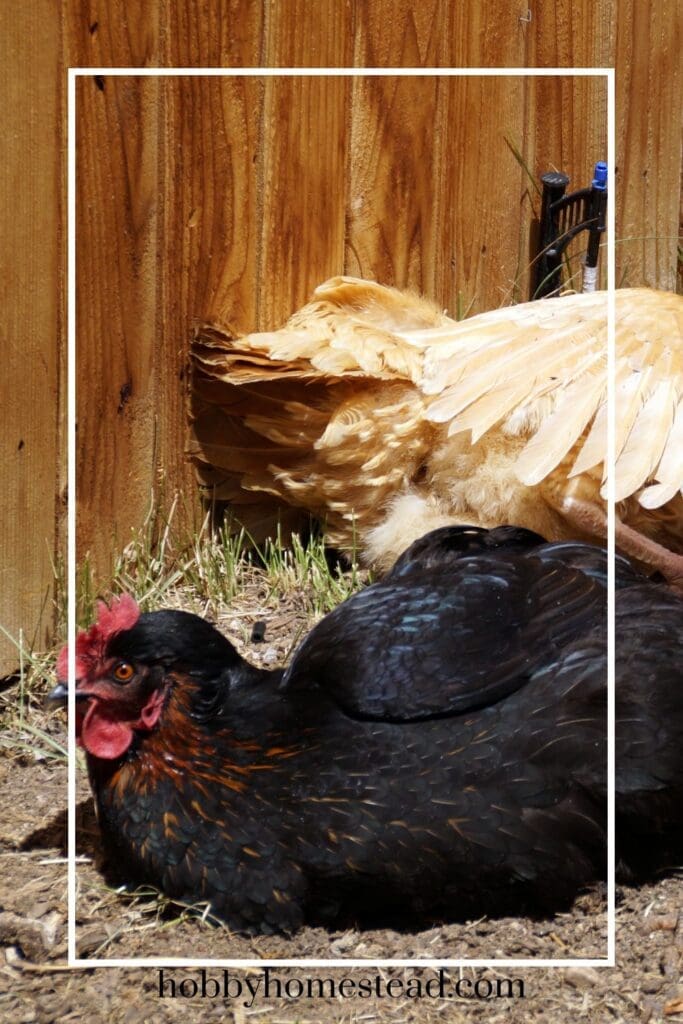
Chickens will often bathe side-by-side in their dust bath area, kicking, rolling, and preening. It’s not just adorable—it’s essential for maintaining a healthy flock.
Ultimate Dust Bath Recipe: The Best Ingredients for Healthy Chickens
Creating your own dust bath mix at home gives you full control over quality and safety. Here’s a tried-and-true dust bath recipe you can use or adapt to your flock’s needs:
🐔 DIY Dust Bath Recipe:
- 2 parts loose dirt or sandy soil (avoid clay soil)
- 1 part construction sand or builder’s sand
- 1 part wood ash or fireplace ash (free of lighter fluid or chemicals)
- ½ part peat moss (optional, helps absorb moisture)
- ¼ part food-grade diatomaceous earth (use small amounts only)
- Optional: dried herbs (lavender, mint), a sprinkle of sulfur dust, or essential oils for extra pest control
Mix thoroughly and store in a dry place until use. Rotate ingredients every couple of weeks to keep the dust bath working effectively.
🪨 Why Add Sand to a Dust Bath?
Sand—especially fine, clean sand like construction sand or multipurpose sand—is essential in creating a proper dust bath for your flock. Here’s why:
- Cleans Feathers & Skin
The gritty texture of fine sand helps remove excess oils from their feather shafts and dirt from chickens’ skin, keeping your flock clean and comfortable. - Natural Pest Control
Sand is excellent for helping to control parasites like lice and mites. When mixed with wood ash, food-grade diatomaceous earth, or even a small amount of sulfur dust, it becomes a powerful pest control solution that chickens can use on their own. - Encourages the Act of Dust Bathing
Chickens love the feel of loose dirt and sandy soil. A soft, dusty mix encourages the natural act of dust bathing, a critical component of their daily preening process. It also provides essential relaxation and helps regulate body temperature, especially during hot weather. - Prevents Caking & Compaction
Materials like peat moss and wood ash can clump when damp, but sand helps maintain a fluffy, loose texture that keeps the dust bath area inviting and effective. - Long-Lasting & Easy to Refresh
Sand doesn’t break down like some organic materials, so it stays useful for a long time. It’s easy to top off or refresh your flock’s dust bath on a regular basis with a scoop of fresh builder’s sand or construction sand.
Adding sand is a great way to improve the effectiveness and texture of your chickens’ dust bath. Just be sure to avoid lighter fluid-contaminated sand or clay soil, which can harden and make the bathing area unpleasant or unsafe for your flock.
DIY vs. Store-Bought Dust Baths
When it comes to setting up a chicken dust bath, backyard chicken keepers have two main options: making their own or buying a ready-made mix. Creating your own dust bath is a favorite among many homesteaders because it’s budget-friendly and allows you to customize the ingredients to your flock’s specific needs.
You can use materials you already have on hand—like wood ash from a wood stove or fireplace ash, fine sand, peat moss, construction sand, and food-grade diatomaceous earth in small amounts—to create a high-quality, natural mix. It’s a great addition to your coop care routine and gives you full control over what goes into your chickens’ dust bath area.
On the other hand, store-bought options like Chicken’s Choice Dust Bath are convenient and reliable. These products are carefully formulated with top quality ingredients designed to promote chicken health and help reduce parasites.
They’re easy to use—just pour into a suitably sized container, like a kiddie pool, cat litter pan, or even an old tire. However, they can be more expensive, and you don’t have as much freedom to tweak the mix or add optional ingredients like essential oils, sulfur dust, or dried herbs.
In the end, the choice depends on your priorities. If you enjoy DIY projects and want to customize for your specific backyard flock, mixing your own dust bath is rewarding and cost-effective. If time is tight or you want a ready-to-use solution, a store-bought dust bath is a solid investment in your flock’s well-being.
Choosing the Right Dust Bath Container
Your dust bath container doesn’t have to be fancy—just suitably sized, safe, and dry. Here are some ideas:
- Kiddie pool or baby pool
- Old tires or wooden boxes
- Cat litter pans
- Small animal cages
- Old apple crates
- An area of loose soil in a sunny spot
Make sure your container allows multiple chickens to bathe at once. That way, everyone gets a turn and can enjoy this essential relaxation activity.
Seasonal Considerations: Year-Round Dust Baths
Chickens need dust baths on a regular basis, even during colder months. Here’s how to adapt your setup through the seasons:
☀️ In Hot Weather:
- Choose a shaded or covered area to avoid overheating.
- Add river rock or bricks around the edge to prevent material from spreading.
- Monitor for excessive dryness or dusty air that could irritate chickens’ skin.
❄️ In Winter:
- Move the bath indoors to the enclosed coop.
- Use a small tub of dry dirt or even a cat litter pan.
- Keep it covered and dry, especially if snow or rain are frequent.
- Make sure ventilation is good to avoid humidity buildup.
A winter dust bath is vital when your flock can’t forage or free range as freely. Keeping their feathers clean supports warmth and chicken health.
Common Mistakes to Avoid
Creating a proper dust bath isn’t complicated, but some mistakes can reduce effectiveness or even cause harm. Avoid these pitfalls:
- Using clay soil or wet dirt—it clumps and doesn’t dust properly.
- Adding too much diatomaceous earth—even food-grade should be used in small amounts to avoid respiratory irritation.
- Using materials with chemicals (e.g., BBQ ash with lighter fluid or treated wood ash).
- Forgetting to refresh the bath—it needs attention like any other coop care task.
Check your dust bath area weekly, especially if your flock is free ranging. They might even choose their own spots.
When Chickens Create Their Own Dust Baths
If your hens are digging their own dust bowl areas in the garden or under bushes, take it as a sign! Chickens are good at finding what they need—but their own dust bath may be lacking ideal ingredients.
Improve their chosen spots by mixing in fine sand, wood ash, or other suitable dust bath ingredients. This keeps your hens happy while preserving your landscape.
Happy Hens Are Dusty Hens
From scratching in loose soil to flipping through construction sand, chickens know how to have a good time. But more importantly, a chicken dust bath is a critical component of their hygiene and overall well-being.
By providing a dedicated bathing area, mixing the best material, and adjusting for the seasons, you’ll support a healthy flock and enjoy watching your birds indulge in their favorite social activity.
Whether you use a baby pool, an old apple crate, or a covered area in your chicken coop, your flock will benefit from having a safe, dry, and high-quality dust bath they can rely on year-round.

