Last updated on March 3rd, 2026 at 09:10 am
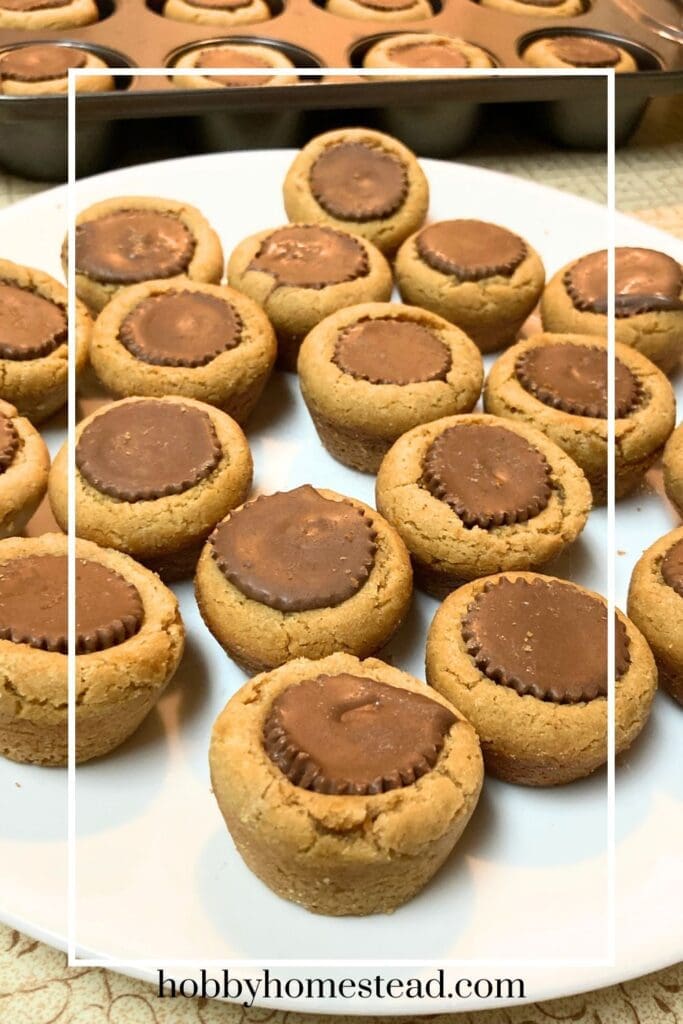
These Easy Peanut Butter Cookie Cups have been one of those treats that bring generations together. They’re soft, chewy, and filled with those nostalgic miniature peanut butter cups that seem to disappear the second the bag is opened.
Perfect for making a batch for after-school snacking, holiday cookie trays, or a cozy weekend. These little cookie cups come together with simple pantry staples and big peanut butter flavor.
I love that this recipe uses everyday ingredients most of us keep stocked. Nothing fancy, just a classic homemade cookie with a fun bite-size cup.
They’re reliable, consistent, and always a hit with kids, grandparents, and everyone in between. And they feel a bit nutritious because they have peanut butter in them.
Why We Keep Making These Peanut Butter Cookie Cups
- Simple ingredients and straightforward steps.
- Ideal for holiday cookie exchanges or gifting. Everyone loves these.
- Make-ahead friendly, freezer-friendly, and easy to store.
- A fun recipe for kids to help with pressing the chocolates in the center.
This is one of those recipes that comes together quickly, but a few small tips make a big difference for that soft, perfectly shaped cookie cup.

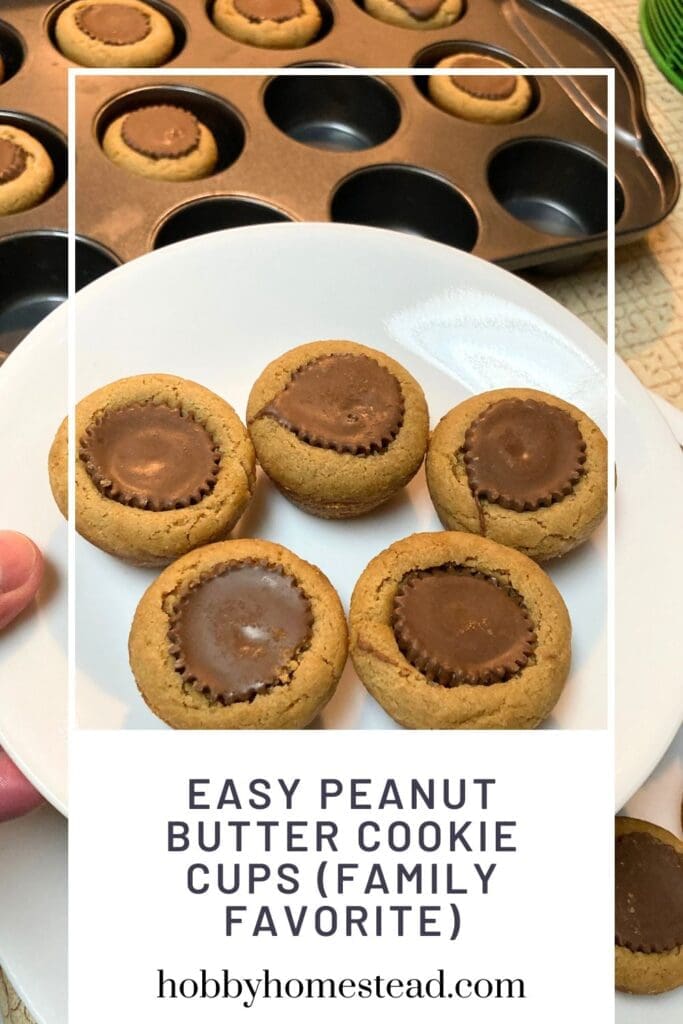
Easy Peanut Butter Cookie Cups (Family Favorite)
As an Amazon Associate I earn from qualifying purchases.
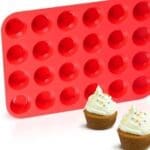
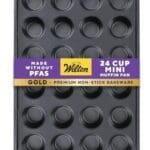
Equipment
Ingredients
- 1/2 Cup Sugar
- 1/2 Cup Brown Sugar firmly packed brown sugar
- 1/2 Cup Butter softened
- 1/2 Cup Creamy Peanut Butter
- 1 Large Egg
- 1/2 Teaspoon Vanilla Extract
- 1 1/4 Cups All-Purpose Flour
- 3/4 Teaspoon Baking Soda
- 1/4 Teaspoon Salt
- 13 Ounces Miniature Peanut Butter Cups 1 (13-ounce) package miniature peanut butter cups, unwrapped
Instructions
- Heat your oven to 350°F. Lightly spray a mini muffin pan with nonstick cooking spray and set aside.
- Make the Cookie Dough. In a mixing bowl, beat together the sugar, brown sugar, softened butter, and creamy peanut butter until smooth and creamy. Add the egg and vanilla and continue mixing.1/2 Cup Sugar, 1/2 Cup Brown Sugar, 1/2 Cup Butter, 1/2 Cup Creamy Peanut Butter, 1 Large Egg, 1/2 Teaspoon Vanilla Extract
- Add the flour, baking soda, and salt. Mix on low, just until everything comes together.1 1/4 Cups All-Purpose Flour, 3/4 Teaspoon Baking Soda, 1/4 Teaspoon Salt
- Shape and Bake. Roll the dough into 1-inch balls and place one into each muffin cup.
- Bake for 11–13 minutes. Check at 10-11 minutes to see if the tops are lightly golden, being careful not to overbake as they can become dry.
- Add the Peanut Butter Cups. Right when the cookie cups come out of the oven, gently press one miniature peanut butter cup into the center of each. They will melt slightly into the warm cookie. This is exactly what you want!13 Ounces Miniature Peanut Butter Cups
- Allow the cookie cups to cool in the pan for at least 30 minutes so they firm up.
- Use a small teaspoon to help lift them out of the pan without breaking.
Notes
Helpful Tips for Success
- Use a mini muffin pan for that signature thick, soft cookie cup shape.
- Shape evenly sized balls so the cups bake uniformly.
- Cool longer than you think. The cookie cups firm up as they rest.
- Remove gently. A teaspoon or small offset spatula works beautifully.
- Want smoother edges? Lightly press the dough into the cup before baking.
- Save Time. While the cookies are baking. Unwrap your candies while the cookies are still in the oven. It makes it easy to press the chocolate into the cookies while they’re still warm.
How Do You Know When Peanut Butter Cookie Cups Are Done?
- Peanut butter cookies can go from perfectly soft to dry and crumbly pretty quickly, so knowing when to pull them from the oven is key. These cookie cups are done when the tops look set and lightly golden, but not dark brown. The edges should look just barely firm while the centers still appear soft. They’ll finish setting as they cool in the pan.
- A good rule of thumb is to check them at the 10-minute mark. If you can gently press the top of a cookie and it springs back without sinking, they’re ready. Pulling them out a minute early is always better than leaving them in too long, especially since they continue to bake from the residual heat of the muffin tin.
Should I Sift the Dry Ingredients?
- Sifting the flour, baking soda, and salt before adding them to the wet ingredients isn’t strictly required for this recipe, but it can help make your cookie cups lighter and more tender. Sifting removes lumps, aerates the flour, and ensures that the baking soda and salt are evenly distributed.
- If you don’t sift, just be sure to mix the dry ingredients together well before adding them to the wet ingredients. Either way, your cookies will turn out soft, chewy, and delicious.
Nutrition
Variations & Fun Twists
This is a great base recipe for fun mix-ins and seasonal flavors:
- Chocolate drizzle. Drizzle melted chocolate over the cooled cookies.
- Holiday version. Use seasonal peanut butter cups or sprinkles.
- Caramel center. Swap the peanut butter cups for caramel-filled chocolates.
- Crunchy peanut butter. It adds texture if you prefer a bit of crunch.
- White chocolate cups. Delicious and beautiful for cookie trays.
Make-Ahead, Storage & Freezing
Make ahead
You can prepare the dough ahead of time and refrigerate for up to 48 hours before rolling and baking.
Storage
Store cooled cookie cups in an airtight container at room temperature for 4–5 days.
Freezing
These freeze beautifully! Place baked and cooled cookie cups in a single layer on a baking sheet for 1–2 hours, then transfer to a freezer bag. Freeze for up to 3 months.
Thaw at room temperature or warm for a few seconds in the microwave.
Can You Freeze Peanut Butter Cookie Dough?
Absolutely! This recipe freezes really well, making it perfect for holiday prep or anytime you want fresh-baked cookies on short notice. After mixing the dough, shape it into 1-inch balls and place them on a baking sheet lined with parchment paper. Freeze until solid, then transfer the cookie balls to an airtight freezer bag or container.
When you’re ready to bake, you can either bake straight from frozen, adding an extra 1–2 minutes to the baking time, or let the dough thaw in the refrigerator for a few hours before baking as usual.
Keep in mind that you’ll want to press the miniature peanut butter cups into the cookies after baking, not before freezing, so the chocolate centers stay perfect.
How can you tell when the cookie cups are done without overbaking?
Peanut butter cookie cups can dry out quickly if baked too long, so watch for visual cues rather than waiting for them to feel firm. They’re done when the tops look set and lightly golden. The edges should appear just barely firm while the centers still look soft. The cookies will continue to set as they cool in the muffin pan.
Check them at the 10-minute mark. If the top springs back gently when touched, they’re ready to come out. Pulling them a minute early is better than overbaking since the hot pan keeps baking them after they’re removed from the oven.
Why did my peanut butter cups melt too much?
If the peanut butter cups melt more than you’d like, it usually means the cookies were extremely hot or baked a little longer. The chocolate will still firm back up as the cookies cool.
Tip. To keep a more defined shape, unwrap the candies ahead of time and pop them in the fridge so they’re cold before pressing them into the warm cookies.
Why did my cookie cups stick to the pan?
Peanut butter cookie dough can cling to the sides of a mini muffin pan. Lightly greasing the pan with nonstick spray helps, and allowing the cookies to cool for at least 30 minutes makes a huge difference. Using a small teaspoon or offset spatula to gently lift each cookie cup out also helps them pop out cleanly.
What Kinds of Peanut Butter Can I Use?
For this recipe, you have several good options depending on the texture and flavor you want.
- Creamy peanut butter. The classic choice, giving soft, chewy cookie cups with a smooth peanut butter flavor.
- Crunchy peanut butter. Adds a bit of nutty texture in every bite; the dough may be slightly thicker, but the cookies will still bake beautifully.
- Natural peanut butter. Can work, but be careful: it’s often oilier and can make the dough a little looser. For best results, chill the dough slightly before shaping and baking.
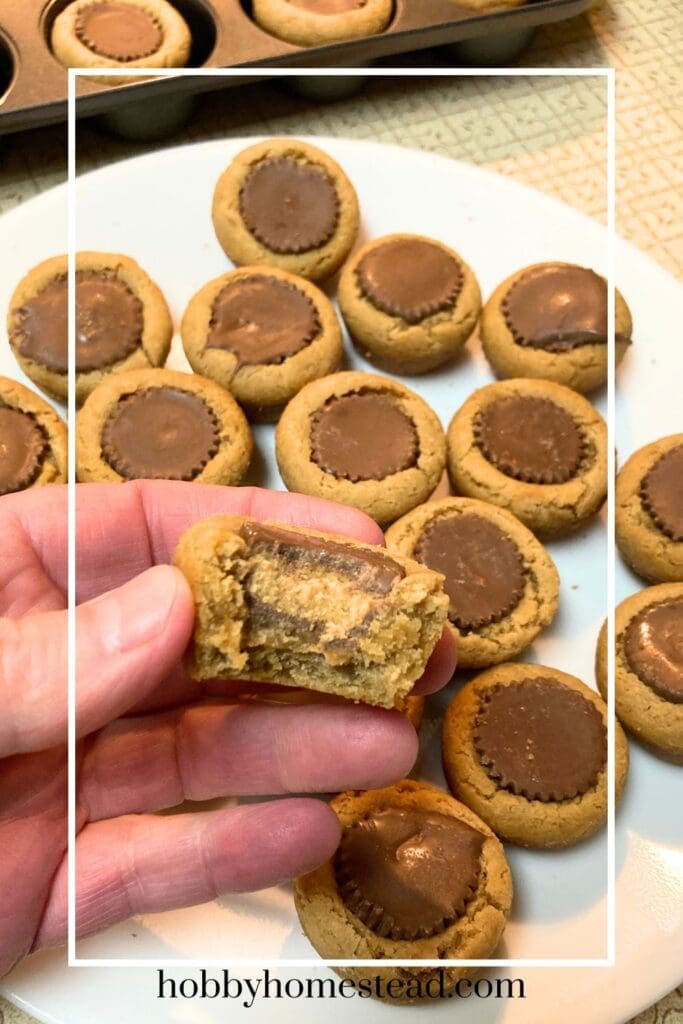
These hearty cookies are soft, chewy, and filled with miniature peanut butter cups, making them an irresistible treat for the whole family. Quick to make with simple pantry ingredients, they’re perfect for holiday baking, after-school snacks, or cozy weekends in the kitchen.
The cookies hold their shape beautifully, and kids will love helping press the chocolate centers in. A timeless, family-favorite cookie that’s sure to disappear fast.


My family loved this!