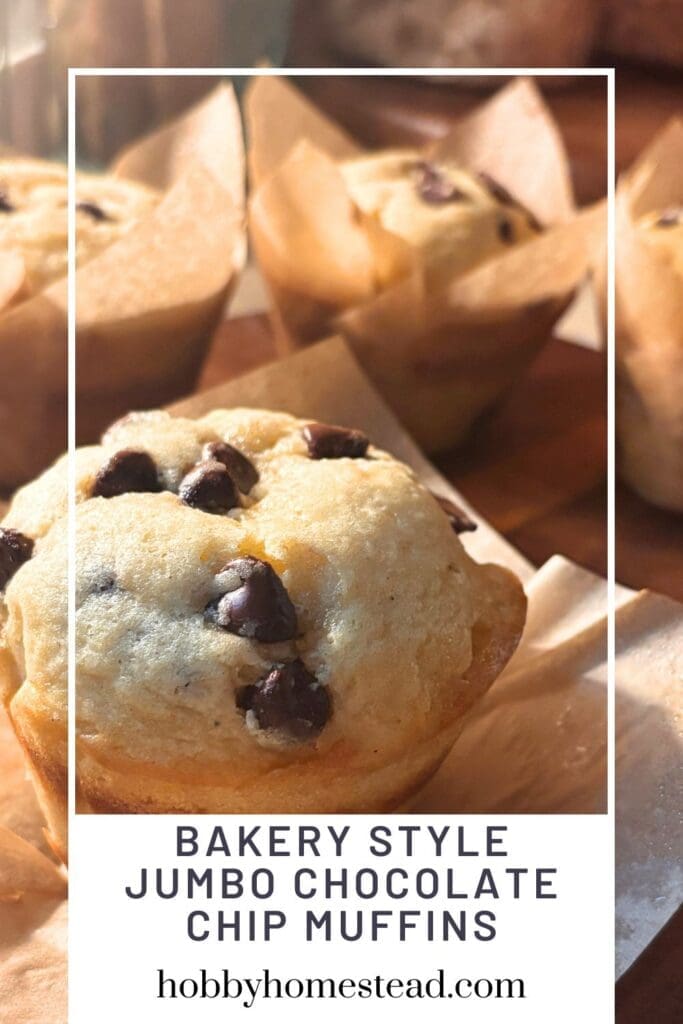
These Jumbo Chocolate Chip Muffins are soft, tender, and loaded with chocolate chips in every bite. Best of all, they’re made with simple pantry ingredients and come together quickly.
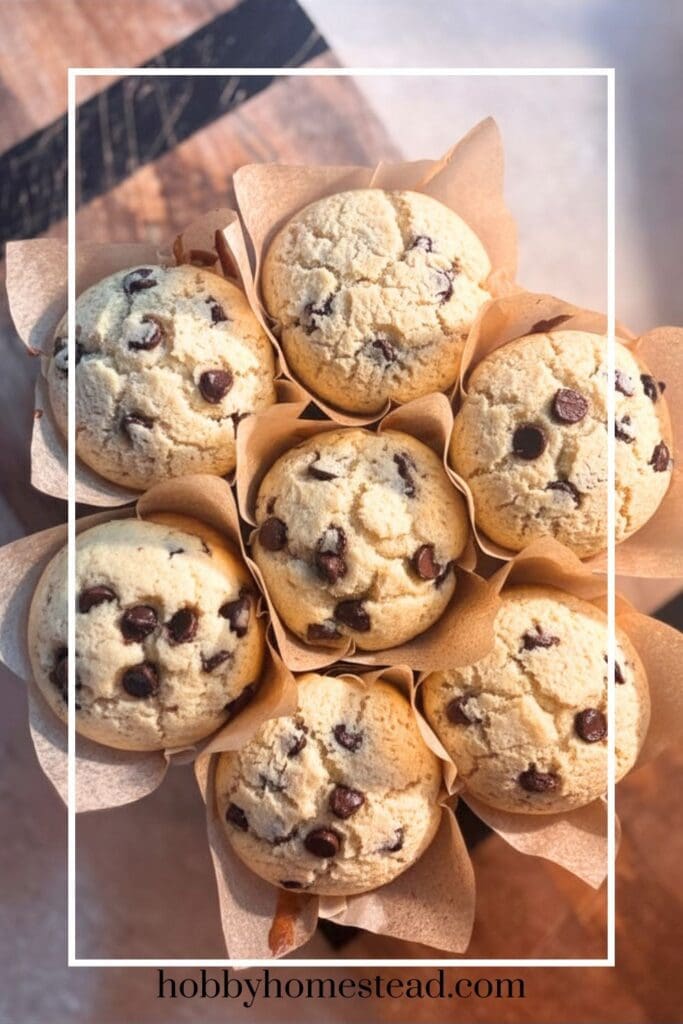
If you’ve ever admired those oversized bakery muffins with their tall, golden domes and pockets of melted chocolate, you’ll love this easy homemade version.
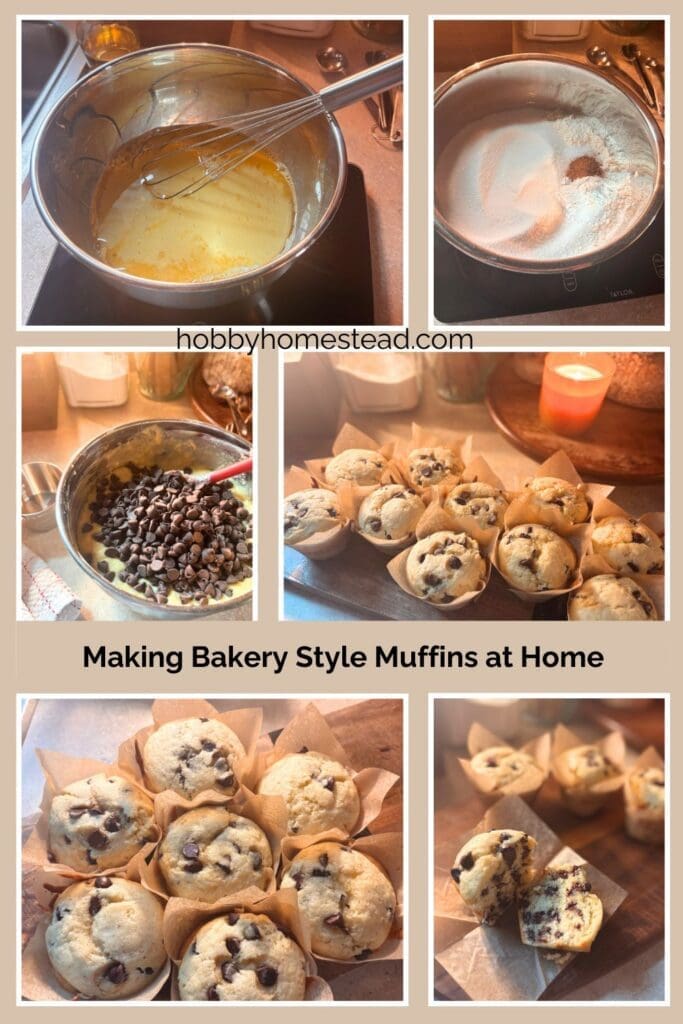
The secret to achieving those impressive bakery-style tops is starting the muffins at a higher oven temperature before lowering the heat to finish baking. This creates a quick burst of steam that helps the muffins rise beautifully while keeping the inside moist and fluffy.
Whether you’re serving them for breakfast, packing them into lunch boxes, or enjoying one with an afternoon cup of coffee, these muffins are always a crowd-pleaser. They’re large enough to satisfy a hungry appetite and freeze wonderfully for make-ahead breakfasts.
Why You’ll Love This Recipe
- Tall, bakery-style muffin tops
- Soft and fluffy texture
- Loaded with chocolate chips
- Easy to make with simple ingredients
- Perfect for breakfast, brunch, or snacks
- Freezer-friendly for meal prep
Go-To Muffins
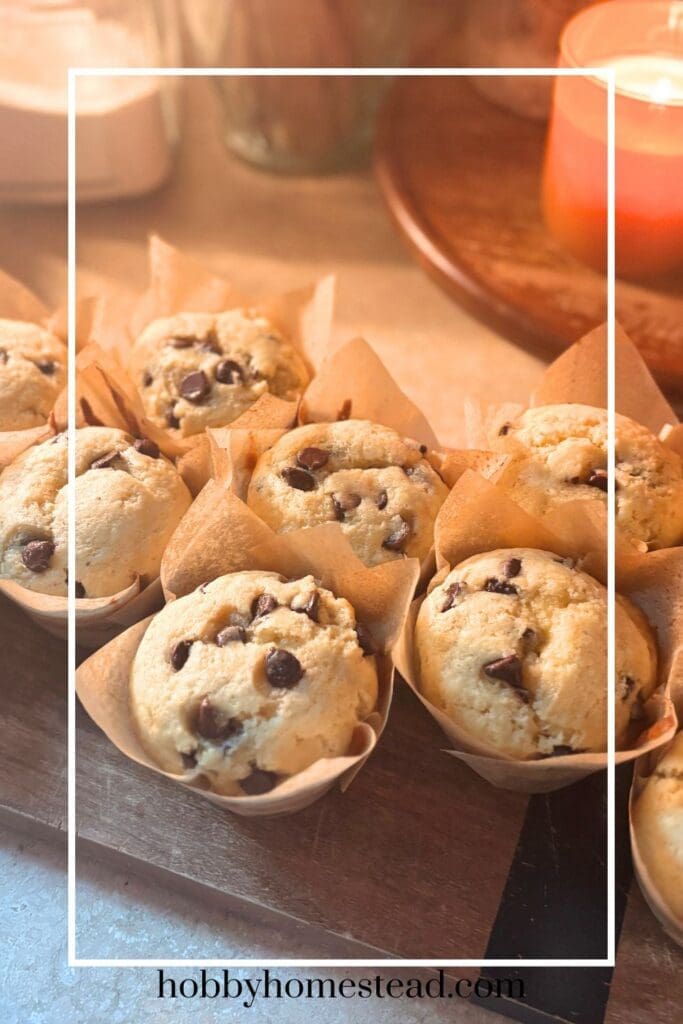
These have officially become my go-to muffins because they never fail to turn a regular morning into something special. There is just no beating that first bite while they’re still steaming and the chocolate chips are perfectly melty. While they’re delicious at room temperature, they are truly at their best served hot right out of the oven. With a little smear of butter, these become the ultimate cozy treat to enjoy while the house is still quiet.
Bakery Style Jumbo Chocolate Chip Muffins
As an Amazon Associate I earn from qualifying purchases.
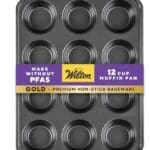
Equipment
Ingredients
- 4 Cups All-Purpose Flour (480g)
- 1 ½ Cups Granulated Sugar (300g)
- 4 Teaspoons Baking Powder
- 1 Teaspoon Salt
- ¼ Teaspoon Nutmeg or cinnamon
- 4 Large Eggs room temperature
- 1 Cup Whole Milk (240ml)
- ½ Cup Avocado Oil (118ml)
- 4 Tablespoons Unsalted Butter melted and cooled, (57g)
- 2 Teaspoons Vanilla Extract
- 2 Cups Semi-Sweet Chocolate Chips (340g)
- 6 Teaspoons Coarse Sugar sanding sugar (optional, for a crackly top)
Instructions
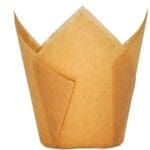
- Preheat oven to 425°F. Line jumbo muffin tins with paper liners or grease well. Tulip liners work especially well for this recipe.
- In a large mixing bowl, whisk together the flour, sugar, baking powder, salt, and nutmeg.4 Cups All-Purpose Flour, 1 ½ Cups Granulated Sugar, 4 Teaspoons Baking Powder, 1 Teaspoon Salt, ¼ Teaspoon Nutmeg
- In a separate bowl, beat the eggs. Whisk in the milk, avocado oil, melted butter, and vanilla extract until well combined.4 Large Eggs, 1 Cup Whole Milk, ½ Cup Avocado Oil, 4 Tablespoons Unsalted Butter, 2 Teaspoons Vanilla Extract
- Pour the wet ingredients into the dry ingredients. Using a spatula, gently fold together until just combined. A few streaks of flour are okay.
- Fold in the chocolate chips.2 Cups Semi-Sweet Chocolate Chips
- Divide the batter evenly among the prepared muffin cups, filling them nearly to the top.
- If desired, press a few extra chocolate chips onto the tops and sprinkle with coarse sugar.6 Teaspoons Coarse Sugar
- Bake at 425°F for 7 minutes. Without opening the oven door, reduce the temperature to 350°F and continue baking for 15 to 20 minutes, or until a toothpick inserted into the center comes out clean.
- Allow the muffins to cool in the pan for 5 minutes before transferring to a wire rack.
Notes
Pro Tips for Bakery-Style Muffins
Professional bakers don’t have secret ingredients. They simply pay attention to the small details that turn good muffins into bakery-worthy muffins. Use an Ice Cream Scoop for Even Portions A large ice cream scoop makes filling muffin cups fast, neat, and consistent. Even portions help the muffins bake evenly and rise at the same rate, creating those beautiful domed tops. Don’t Skip the Coarse Sugar For that bakery-style finish, sprinkle the tops with coarse sugar before baking. Unlike regular granulated sugar, coarse sugar holds its shape in the oven and creates a lightly crisp, crackly crust. Turbinado sugar works wonderfully too and adds a subtle caramel-like flavor. Rotate the Pan if Your Oven Has Hot Spots Many home ovens bake unevenly. If you know certain areas of your oven run hotter than others, rotate the muffin pan halfway through the 350°F baking portion. This helps all the muffins brown evenly. Cool the Butter Before Mixing Allow the melted butter to cool for a few minutes before whisking it into the wet ingredients. Butter that is too hot can partially cook the eggs, creating small bits of cooked egg in the batter. Warm butter blends smoothly without causing problems. Fill Empty Muffin Cups with Water If you’re baking a partial pan, fill any empty muffin cups about halfway with water. This helps distribute heat more evenly throughout the pan and can improve the overall bake. Stop Mixing as Soon as the Batter Comes Together One of the most important muffin secrets is to avoid overmixing. A few streaks of flour are perfectly fine. Overmixed batter develops too much gluten, which can lead to dense, tough muffins instead of light and tender ones. Fill the Muffin Cups Generously Don’t be shy when portioning the batter. Filling the cups nearly to the top helps create those impressive bakery-style muffin crowns. Combined with the initial high baking temperature, this technique produces tall, beautifully domed muffins. Why Use Both Oil and Butter?Oil keeps the muffins moist for days, while butter adds rich flavor. Using both gives you the best of both worlds—tender muffins with a delicious homemade taste.
Nutrition
Storage
Store cooled muffins in an airtight container at room temperature for up to 3 days. For longer storage, freeze them in a freezer-safe bag for up to 3 months. Thaw at room temperature or warm briefly in the microwave before serving.
Reheating
Oven- Preheat your oven to 350°F. Place the muffins on a baking sheet and heat for 10–15 minutes.
Microwave (Fastest and my favorite): To keep them from getting rubbery, wrap each muffin in a moist paper towel and heat for about 15–20 seconds. This mimics the steam from the oven and keeps the chocolate chips perfectly gooey.
Ingredient Notes
All-Purpose Flour. Provides structure while keeping the muffins tender.
Granulated Sugar. Adds just the right amount of sweetness without overpowering the chocolate.
Baking Powder. Helps create a light, fluffy texture and encourages a beautiful rise.
Nutmeg. A small amount adds subtle warmth and depth of flavor. Cinnamon can be substituted if preferred.
Eggs. Bring richness and help bind the batter together.
Whole Milk. Adds moisture and contributes to a soft crumb.
Avocado Oil. Helps keep the muffins moist for several days.
Unsalted Butter. Adds rich flavor that oil alone can’t provide.
Vanilla Extract. Enhances the chocolate flavor and adds warmth.
Semi-Sweet Chocolate Chips. The star ingredient, providing plenty of chocolate goodness throughout each muffin.
Variations
- Swap semi-sweet chips for milk chocolate or dark chocolate chips.
- Add chopped walnuts or pecans for extra texture.
- Mix in a handful of toffee bits for a bakery-inspired treat.
- Sprinkle the tops with coarse sugar before baking for a lightly crisp finish.
Why do you start baking at a higher temperature?
The initial blast of heat helps create steam, encouraging the muffins to rise quickly and form those signature bakery-style domes.
Can I make regular-sized muffins?
Yes. Fill standard muffin cups about three-quarters full and reduce the baking time to approximately 18 to 22 minutes.
Can I freeze these muffins?
Absolutely. Once completely cooled, wrap individually or place in a freezer-safe container and freeze for up to 3 months.
Jumbo Chocolate Chip Muffins
These Bakery Style Jumbo Chocolate Chip Muffins are everything a great muffin should be—soft, fluffy, packed with chocolate chips, and crowned with impressive domed tops. They’re perfect for weekend baking, special breakfasts, or anytime you’re craving a bakery-quality treat without leaving home. Serve them warm and enjoy every chocolate-filled bite.


These are delicious. Today, I didn’t use the coarse sugar for the crackly top. When I make these for a potluck, I add dust the top with the sugar so they look even tastier.