Last updated on August 3rd, 2025 at 11:38 am
An easy sourdough starter is made from a mixture of flour and water that captures wild yeast from the environment, which will naturally ferment to become the base for many tasty sourdough breads.
Creating your own sourdough starter is simpler than it seems, and with a few basic ingredients and a bit of time, you’ll be on your way to baking delicious sourdough bread.
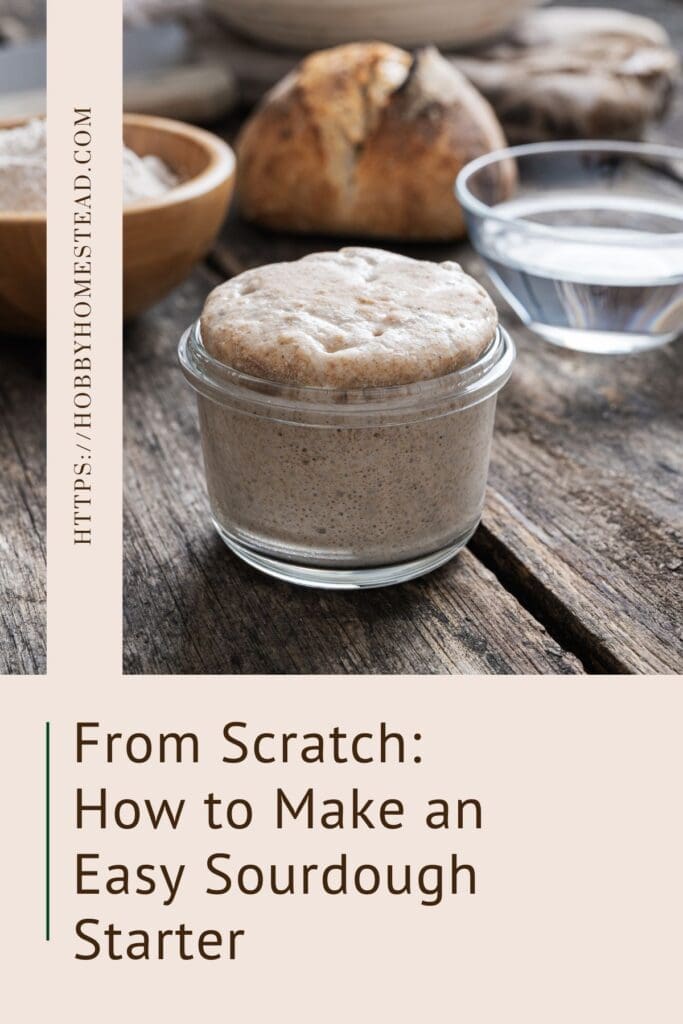
Before you get started, here are a few tips for success.
- Set a feeding schedule. Feed your starter at the same time every day to establish a consistent routine. This helps the starter rise and fall predictably, which is exactly what you want. Mornings are a great time to feed your starter, right when you wake up.
- Track its progress. Wrap a rubber band or place masking tape around your jar to mark the starter’s level. As it rises and falls, you’ll see marks left behind, making it easier to monitor growth.
- Be patient. The process can be slow, especially around Days 3 and 4. Keep in mind that temperature and consistency play important roles, so give it time to develop.
- Storing Your Sourdough Starter. If you bake often, keep your starter at room temperature and feed it once or twice daily. If you bake less frequently, store it in the fridge and feed it once a week to maintain an active starter.
How to Make an Easy Sourdough Starter Recipe
Ingredients You’ll Need
- 1 Cup of whole wheat flour, rye flour, or all-purpose flour.
- 1/2 Cup of lukewarm water. We use filtered well water. Bottled water works well too.
Day 1: Start Your Sourdough Journey
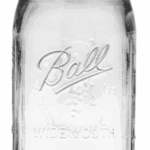
In a clean jar, combine 1 cup of flour and 1/2 cup of water. Stir with a wooden spoon until well mixed. Cover loosely with plastic wrap or a lid, and leave it in a warm place, ideally at room temperature. This will allow the wild yeast to start growing.
Day 2-3: Feed Your Starter
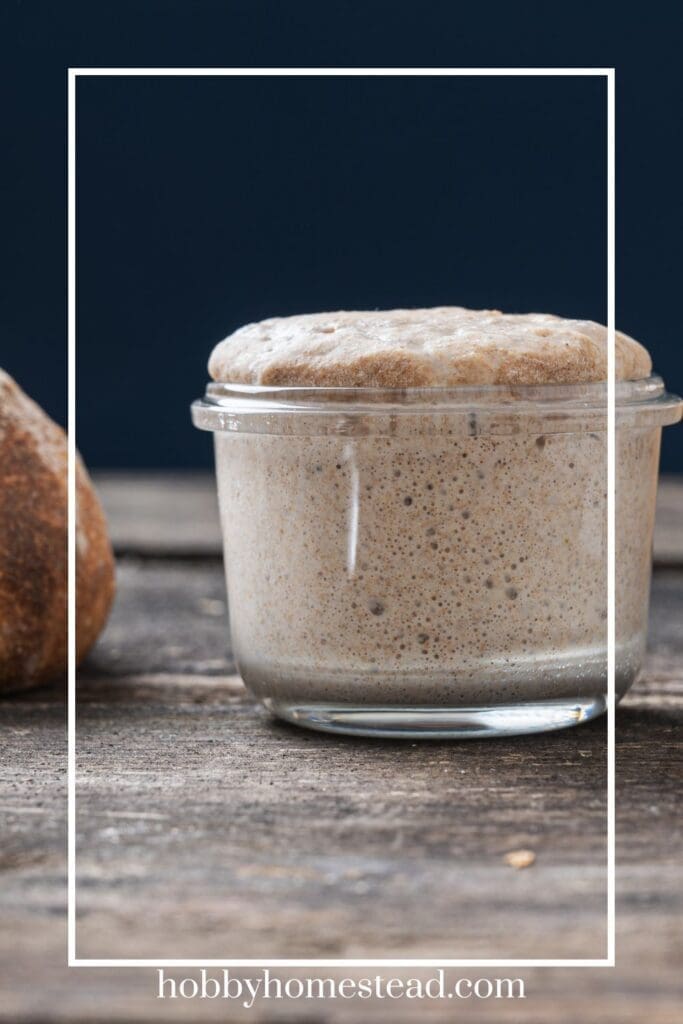
Each day, discard half of the starter (this is called sourdough discard), and feed it with 1 cup of fresh flour and 1/2 cup of water. Mix well and place the jar back in its warm spot. By the next day, you should see lots of bubbles—a good sign of fermentation! This feeding schedule will help the fermentation process build strength.
Day 4-5: Look for Activity
Continue feeding your new starter daily. By this point, the starter should rise and fall predictably. You can use a rubber band around the jar to track its rise. For best results, keep it at room temperature. As the wild yeast becomes more active, your sourdough starter will be almost ready.
Float Test. You can also do a float test by dropping a bit of starter in water. If it floats, you’ve got an active sourdough starter.
Day 6-7: Your Starter is Ready!
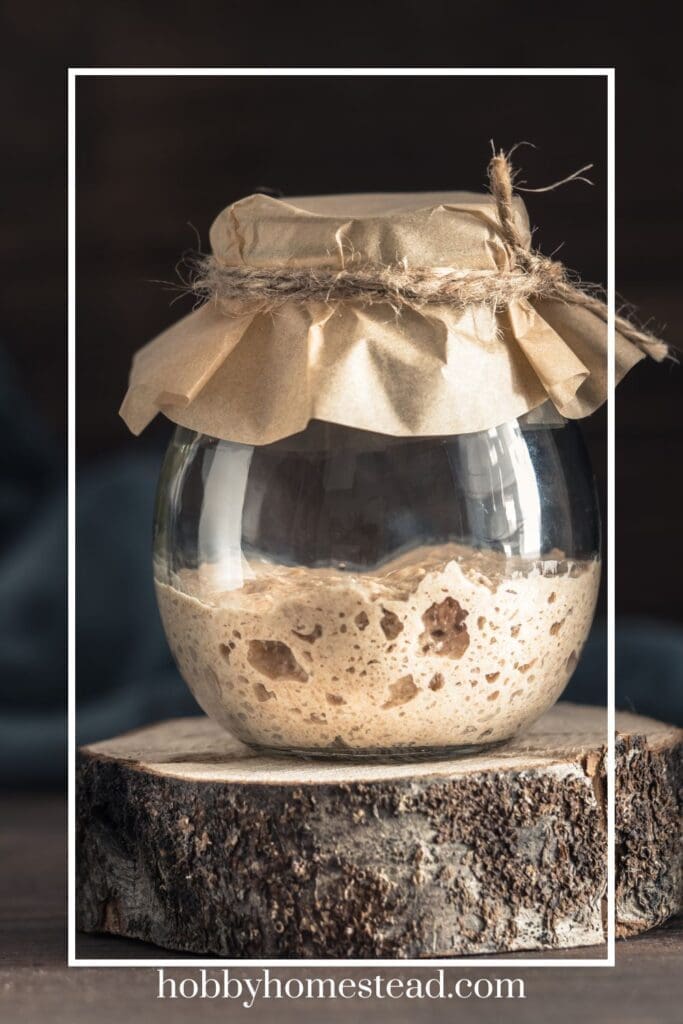
After about a week, you should have an active starter that’s bubbly, smells pleasant, and is ready for baking. Use it in your favorite sourdough bread recipe or other sourdough recipes like sourdough pancakes or English muffins. Just remember to keep feeding it with equal parts water and flour for regular feeding.
Tips for Sourdough Success
You can use different types of flour, like organic bread flour, whole wheat flour, or rye flour to vary the flavor of your sourdough starter.
If you don’t have commercial yeast, your starter will rely completely on natural yeast.
A kitchen scale can help measure equal parts of flour and water accurately for feeding.
Patience is key! The whole process takes about a week, but the result is well worth the effort.
With these simple ingredients and easy steps, you’ll have your very own sourdough starter ready to create good sourdough bread and many other delicious treats.
How to Store Sourdough Starter
There are two ways to store your sourdough starter.
If you bake frequently, a few times a week or more, it’s best to keep your sourdough starter at room temperature. This speeds up the fermentation process, making your starter bubbly, active, and ready to use quickly. Room temperature starters typically need to be fed once or twice a day, depending on how fast they rise and fall.
For those who bake less often, storing your starter in the fridge is a better option. Keep it covered with a lid, and you’ll only need to feed it about once a week to maintain its strength. You can feed it straight from the fridge without warming it up, then put it back in after feeding. When you’re ready to bake, take it out and feed it at room temperature to reactivate it before making dough.
Can you freeze sourdough starter?
Yes, you can freeze sourdough starter! To freeze it, place a portion of your active starter in an airtight container or freezer bag. Label it with the date, and it can be stored in the freezer for several months.
When you’re ready to use it, thaw the starter in the fridge overnight, then bring it to room temperature and feed it as usual to reactivate it. It may take a few feedings for the starter to become fully active again, but freezing is a great way to preserve your sourdough starter for future use.
Here is a short video of my sourdough starter adventure.
From Scratch: How to Make an Easy Sourdough Starter
As an Amazon Associate I earn from qualifying purchases.
Ingredients
- 1 Cup Whole Wheat Flour rye flour, or all-purpose flour.
- 1/2 Cup Lukewarm Water We use filtered well water. Bottled water works well too.
Instructions
Day 1: Start Your Sourdough Journey
- In a clean jar, combine 1 cup of flour and 1/2 cup of water. Stir with a wooden spoon until well mixed. Cover loosely with plastic wrap or a lid, and leave it in a warm place, ideally at room temperature. This will allow the wild yeast to start growing.1 Cup Whole Wheat Flour, 1/2 Cup Lukewarm Water
Day 2-3: Feed Your Starter
- Each day, discard half of the starter (this is called sourdough discard), and feed it with 1 cup of fresh flour and 1/2 cup of water. Mix well and place the jar back in its warm spot. By the next day, you should see lots of bubbles—a good sign of fermentation! This feeding schedule will help the fermentation process build strength.
Day 4-5: Look for Activity
- Continue feeding your new starter daily. By this point, the starter should rise and fall predictably. You can use a rubber band around the jar to track its rise. For best results, keep it at room temperature. As the wild yeast becomes more active, your sourdough starter will be almost ready.
- Float Test. You can also do a float test by dropping a bit of starter in water. If it floats, you’ve got an active sourdough starter.
Day 6-7: Your Starter is Ready!
- After about a week, you should have an active starter that's bubbly, smells pleasant, and is ready for baking. Use it in your favorite sourdough bread recipe or other sourdough recipes like sourdough pancakes or english muffins. Once the fermentation has started keep feeding it with equal parts water and flour for regular feeding.




Question: you give instructions to start with 1 cup flour and 1/2 cup water, and to continue with that daily until established and active. But once established and active, you specify equal parts flour and water. Which is correct?
Thank you.
Thanks for asking Linda. I clarified in the recipe too. Once the fermentation has started keep feeding it with equal parts water and flour for regular feeding.
This worked exactly as written, thanks!