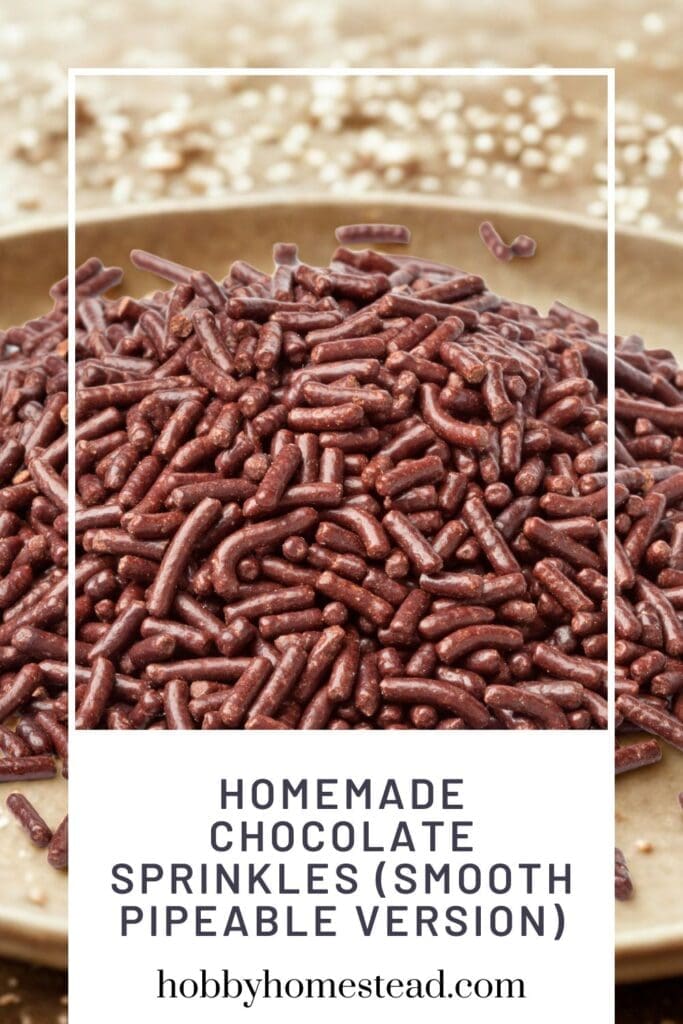
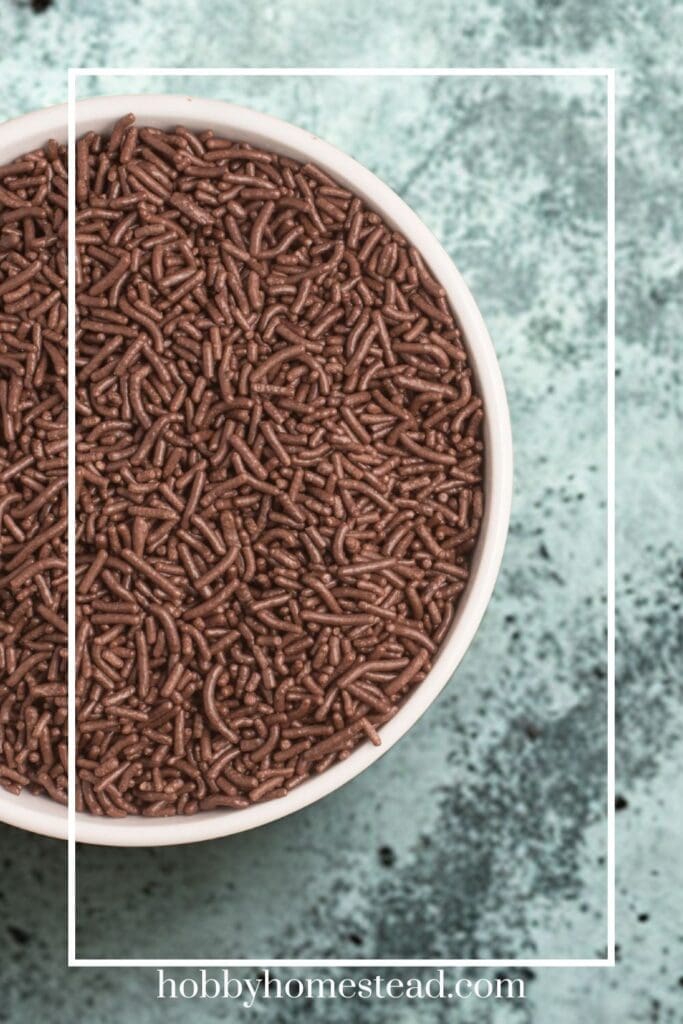
Just five pantry staples and a little time are all it takes to make chocolate sprinkles that truly taste like chocolate. This simple method transforms cocoa powder and powdered sugar into rich, homemade sprinkles that add something special to even the simplest desserts.
Your pantry already has everything you need. This method turns basic cocoa and powdered sugar into tiny, crunchy sprinkles that taste wildly better than store-bought.
Make your own with real cocoa powder, a hit of vanilla, and about twenty minutes of your time create sprinkles that are deeply chocolatey, perfectly crunchy. Delicious on top of your ice cream or cupcakes.
The process is shockingly simple, no fancy equipment or hard-to-find ingredients required, just a piping bag and a baking sheet. This is one of those simple recipes that feels a little like kitchen magic.
Why This Version Works
- Cocoa powder gives a deep, rich chocolate flavor
- Powdered sugar provides structure while keeping the texture soft
- Corn syrup improves workability and reduces cracking
- Vanilla extract enhances the chocolate flavor
- A pinch of salt balances the sweetness
This version gives you the best of both worlds:
- Easier than candy-style sprinkles
- Smoother and more reliable than a fully corn-syrup-free dough
Homemade Chocolate Sprinkles (Smooth Pipeable Version)
As an Amazon Associate I earn from qualifying purchases.
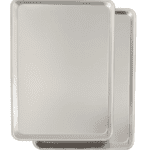
Equipment
Ingredients
- 1 Cup Powdered Sugar sifted
- ¼ Cup Unsweetened Cocoa Powder
- ½ Teaspoon Corn Syrup
- 1 Teaspoon Vanilla Extract
- 1-2 Teaspoons Water as needed
- Pinch Salt
Instructions
- Mix the Dry Ingredients. In a medium bowl, sift together the powdered sugar, cocoa powder, and salt until smooth and lump-free.1 Cup Powdered Sugar, ¼ Cup Unsweetened Cocoa Powder, Pinch Salt
- Add the Wet Ingredients. Stir in the vanilla extract and corn syrup. Add water one drop at a time, mixing until a thick, smooth paste forms.½ Teaspoon Corn Syrup, 1 Teaspoon Vanilla Extract, 1-2 Teaspoons Water
- You’re looking for a consistency similar to thick frosting—firm enough to hold its shape, but soft enough to pipe easily. It should look like very thick frosting or a dense cookie dough. If it’s crumbly and won’t come together, add water a few drops at a time. If it’s too loose and drips off the spoon, add powdered sugar a tablespoon at a time.
- Pipe the Sprinkles. Fit a piping bag with a small round tip, size 2 or 3 works perfectly. If you don’t have piping tips, you can use a zip-top bag and snip a very small corner off, but a proper tip gives you much cleaner results. Scoop the dough into the bag, press out any air pockets, and twist the top to seal.
- Pipe thin lines onto parchment. Line a baking sheet with parchment paper. Hold the piping bag at a 45-degree angle and pipe continuous straight lines across the sheet, each about four to five inches long. Space them about half an inch apart so they don’t stick together as they dry. The lines should be thin, about the width of a standard sprinkle, roughly an eighth of an inch in diameter. If they’re too thick, they’ll take forever to dry and won’t have that satisfying crunch.
- Let Them Dry. Allow the lines to dry at room temperature for 4–6 hours or overnight until firm.
- Cut into Sprinkles. Once fully set, use a knife or kitchen scissors to cut into small sprinkle pieces.
Notes
Baking Option
If you are in a hurry, you can bake these rather than let them air dry. Bake low and slow. Place the sheet in a preheated 200-degree oven and bake for 45 to 60 minutes. You’re not baking them so much as drying them out. They should feel firm and dry to the touch, not soft or tacky. If they still feel slightly soft in the middle, give them another 10 to 15 minutes. Cool completely, then break. Let the sheet cool on the counter for at least 20 minutes. The sprinkles will continue to firm up as they cool. Once fully cool, use your hands or a knife to break the lines into sprinkle-length pieces. Store in an airtight container. Using the oven method, the whole process from start to finish takes about 90 minutes, but only 15 of those are active work. The rest is just waiting for the oven to do its thing while you do literally anything else.Consistency Tips (Important for Success)
- Too dry? Add water a drop at a time
- Too soft? Add a little more powdered sugar
- Cracking? The paste likely needs a touch more moisture or corn syrup
- Sticky after drying? Let them sit longer, especially in humid conditions
Nutrition
Tips from the Pros
The small details make all the difference when it comes to sprinkles that turn out just right.
Use Dutch-process cocoa if you have it. The smoother, less acidic flavor makes a noticeable difference in the final taste. Natural cocoa works, but the sprinkles will have a sharper, slightly more bitter edge. Either way, make sure it’s fresh. Old cocoa tastes flat and dusty, and that comes through loud and clear in something this simple.
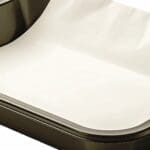
Pipe directly onto parchment, never wax paper. Wax paper can melt or stick at low temperatures, and you’ll end up peeling bits of waxy paper off your sprinkles. Parchment or a silicone baking mat are the only moves here.
Keep the piping consistent. Try to maintain even pressure on the bag as you pipe so all the lines are roughly the same thickness. Thicker lines take longer to dry and won’t have the same snap. Thinner lines dry faster but can be fragile. Aim for that classic sprinkle diameter, thin enough to bend slightly but thick enough to hold up under a bit of pressure.
Don’t skip the cooling step. Breaking them while they’re still warm makes them crumbly and prone to shattering into dust. Fully cooled sprinkles snap cleanly and hold their shape when you toss them onto frosting or ice cream.
If your first batch doesn’t turn out perfect, adjust the consistency of your dough and try again. This is one of those recipes where the second batch is always better because you’ve figured out exactly how your oven behaves and what the dough should feel like in the bag.
Variations & Swaps
Once you’ve nailed the base recipe, the flavor possibilities open up fast.
- Swap the cocoa for other powders. Replace half the cocoa with matcha powder for green tea sprinkles, or use freeze-dried fruit powder (strawberry, raspberry, blueberry) for bright, fruity versions. Just keep the total amount of dry powder the same so the dough consistency stays right.
- Add extracts for different flavors. Swap the vanilla for peppermint, almond, or orange extract. A quarter teaspoon goes a long way, so start small and taste the dough before you pipe.
- Make them colorful. Add a few drops of gel food coloring to the wet ingredients before mixing. Gel works better than liquid because it doesn’t throw off the dough consistency. You can make rainbow sprinkles by dividing the dough into portions, coloring each one differently, and piping them in batches.
- Try dark chocolate intensity. Replace two tablespoons of the powdered sugar with an additional two tablespoons of cocoa powder for a more intense, bittersweet sprinkle. These are incredible on vanilla ice cream or paired with salted caramel desserts.
The base formula is flexible enough to handle all kinds of tweaks without falling apart, so don’t be afraid to experiment once you’ve made the original version a couple of times.
Storage Tips
Proper storage keeps these crunchy for weeks, just like the stuff in the plastic jar.
Store the cooled sprinkles in an airtight container at room temperature. A glass jar with a tight-fitting lid or a plastic container with a snap-on top both work perfectly. They’ll stay crunchy for up to a month, sometimes longer if your kitchen isn’t humid. Moisture is the enemy here, so make sure the container seals well and keep it away from the stove or any steamy areas.
Do not refrigerate them. The fridge introduces moisture, which will make them soft and sticky. Room temperature in a sealed container is all they need.
If they do start to soften (usually only an issue in very humid climates), you can pop them back in a 200-degree oven for 10 to 15 minutes to crisp them up again. Let them cool completely before storing again.
There’s no need to freeze them since they keep so well at room temp, but if you want to make a huge batch ahead of time, they do freeze just fine in an airtight container for up to three months. Thaw at room temperature and they’ll be just as crunchy as the day you made them.
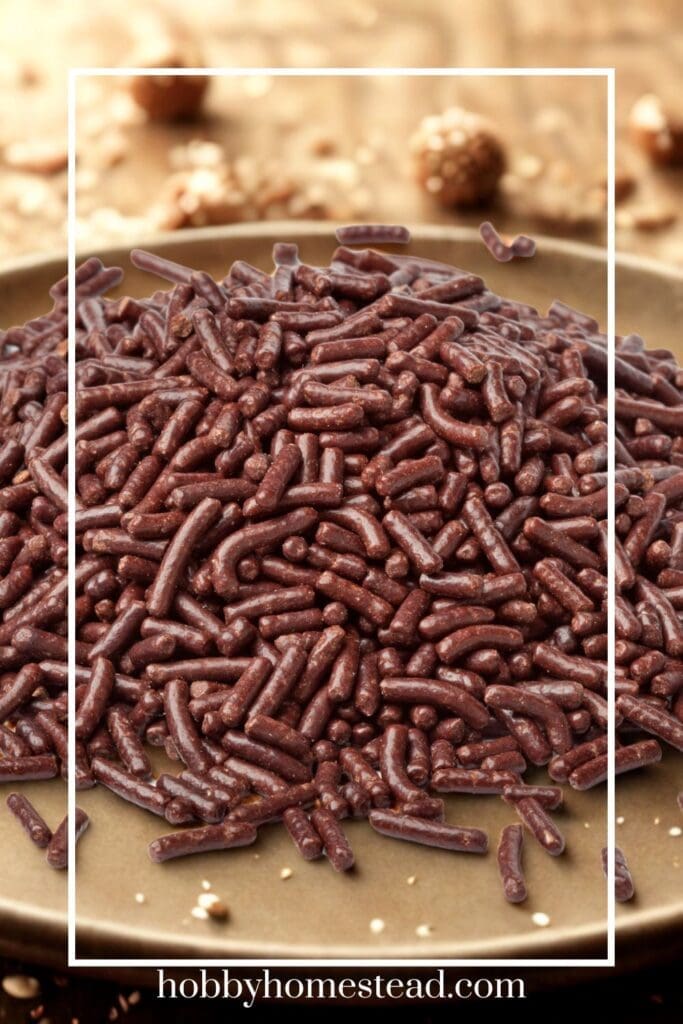
Making your own sprinkles is one of those small kitchen wins that feels way more impressive than the effort required. You end up with a jar of something that looks professional, tastes infinitely better than store-bought, and makes every dessert you put them on feel a little more special.
The secret is in the ratio and the method, not some magical ingredient you’ve never heard of. This version uses powdered sugar instead of granulated, which creates a smoother, more pipeable dough that holds its shape. The addition of a tiny amount of corn syrup gives the sprinkles just enough flexibility to pipe cleanly without being sticky or difficult to handle.
The whole process hinges on getting the consistency right before you pipe. The dough should be thick enough to hold a shape but smooth enough to push through a small piping tip without your hand cramping. If it’s too stiff, add a few drops of water. Too loose, add a bit more powdered sugar. Once you nail that texture, the rest is just patience while they dry out.
Once people find out you made the sprinkles yourself, you instantly level up in their eyes. Making your own sprinkles is one of those simple kitchen moments that feels a little extra special. You end up with something beautiful, delicious, and made completely from scratch—ready to share with your family or sprinkle over your favorite desserts.


Fun to make in all sorts of chocolate flavors.