Last updated on August 3rd, 2025 at 11:32 am
Make Homemade Paprika with Fresh produce you’re your own garden. Imagine stepping into your garden, picking ripe peppers fresh off the vine, and transforming them into a rich, aromatic spice that will elevate your dishes all year round.
Making your own paprika from garden-grown peppers is a rewarding journey that connects you to the land and enhances your culinary creations with flavors that store-bought spices simply can’t match.
If you’ve ever wanted to take control of your spice rack and add a personal, flavorful touch to your cooking, making your own paprika is the perfect place to start. This guide will take you through the journey of turning fresh peppers from your garden into vibrant paprika powder.
Whether you grow bell peppers, boldog peppers, or chili peppers, this process is simple, rewarding, and a great way to embrace homesteading principles.

Why Make Homemade Paprika?
Homemade paprika isn’t just about the vibrant color or depth of flavor—it’s about creating something uniquely yours. By using peppers grown in your garden or sourced locally, you can tailor the flavor profile to suit your taste, whether it’s sweet, smoky, or spicy. Plus, it’s a sustainable way to use surplus peppers, reduce food waste, and eliminate the need for store-bought spice jars.
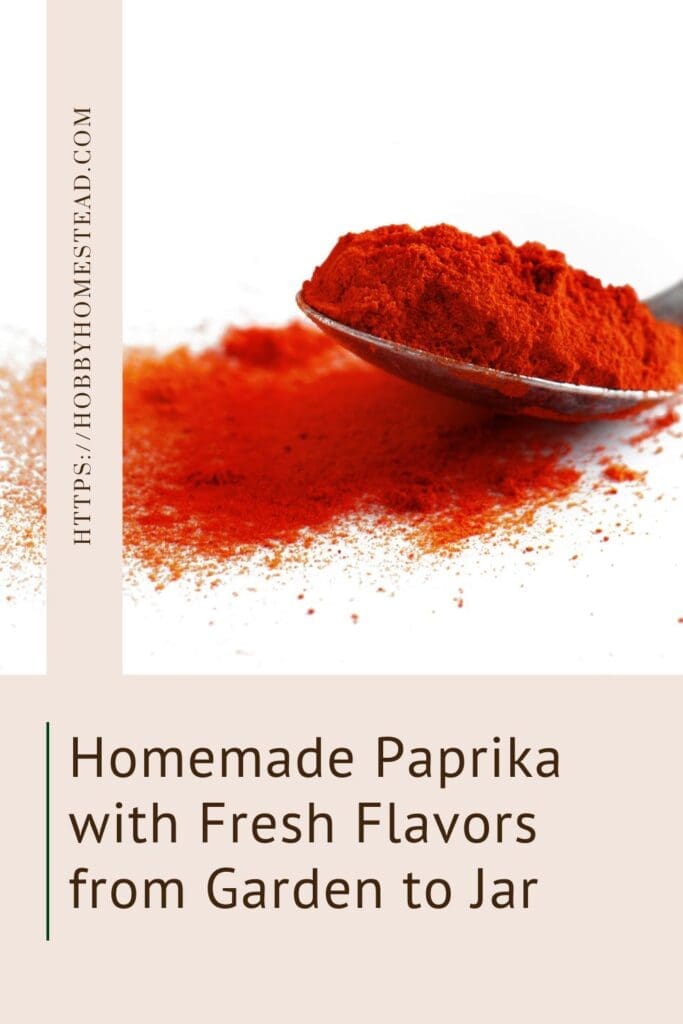
Homemade Paprika with Fresh Flavors from Garden to Jar
As an Amazon Associate I earn from qualifying purchases.
Equipment
Ingredients
- 8 Medium Red Bell Peppers sweet red peppers, paprika peppers, or a mix of hot and sweet peppers for variety
- Yield: About 1/2 cup of paprika powder per pound of fresh peppers which is about 8 medium peppers.
Instructions
- Start with ripe, flavorful peppers. About 8 sweet peppers like red bell peppers are great for mild paprika.8 Medium Red Bell Peppers, Yield: About 1/2 cup of paprika powder per pound of fresh peppers which is about 8 medium peppers.
- Wash the peppers thoroughly and dry them.
- Remove stems and seeds, then slice the peppers into thin strips. Peppers with thin walls will dry faster, but even thicker-walled peppers like bell peppers work with a little extra drying time.
- Three Ways to Dry the Peppers
- Dehydrator Method. Arrange the peppers in a single layer on dehydrator trays. Set the temperature to medium heat and dry for 8–10 hours until the peppers are brittle.
- Oven Method. Spread the peppers on a baking sheet. Set your oven to its lowest setting, leaving the oven door slightly open for air circulation. Check periodically to ensure even drying.
- Air Drying. Hang the peppers in a dry place with good ventilation. This natural method can take several weeks but is energy-efficient and preserves their flavor.
- For homemade smoked paprika, use an outdoor smoker with oak wood or cherry wood chips. Smoke the peppers at low heat for a couple of hours before fully drying them. This adds a rich, smoky flavor perfect for spice blends like barbecue rubs.
- Once completely dried, grind the peppers into a fine powder using a spice grinder or food processor. Work in small batches for an even grind. If needed, pass the ground paprika through a fine-mesh sieve to remove any larger pieces.
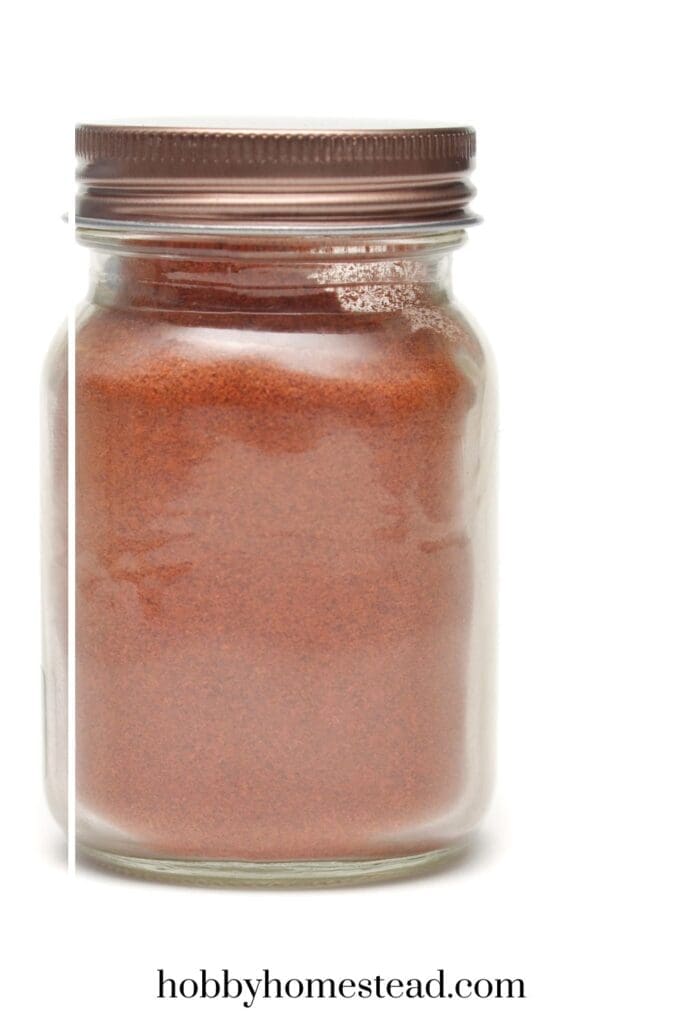
- Transfer your paprika to an airtight jar or spice container. Store it in a cool, dry place to preserve its flavor and vibrant color. Properly stored, your homemade paprika will last for up to a year.
Nutrition

Tips for the Best Homemade Paprika
Choose the Right Peppers. Boldog paprika peppers are classic choices for sweet paprika, while cayenne or alma peppers add a bit of heat.
Experiment with Flavors. Mix different types of peppers to create a unique flavor profile.
Plan Ahead. Grow a variety of peppers in your garden next year to ensure you have plenty of options for making paprika.
Ways to Use Homemade Paprika
Your fresh paprika will add a depth of flavor to a wide variety of dishes.
- Hungarian goulash for authentic flavor.
- Chicken paprikash with its creamy, savory sauce.
- Spice blends for barbecue or grilling.
- Rubs for roasted vegetables or meats.
- We always like to sprinkle a bit on deviled eggs or homemade potato salad.
Embrace the Homesteading Spirit
Making your own paprika is more than just a recipe—it’s a celebration of self-sufficiency, creativity, and the joy of working with homegrown ingredients. Homemade paprika brings a fresh, flavorful touch to your meals.

How to Properly Store Paprika
Paprika is best stored in a way that preserves its vibrant color and robust flavor for as long as possible. Follow these tips to keep your paprika fresh and aromatic.
Store paprika in an airtight spice jar, glass jar, or container with a tight-fitting lid. This keeps out moisture and air, which can degrade its quality.
Place the container in a cool, dry place away from heat sources like stoves or ovens. Avoid storing it in humid environments, as moisture can cause clumping and spoilage.
Exposure to light can fade the color and weaken the flavor of paprika over time. Store it in a dark pantry or cabinet for the best results.
If you’ve made your own homemade paprika, label the jar with the date it was made. Paprika is best used within 6 to 12 months for peak flavor.
Refrigerate for Long-Term Storage (Optional). If you live in a particularly warm or humid climate, consider refrigerating paprika in an airtight container. However, allow it to return to room temperature before use to prevent condensation.
Proper storage not only extends the shelf life of your paprika but also ensures it maintains its bold flavor and beautiful color, perfect for enhancing your favorite recipes.

Can you freeze paprika for even longer storage?
While it is technically possible to freeze paprika, it’s not typically recommended for long-term storage. Freezing can cause condensation to form when the paprika is brought back to room temperature, which may affect its texture and flavor.
However, if you live in a very humid environment or if you have a large quantity of paprika that you won’t use up quickly, freezing can be an option for preserving it longer.
If you choose to freeze paprika, follow these tips.
Usean airtight container or a vacuum-sealed freezer bag to protect it from moisture and air, which can degrade its quality.
Label the container with the date of freezing so you can track its storage time. Even in the freezer, paprika is best used within 1 to 2 years.
When you’re ready to use it, allow the paprika to thaw completely at room temperature before opening the container. This helps avoid condensation, which could make the powder clump or lose flavor.
While freezing isn’t the most common or ideal method for storing paprika, it can work if necessary for long-term preservation. Just be sure to store it properly and monitor its quality over time.
With this guide, you’re ready to turn your garden harvest into a vibrant, flavorful spice that’s as satisfying to make as it is to use.


great way to preserve produce from our garden