Drying sourdough starter might sound complicated, but it’s actually one of the easiest things you can do.
If you’ve ever had a sourdough starter go bad, you know how frustrating it is to start over. The good news? There’s a simple way to protect it. Learning how to dry and store it gives you a reliable backup that takes just minutes to prepare.
Practical Kitchen Skill
In a busy kitchen—or a busy season of life—it’s not always possible to keep up with feeding a sourdough starter. That’s why drying it is such a practical habit. It’s a simple way to preserve what you’ve built and make sure it’s there when you’re ready to use it again.
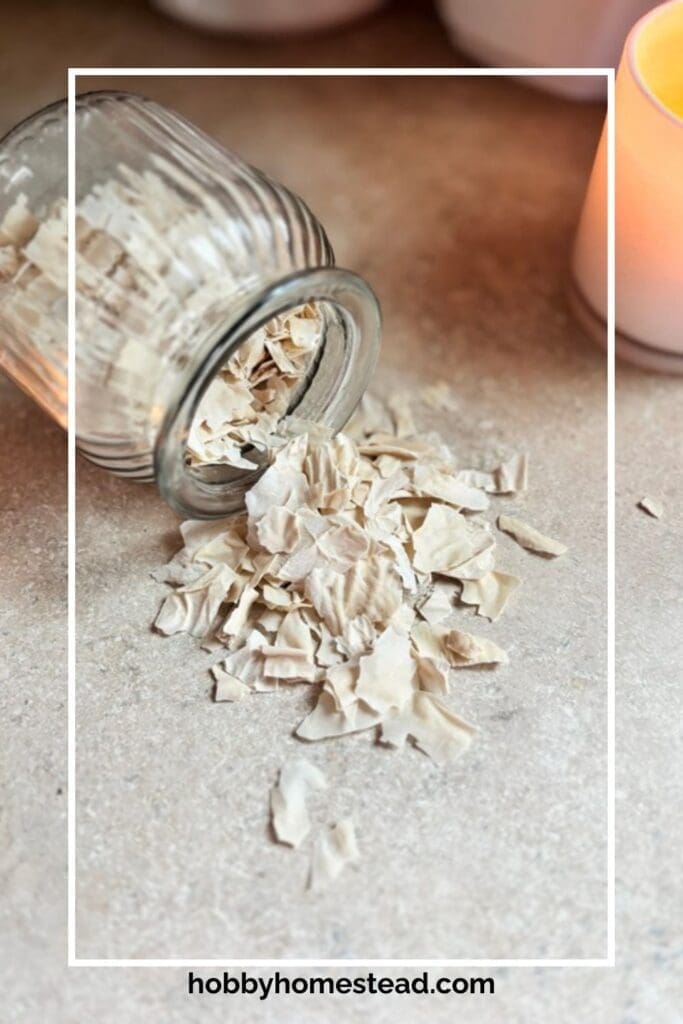
It’s a simple, reliable method that turns your active starter into shelf-stable flakes you can tuck away for later. Whether you’re building a backup, sharing with a friend, or just simplifying your routine, this is a skill every homesteader should have in their back pocket.
For the sourdough enthusiast, and even those wanting to get started on their very first starter, learning to dry your sourdough for later use is a practical and wise action to take in the event that your starter may become unexpectedly unusable. It requires very few tools and is so simple. You will thank yourself later.
My niece has spent so much time working with sourdough that she’s become our family’s go-to expert, and we made sure to get her input on this.

Why Dry Sourdough Starter?
We’ve done this many times, especially when we had an extra active starter and didn’t want it to go to waste. It’s incredibly practical.
Here’s why it’s worth doing:
- Creates a long-term backup (insurance for your starter)
- No feeding required while stored
- Easy to transport or gift
- Great for emergency preparedness
- Reduces discard waste
Once dried, your starter becomes lightweight, compact, and incredibly low-maintenance.
What You’ll Need
- Active sourdough starter (recently fed and bubbly)
- Parchment paper
- Cookie cooling rack (optional, but helpful)
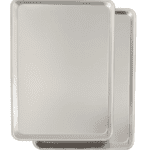
- Baking sheet or flat surface
- Offset spatula or spoon
- Blender or food processor
- Jar with lid for storage
Optional:
- Food dehydrator (not required)

How to Dry Sourdough Starter for Long-Term Storage
As an Amazon Associate I earn from qualifying purchases.
Equipment
Ingredients
- 1 Cup Active Sourdough Starter
Instructions
- Sourdough starter that has risen following a feeding. Make sure it has become bubbly and active.1 Cup Active Sourdough Starter
- Spread thinly on parchment paper. It will dry faster if you place this on a cookie cooling rack to let the air flow around the parchment paper.
- Let air dry completely at room temperature.
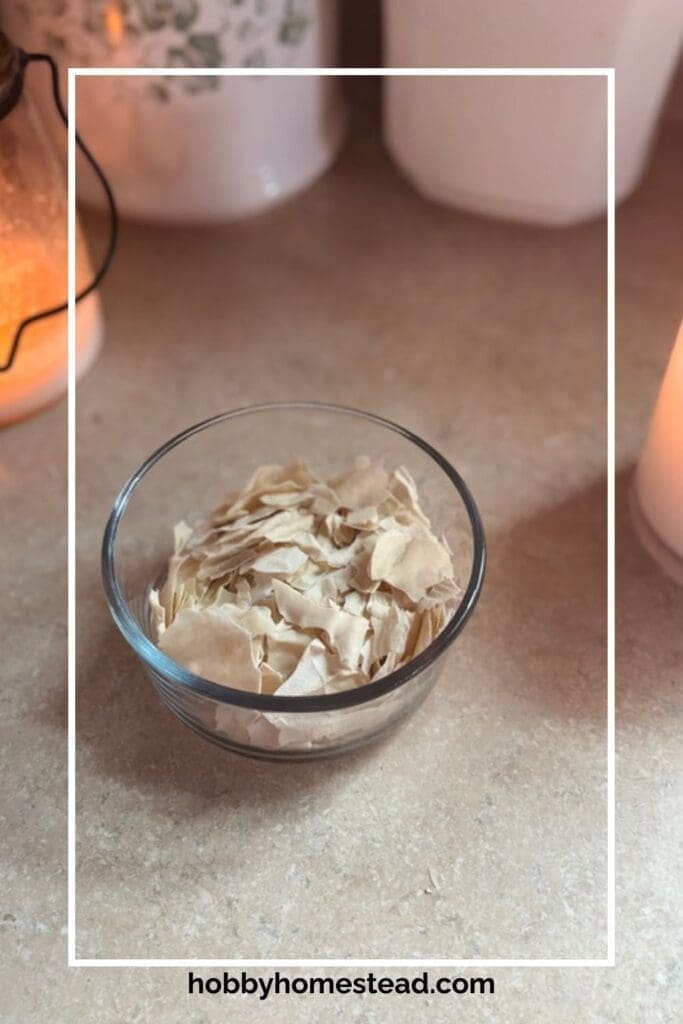
- Break into flakes and store in an airtight container.
Notes
Nutrition
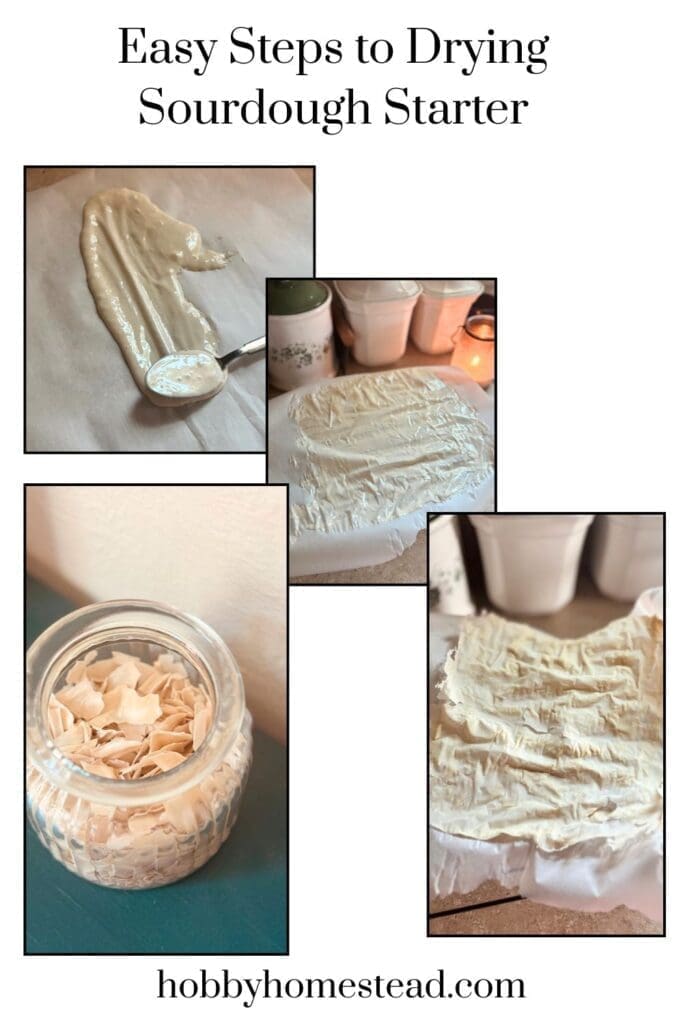
How to Dry Sourdough Starter (Step-by-Step)
Step 1: Feed Your Starter
Start with a healthy, active sourdough starter. Feed it and let it reach peak activity—bubbly and slightly domed.
Step 2: Spread It Thin
Spread a thin layer (about 1–2 mm thick) onto parchment paper. The thinner it is, the faster and more evenly it dries.
Step 3: Let It Air Dry
Leave it uncovered at room temperature in a dry area.
Our tip: We’ve found placing it in a low-humidity room or near a fan speeds things up without needing heat.
Step 4: Wait Until Fully Dry
This usually takes 12–48 hours depending on humidity.
You’ll know it’s ready when:
- It’s completely dry
- It easily peels off
- It snaps or cracks (no soft spots)
Step 5: Break Into Flakes
Once dry, break it into small flakes or pieces.
How to Store Dried Sourdough Starter
Proper storage makes all the difference. Once fully dried, your starter is surprisingly stable.
Best storage methods:
- Airtight glass jar
- Vacuum-sealed bag
- Mylar bag with oxygen absorber (for long-term storage)
Storage tips we swear by:
- Keep it in a cool, dark place
- Label with the date
- For extra security, store in the freezer
Shelf life:
- Pantry: up to 1 year
- Freezer: several years
How to Rehydrate Sourdough Starter
Bringing your starter back to life is simple—it just takes a little patience.
Step-by-Step Rehydration
- Start with flakes
- About 10–20 grams dried starter (a small handful)
- Add warm water
- Mix with equal weight water
- Let sit 15–30 minutes to soften
- Stir and add flour
- Add equal weight flour
- Mix well
- Let it rest
- Cover loosely and let sit at room temperature
- Feed daily
- Discard half and feed with fresh flour and water
- Repeat for 3–5 days
You’ll know it’s ready when:
- It doubles in size consistently
- It smells pleasantly tangy
- It’s bubbly and active again
How Much Starter to Rehydrate for Recipes
This is one of the most common questions—and honestly, it’s easier than it sounds.
General Rule:
You’re not trying to match your recipe right away—you’re rebuilding a healthy starter first.
Simple Approach:
- Start with 10–20 grams dried starter
- Build it up over a few feedings
Example:
If your recipe needs 100 grams starter:
- Day 1: Rehydrate 10–20g flakes
- Day 2–3: Feed and grow starter
- Day 3–5: You’ll have enough active starter to bake
Our Tip:
We always build more than we need, so we have some to keep feeding and some to bake with.
Troubleshooting Rehydration
Not bubbling after a day or two?
- Give it more time—dried starter can be slow to wake up
Smells off?
- A little funky is normal early on, but strong unpleasant odors may mean it didn’t store properly
No activity at all?
- Try again with a fresh batch of dried starter (this is why backups are helpful)
Tips From Our Kitchen
After doing this many times, here are a few things we’ve learned the hard way:
- Spread it thinner than you think—thick layers stay gummy
- Don’t rush drying—any moisture = risk of mold
- Break into small flakes for easier rehydration
- Always keep a second backup batch
Drying sourdough starter has saved us more than once, especially during busy seasons when baking wasn’t a priority.
A Simple Way to Preserve What You’ve Built
A sourdough starter takes time, care, and a little bit of love to develop. Drying it is a simple way to protect that effort.
Whether you’re stepping away from baking for a while, building a pantry backup, or sharing with a friend, this method gives you flexibility without losing what you’ve created.
It’s one of those old-fashioned, practical skills that just makes sense—especially in a homestead kitchen.


This is a great way to preserve leftover sourdough starter.