Last updated on March 3rd, 2026 at 09:12 am
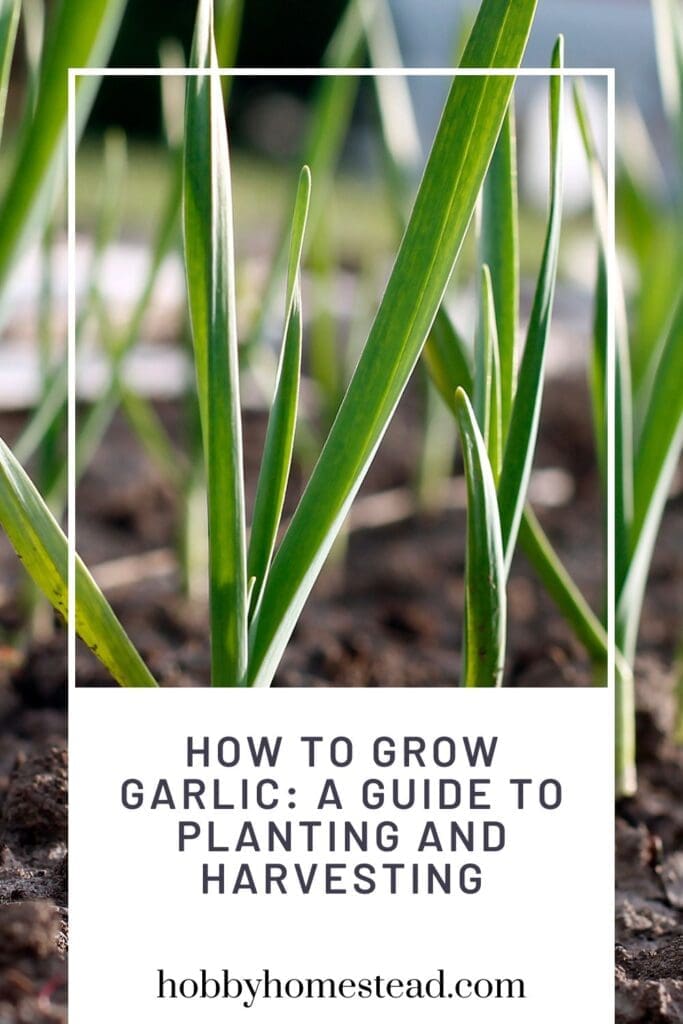
Learn how to grow garlic at home with this beginner’s guide to planting and harvesting garlic. For many gardeners and homesteaders, garlic is one of the easiest crops to grow, yet one of the most rewarding. Once you grow your own garlic, you’ll never go back to the grocery store kind again.
There’s something incredibly satisfying about pulling your own homegrown garlic bulbs from the garden. Each one a product of patience, simple care, and the steady rhythm of the seasons.
Understanding the Types of Garlic
Before planting garlic, it’s helpful to know that there are two main types of garlic: hardneck and softneck.
- Hardneck garlic varieties (like Chesnok Red or German Extra Hardy) grow best in colder climates. They send up a hard stem and form garlic scapes, which are the flower stalks you can harvest and enjoy in early summer. Hardneck garlic produces larger cloves with a rich, complex flavor, and they’re great for short storage periods.
- Softneck garlic varieties (such as Inchelium Red or California Early) do best in warmer climates and have a longer storage life. Their cloves are smaller, but you’ll get more per bulb. Making them great for long-term storage through the winter months.
If you’re lucky enough to have mild winters and well-drained soil, both types can thrive beautifully in your fall garden. Some gardeners even like to experiment with elephant garlic, which isn’t a true garlic but produces massive bulbs with a mild garlic flavor. Perfect for roasting.
When to Plant Garlic
The best time to plant garlic is in fall, about four to six weeks before the ground freezes. For most regions, that’s late October to early December, though early October works well for cold climates. In warmer weather or mild winters, you can also plant in early spring, but fall planting gives garlic a required cold period that helps form larger bulbs by the following summer.
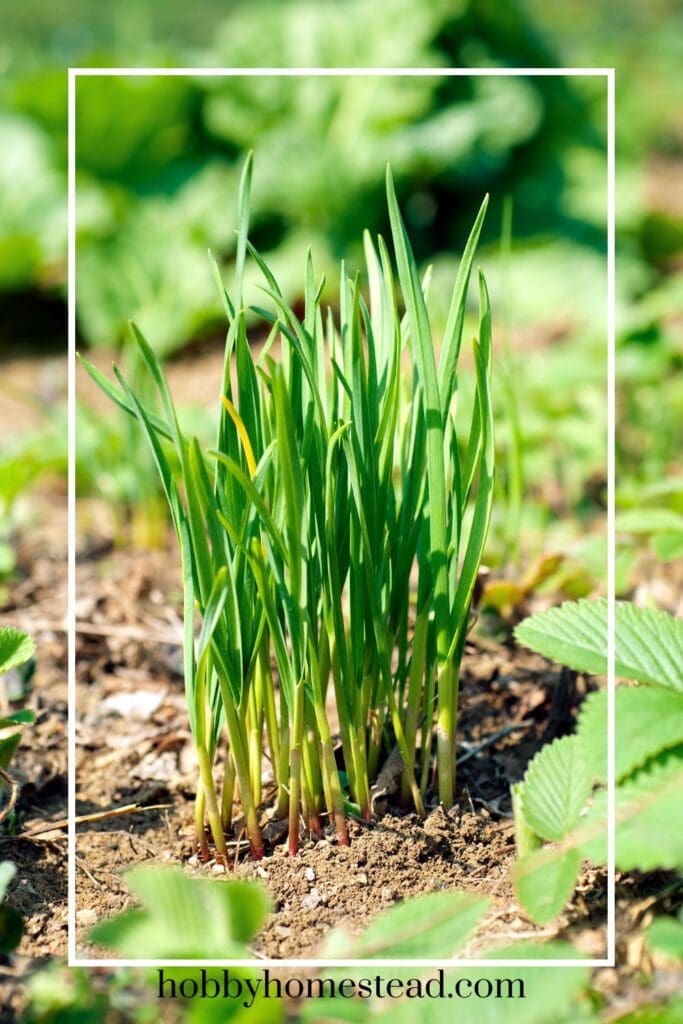
Garlic needs a few weeks of cool weather to establish roots before winter. Once spring arrives, those roots send up green shoots that look like green onions. That’s your garlic plant getting ready for the season ahead.
How to Plant Garlic
- Choose seed garlic from a local farmer’s market or seed supplier. Not from the grocery store, which may be treated to prevent sprouting.
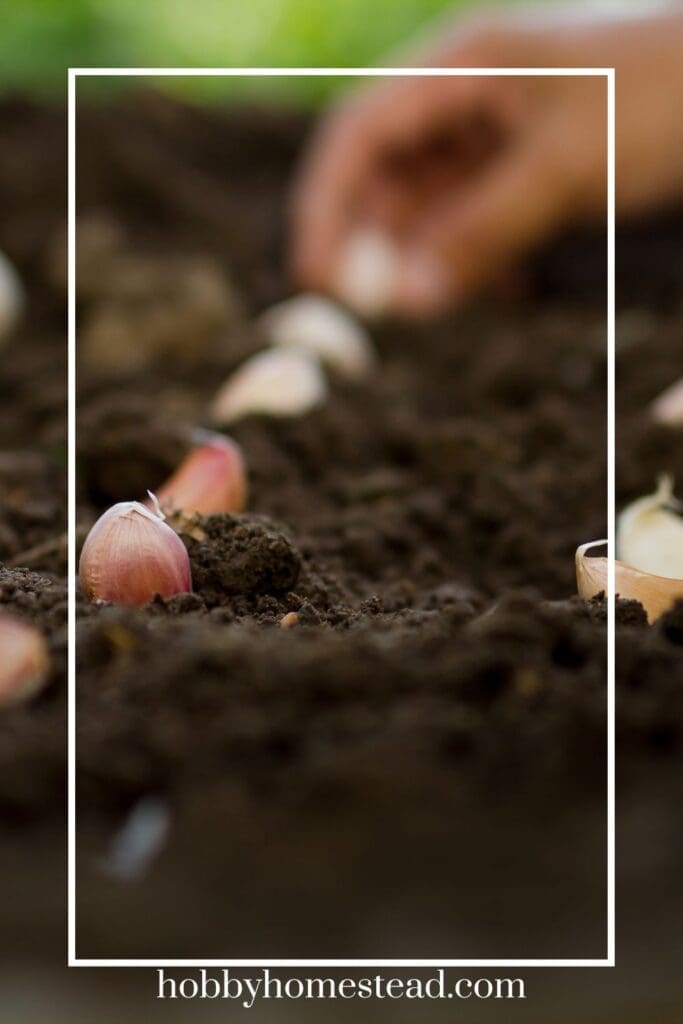
- Separate each bulb of garlic into individual cloves, keeping the papery skin intact.
- In a raised bed or loose soil, plant each clove of garlic pointy side up, about 2 inches deep and 4–6 inches apart.
- Cover with soil and a thick layer of grass clippings or mulch to protect them through the cold winters.
- Choose a sunny spot with full sun and well-drained soil for best results.
Each clove of garlic will grow into a whole bulb by next summer. That’s one of the magical parts of garlic growing.
Caring for Garlic Plants
Through winter months, your garlic bed will rest. In early spring, you’ll see the green garlic shoots emerge. Keep the bed free of weeds and water regularly, especially in warmer climates.
A bit of compost in late spring gives your plants the nutrients they need to form mature bulbs.
If you’re growing a hardneck variety, you’ll notice flower stems (called garlic scapes) appearing in early summer. These should be snipped off once they curl. Doing so allows the plant’s energy to focus on growing a largerbulb instead of forming flowers. Plus, garlic scapes are delicious sautéed or blended into pesto.
Harvesting Garlic
By late July or early August, most garlic varieties are ready to harvest. You’ll know it’s time when the bottom leaves of your garlic plants start turning brown.
Use a garden fork to gently lift each head of garlic from the soil.
Brush off excess dirt (but don’t wash them yet) and lay your garlic bulbs in a single layer in a cool place with good airflow. Like a shed or covered porch. For about 2–3 weeks. This curing process helps the skins dry out and improves storage life.
How to Grow Garlic from Bulbils
If you’ve grown hardneck garlic varieties before, you might have noticed those curly green flower stalks that appear in early summer. They’re called garlic scapes. When left uncut, the scape eventually forms a small pod filled with tiny bulbils instead of true seeds.
These garlic bulbils are miniature versions of garlic cloves, and with a little patience, you can grow them into full-sized bulbs over time.
Why Grow Garlic from Bulbils?
Growing garlic from bulbils is one of the best ways to multiply your garlic crop without breaking apart your best bulbs for planting.
Because bulbils form above ground, they’re naturally disease-free, avoiding soil-borne issues that can affect seed garlic or cloves planted directly in soil.
It’s also a great way to preserve rare or heirloom hardneck garlic strains. A true gardener’s trick for long-term sustainability.
How to Collect Bulbils
- When your garlic scapes begin to straighten and the small pod at the top starts to dry, snip off the flower stalk.
- Allow the pod to dry completely in a cool place for a few weeks.
- Once dry, gently break open the pod to release the tiny bulbils inside.
Each bulbil looks like a mini clove and can be planted to grow into a new garlic plant.
How to Plant Garlic Bulbils
Planting bulbils is almost the same as planting cloves of garlic, but it requires a bit more patience.
- Choose a sunny spot with well-drained soil.
- Plant bulbils about 1 inch deep and 2 inches apart in fall, several weeks before the first frost.
- Cover with a layer of mulch or grass clippings to protect them through winter.
During their first year, bulbils usually produce green garlic or small, single-round bulbs (called rounds) rather than full heads.
Growing On for Full Bulbs
In the following year, replant those rounds just like you would with cloves of garlic. Spacing them 4–6 inches apart in loose soil and giving them plenty of sunlight. By the second or third year, depending on the type of garlic, they’ll mature into full-sized garlic bulbs.
Tips for Success
- Use hardneck varieties; softneck garlic doesn’t usually produce bulbils.
- Keep your garlic bed weed-free so the small plants can grow strong.
- Label your varieties so you know which hardneck garlic strain each bulbil came from.
- Store unused bulbils in a cool, dry place until planting time.
While growing garlic from bulbils takes longer than planting cloves, it’s one of the most sustainable ways to grow your own garlic year after year.
It’s perfect for garlic lovers who want to increase their crop naturally, save money on seed garlic, and maintain healthy, disease-free stock on the homestead.
With a bit of time and care, those tiny bulbils will reward you with beautiful, mature bulbs ready for harvest and curing in the following summer. Another step toward growing and preserving your own food from start to finish.
How to Grow Garlic Indoors in Water
Growing garlic indoors in water is a fun, fast, and almost magical way to enjoy fresh garlic greens year-round.
While you won’t get full bulbs this way, you can harvest the tender green shoots to add a mild garlic flavor to dishes like salads, pasta, or scrambled eggs. It’s perfect for kitchen windowsills, apartments, or homesteads during the winter months. 🌱
What You Need
- A head of garlic (any type works, but fresh, plump bulbs are best)
- A glass jar or small cup
- Water
- A sunny windowsill with direct sunlight
Step-by-Step Instructions
- Separate the Cloves
Take your whole bulb of garlic and gently separate the individual cloves. Keep the papery skin on, as it helps protect the clove from rot. - Place Cloves in Water
Fill a small jar or cup with just enough water to cover the bottom of each clove, so the roots can grow but the entire clove isn’t submerged. - Position for Sunlight
Place the jar on a sunny windowsill that gets direct sunlight for several hours each day. Garlic loves light, even indoors! - Change Water Regularly
Replace the water every 2–3 days to keep it fresh and oxygenated, which prevents mold or bacteria. - Watch Roots and Shoots Grow
Within a week, you’ll notice roots sprouting from the bottom of the cloves. Shortly after, green shoots will appear from the top. - Harvest Garlic Greens
Once the shoots are 4–6 inches tall, you can snip them with scissors. These garlic greens have a mild garlic flavor perfect for salad dressings, pasta dishes, or as a garnish.
Tips for Success
- Use fresh, firm cloves. Older grocery store garlic may not sprout well.
- Keep the water level just enough to touch the roots; too much water can cause rot.
- You can leave cloves in the jar to regrow multiple times, but replace them with fresh cloves if they start to shrivel.
- For a longer indoor supply, stagger planting cloves every week.
Why This Method Works
Growing garlic in water is a simple way to enjoy green garlic indoors, even during cold winters. While you won’t get full bulbs, it’s one of the fastest ways to harvest fresh garlic flavor right from your kitchen. And it’s a great project for beginners or kids learning about gardening.
Can you Grow Garlic Chives?
Yes, absolutely. You can grow garlic chives, and they’re a wonderful addition to any homestead garden! 🌿
Garlic chives (also known as Chinese chives or Allium tuberosum) are a hardy perennial herb closely related to both onions and garlic. Unlike regular chives, which have a mild onion flavor, garlic chives offer a delicate garlicky taste that’s delicious in salads, eggs, stir-fries, soups, or even tucked into homemade dumplings.
How to Grow Garlic Chives at Home
If you love garlic but want something that comes back year after year with very little effort, garlic chives might just become your new favorite herb.
They’re easy to grow, beautiful in bloom, and add that mild garlic flavor to your favorite dishes. No peeling garlic cloves required!
Planting Garlic Chives
You can start garlic chives from seeds, transplants, or even by dividing an existing clump from a good friend’s garden.
- When to Plant: Start seeds indoors in early spring or sow directly outdoors after the danger of frost has passed. In warmer climates, they can also be planted in early fall.
- Where to Plant: Choose a sunny spot with well-drained soil. Garlic chives thrive in full sun, but they’ll tolerate a bit of light shade too.
- How to Plant: Sow seeds about ¼ inch deep and 6–8 inches apart. Keep the soil evenly moist until they germinate, which usually takes 1–2 weeks.
Once established, garlic chives spread slowly by rhizomes, forming a dense clump. They’re perfect for an herb bed, a raised garden, or even a container on the porch.
Caring for Garlic Chives
Garlic chives are one of those low-maintenance plants that just keep giving.
- Watering: Keep the soil slightly moist, especially during hot summer months.
- Feeding: A light feeding of compost in early spring will help new growth.
- Trimming: Regularly harvest the leaves to encourage fresh, tender growth. Cut them down to about 2 inches above the soil.
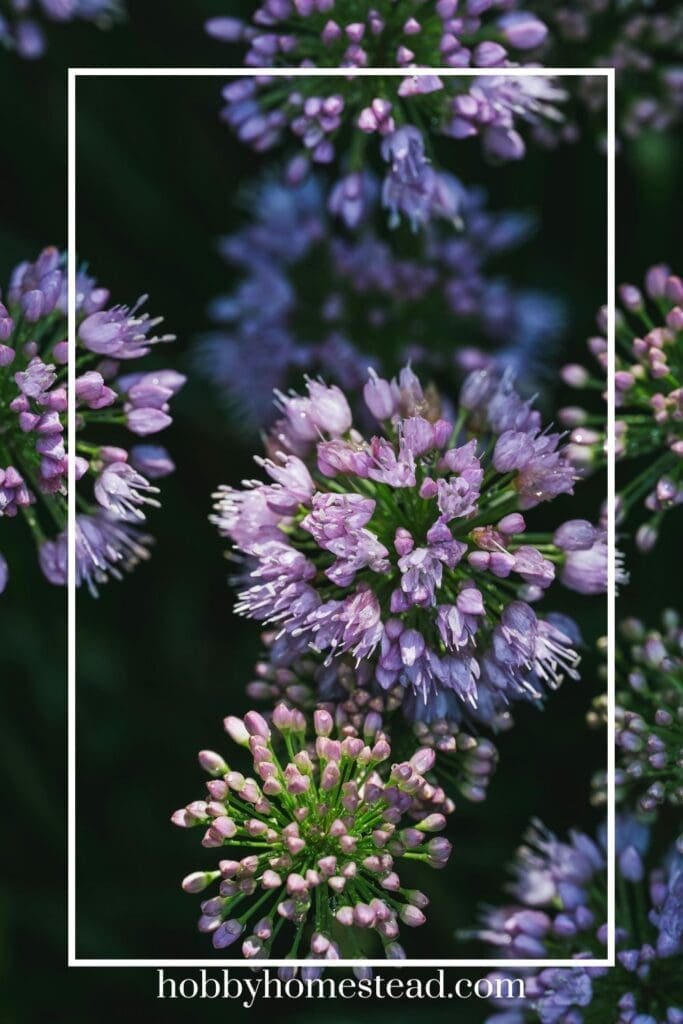
In late summer, garlic chives produce beautiful white star-shaped flowers that attract pollinators. Bees love them! You can also collect the seeds from these flower heads for planting next year.
Harvesting and Using Garlic Chives
Harvest the leaves as needed once the plants are at least 6 inches tall. The green blades have a pleasant, mild garlic flavor that’s wonderful in salad dressings, pasta sauces, and homemade garlic butter.
For a special treat, try sprinkling chopped garlic chives over crusty bread brushed with olive oil, or mix them into scrambled eggs for a subtle garlic twist.
Overwintering and Dividing
Garlic chives are very cold-hardy, surviving even in colder climates with a bit of mulch protection. In spring, the plants will return stronger than before.
Every 3–4 years, divide the clumps in early spring or fall to keep them healthy and prevent overcrowding. Each division can be transplanted to a new garden spot or shared with another gardener.
Growing garlic chives is one of the easiest ways to add long-lasting flavor to your kitchen garden. They require little care, come back year after year, and offer a steady supply of that familiar garlic aroma you love. In a softer, greener form.
Whether you’re tucking them along the edge of your raised beds, growing them in a container by the kitchen door, or adding them to your herb garden, garlic chives are a simple plant that gives back a lot for very little effort.
How to Grow Garlic from Seed?
Growing garlic from seed is possible. But it’s quite different (and much slower) than growing garlic from cloves. Most gardeners plant individual garlic cloves because it’s easy and reliable.
Growing garlic from true seed (the kind produced in flowers) takes patience and several years before you’ll harvest a mature bulb. But if you’re curious or want to experiment with garlic breeding, it’s a fascinating process.
Here’s how to grow garlic from seed step by step:
🌱 What Are Garlic Seeds?
When we talk about “garlic seed,” most people actually mean seed garlic. Whole bulbs or individual cloves used for planting. True garlic seeds, however, come from the flowers of certain hardneck garlic varieties.
These seeds form inside the flower heads (umbels) after the plant blooms and are tiny black seeds that look similar to onion seeds.
Softneck garlic rarely produces flowers or viable seeds, so this method usually works best with hardneck garlic types.
🌼 How to Collect True Garlic Seeds
- Let the scapes grow instead of cutting them. Scapes are the curling flower stalks that appear in early summer on hardneck garlic plants.
- Allow flowers to mature and dry on the plant. You’ll see small black seeds forming inside the papery umbels.
- Harvest the seeds when the flower heads are completely dry and brittle.
- Separate the seeds from the chaff and store them in a cool, dry place until planting time.
🌾 How to Grow Garlic from Seed
- Start seeds indoors. Plant garlic seeds in seed trays filled with moist, well-drained soil. Sow them about ¼ inch deep.
- Provide cool conditions. Garlic seeds need a cold period to germinate, so place them in a cool environment (around 40°F / 4°C) for a few weeks before moving them to warmer temperatures.
- Keep soil moist but not waterlogged. Germination can take several weeks.
- Transplant seedlings when they’re sturdy enough. Usually when they have a few leaves. Move them into a raised bed or sunny garden spot with rich, loose soil.
- Grow through the season. You’ll likely see grass-like shoots the first year. During the first season, the plants usually form small rounds. Tiny bulbs with no cloves.
- Replant the rounds the following fall. After another season (or two), those rounds will mature into full bulbs with individual cloves.
🌿 Tips for Success
- Choose hardneck varieties known to produce true seed, like Chesnok Red or Inchelium Red.
- Growing from seed is best for breeding new varieties or preserving rare types.
- Be patient. Expect 2 to 3 years before harvesting full garlic bulbs.
- For most home gardeners, planting individual cloves remains the easiest and most reliable method.
Storing and Using Garlic
Once cured, store garlic in a cool, dry place. Avoid airtight containers, as garlic prefers to breathe. Properly stored, softneck garlic varieties can last up to 9 months, while hardneck garlic typically lasts 4–6 months.
Save a few best bulbs from your harvest as seed garlic for next year. That’s how gardenera keep their own strains going for generations.
Use your homegrown garlic in everything from pasta sauces and garlic bread to salad dressings and homemade butter. Once you’ve tasted your own garlic, you’ll see why it’s one of the best types of garlic to grow in any homestead garden.
Garlic is one of the easiest crops to grow, and with a little patience, it rewards you with a year’s worth of flavor.

