Last updated on April 8th, 2025 at 10:57 pm
We have put together a great guide for beginners on how to press flowers. It’s a beautiful way to preserve the vibrant colors and delicate beauty of your favorite blooms, whether they’re wildflowers, garden favorites, or those from a special occasion. There are different methods for pressing flowers, each offering a unique approach to capturing nature’s charm.
In this guide, we’ll explore the best ways to press flowers, the materials you’ll need, and answer common questions about the process.

Table of contents
The Most Popular Method of Pressing Flowers
The most popular method of pressing flowers is the book method. This method is favored by many for several reasons.
Simplicity. The book method is straightforward and doesn’t require any special equipment. All you need is a large, heavy book (like a phone book or an encyclopedia), some absorbent paper (like tissue paper or blotting paper), and pieces of cardboard to distribute the pressure evenly.
Accessibility. Most people already have the necessary materials at home, making it an easy method to start with, especially for beginners. There’s no need to purchase a specialized flower press or other tools.
Effectiveness. The book method provides excellent results, especially for smaller or flatter flowers. The pressure from the heavy books flattens the flowers evenly, and the absorbent paper helps wick away moisture during the drying process, preserving the flowers’ colors and details.
Versatility. This method works well for a wide variety of flowers and plant materials. You can press multiple flowers at once by using different pages of the book, making it efficient for larger projects.
Nostalgia. Many people enjoy the book method because it’s a traditional and nostalgic way to press them. It’s been used for generations, and there’s something special about finding a flower carefully pressed between the pages of a beloved book.
Overall, the book method is popular because it’s a simple, accessible, and effective way to press flowers, making it ideal for both beginners and experienced crafters.
Youtube Channel Video Tutorials
See how I make my pressed flowers
See how the pressed flowers turned out
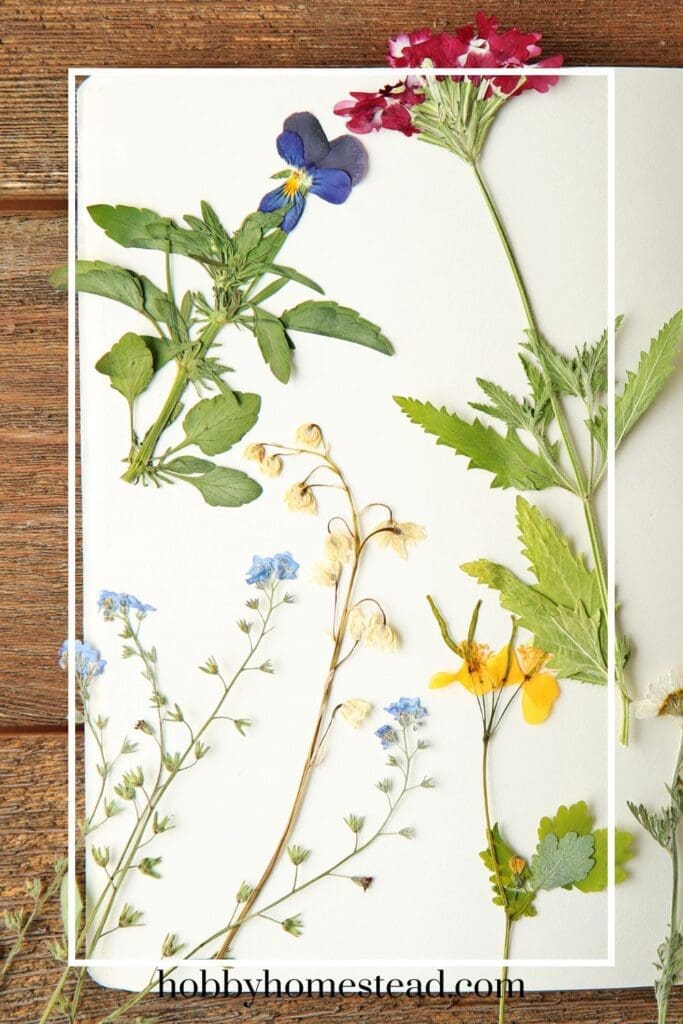
What is the Best Way to Press Flowers?
The best way to press flowers largely depends on the resources available to you and the type of flower art you want to create. Here are some of the most common methods:
Book Method (Traditional Method)
Materials Needed. A large book or phone book, pieces of cardboard, absorbent paper towels, and a few heavy books.
Process. Place the flowers between sheets of absorbent paper or tissue paper, then sandwich them between pieces of cardboard. Insert this setup in the pages of the book, placing more books or a heavy object on top for added pressure. This simple way is ideal for pressing smaller flowers or flat blooms and generally takes 2-4 weeks for the best results.
Wooden Flower Press
Materials Needed. A wooden flower press, sheets of absorbent paper, and layers of cardboard.
Process. After selecting the right flowers (preferably fresh flowers without morning dew), place them between sheets of paper and layers of cardboard. Tighten the wing nuts on the wooden boards to evenly press the flowers. This method is particularly effective for pressing thicker flowers, as the pressure can be adjusted based on the thickness of the blossom.
Microwave Flower Press
Materials Needed. A microwave flower press or two pieces of wood, rubber bands, blotter paper, and a microwave.
Process. Arrange the flowers in a single layer of petals between sheets of blotter paper. Place the setup between the wooden boards, secure with rubber bands, and microwave in short bursts of 10-20 seconds. This is the easiest way to press flowers if you’re in a hurry, providing quicker results, although it might not be suitable for all types of blossoms.
Do You Press Fresh or Dried Flowers?
For the best results, it’s a good idea to press fresh flowers rather than dried flowers. Fresh flowers retain their vibrant colors and are more pliable, making them easier to flatten during the drying process.
However, if you use dried flowers, be cautious as they can be brittle and may break during pressing. The right time to press flowers is when they are freshly picked and free of morning dew.
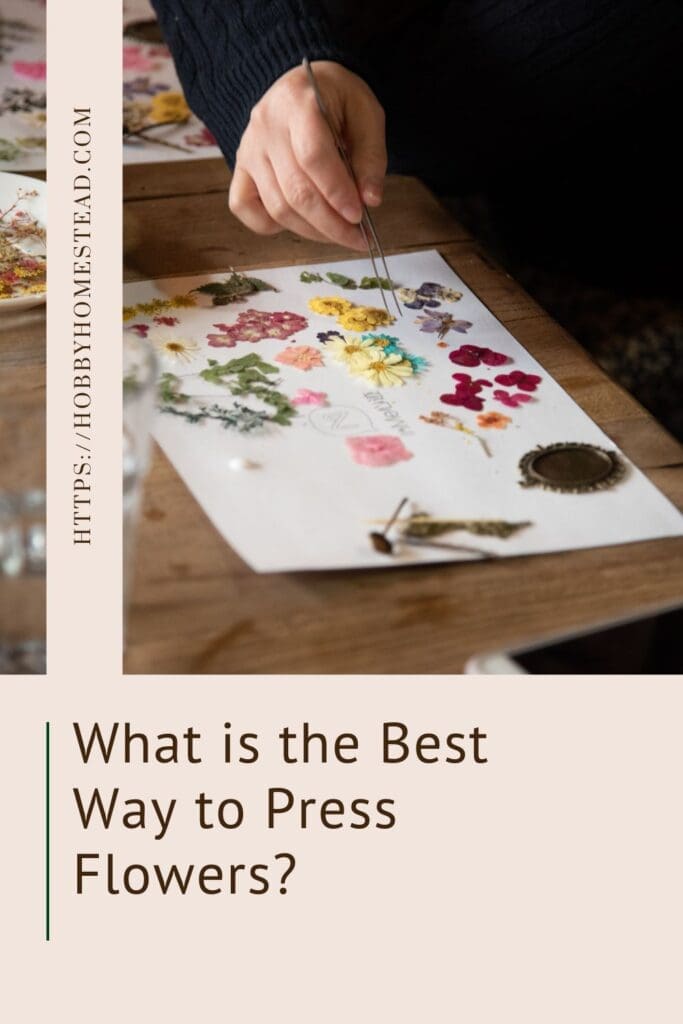
How to Keep the Pressed Flowers from Turning Brown?
Keeping your bloom from turning brown involves several key steps to ensure they retain their vibrant colors throughout the drying and pressing process. Here’s how to do it:
Pick Fresh Flowers at the Right Time
Morning Picking. Collect flowers in the morning after the dew has evaporated but before the sun becomes too strong. Flowers picked during this time are less likely to wilt or lose moisture too quickly, which can cause browning.
Fresh and Healthy Blooms. Choose flowers that are fresh and free from blemishes or signs of decay. Older or partially wilted flowers are more likely to turn brown during the pressing process.
Proper Drying and Pressing Techniques
Immediate Pressing. Press the flowers as soon as possible after picking. The longer flowers sit out, the more they begin to decay and turn brown.
Use Absorbent Paper. Place the flowers between sheets of absorbent paper, such as blotting paper, tissue paper, or coffee filters. This helps draw out moisture evenly, preventing the flowers from becoming moldy or brown.
Avoid Overcrowding. Arrange flowers in a single layer with space between them. Overlapping flowers can trap moisture and lead to browning.
Consistent Pressure. If using the book method or a wooden press, apply consistent, even pressure. This ensures the flowers dry uniformly, which helps preserve their colors.
Controlled Environment
Dry, Dark Place. Store the pressed flowers in a dry place, away from direct sunlight, which can cause fading and browning. Excess humidity or moisture in the air can lead to mold growth, which also causes browning.
Avoid Heat. While microwaving can speed up the pressing process, it can also increase the risk of browning if not done carefully. Use short bursts of low heat to prevent overheating the flowers.
Preventing Oxidation
Minimize Exposure to Air. After pressing, store your flowers in an airtight container to protect them from air and moisture, both of which can cause oxidation and browning over time.
Use Preservatives. Consider using silica gel or other flower-preserving agents that absorb moisture and help maintain the flower’s color.
Choose the Right Flowers
Best Candidates. Some flowers are more prone to browning than others. Thicker flowers or those with high moisture content may brown more easily. Opt for flowers known to press well, such as pansies, daisies, and wildflowers with flatter, less bulky blooms.
Handle with Care
Gentle Handling. Be gentle when handling fresh and pressed flowers. Bruising or damaging the petals can lead to browning.
By following these steps, you can minimize the risk of your pressed flowers turning brown and help them retain their natural beauty for years to come.
The Layering Method to Prevent Mold
This method involves a strategic layering of materials that helps manage moisture and airflow, both of which are critical in preventing mold. Here’s the step-by-step process.
Corrugated Cardboard.
Start with a piece of corrugated cardboard. The corrugation (the ridged structure) allows air to circulate through the layers, which is essential for drying the flowers evenly and preventing trapped moisture that can lead to mold.
Blotting Paper. Place a sheet of blotting paper on top of the cardboard. Blotting paper is highly absorbent and effectively draws moisture away from the flowers, which is crucial during the drying process.
Newspaper. Add a layer of newspaper on top of the blotting paper. Newspaper is another absorbent material that can soak up excess moisture, providing an extra layer of protection against mold.
Blotting Paper. Place another sheet of blotting paper over the newspaper. This creates a double layer of moisture-absorbing materials, ensuring that any remaining moisture is wicked away from the flowers.
Corrugated Cardboard. Finish with another piece of corrugated cardboard. This completes the sandwich, creating a breathable and moisture-controlled environment for pressing the flowers.
Why This Method Works
Airflow. The corrugated cardboard allows air to flow through the layers, which helps to keep the flowers dry and prevents the buildup of moisture that can cause mold.
Moisture Absorption. The combination of blotting paper and newspaper effectively absorbs moisture from the flowers, reducing the risk of mold development.
Layering. The layering method provides a balanced approach, ensuring that the flowers are not only pressed evenly but also dried thoroughly.
Benefits of Using This Method
No Mold. By allowing air circulation and absorbing moisture, this method significantly reduces the chances of mold forming on your flowers during the pressing process.
Even Drying. The layered materials help ensure that flowers dry evenly, which also helps to maintain their color and prevent browning.
Effective for Thicker Flowers. This method is particularly effective for pressing thicker flowers or blooms with higher moisture content, as it manages moisture more effectively than using a single layer of absorbent material.
Tips for Success
Check Regularly. While this method is highly effective, it’s still a good idea to check your flowers periodically to ensure they are drying properly.
Store in a Dry Place. As always, keep your layered setup in a dry place, away from direct sunlight, to further prevent mold and fading.
Using this method, you can confidently press flowers without worrying about mold, even with flowers that might otherwise be prone to moisture-related issues.
Additional Tips for Flower Pressing
Choosing the Right Flowers
The best flowers for pressing are those with flat blooms or thinner petals, like pansies, daisies, and wild flowers. Avoid bulky flowers unless you’re willing to separate the petals or flatten them before pressing.
Preparing the Flowers
Before pressing, gently blot any moisture from fresh flowers with absorbent paper towels. If you’re using the wooden press method or the book method, place a piece of parchment paper or wax paper over the flowers to prevent them from sticking to the sheets of absorbent paper.
Pressing and Drying
Keep the flowers in a dry place away from direct sunlight, which can fade the vibrant colors. The amount of time needed for pressing varies; however, allowing the flowers to press for a long time (typically 2-4 weeks) will give you better results.
Creative Uses for Pressed Flowers
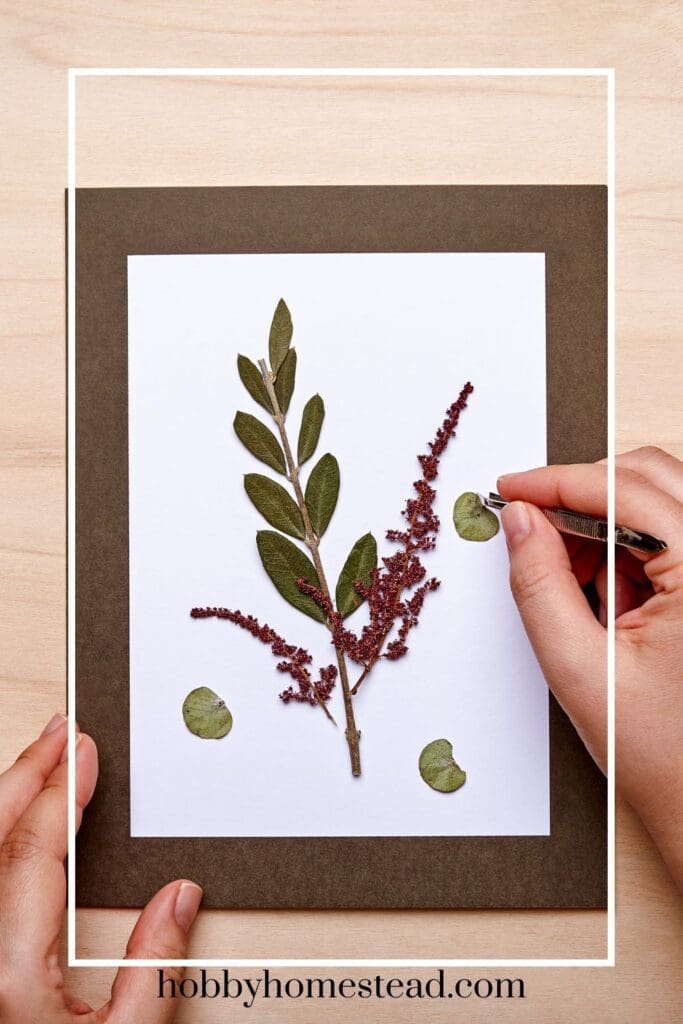
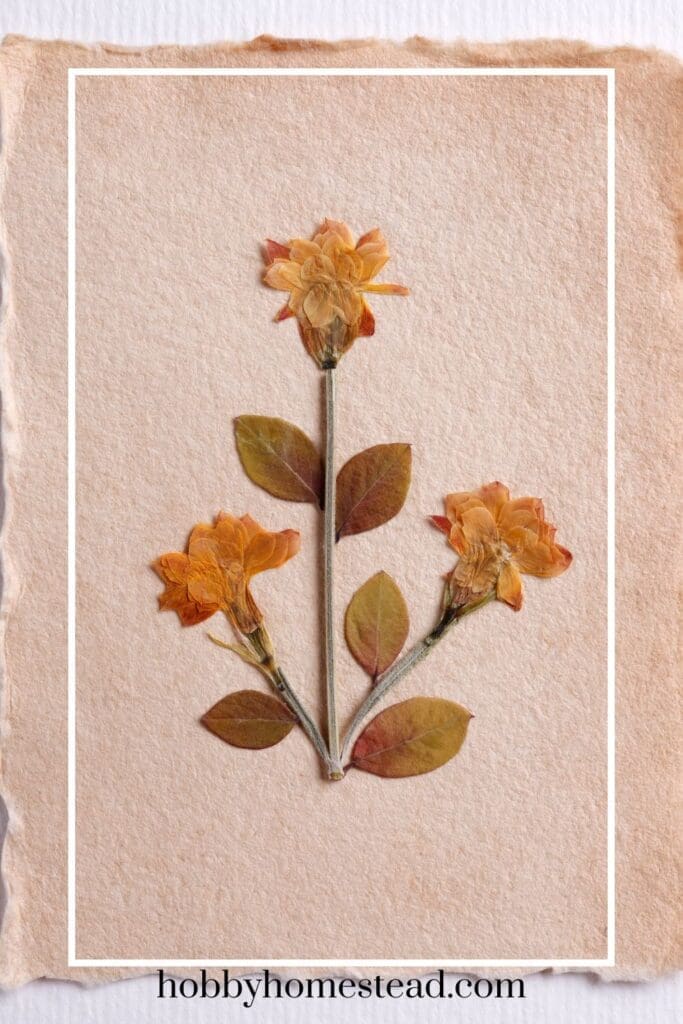
Pressed flowers can be used in a variety of craft projects, from greeting cards and floating frames to bookmarks and decorations for a special event. They also make a great gift for a special occasion or as a unique keepsake.
Unique Tidbit
Did you know that pressing flowers is a wonderful way to preserve memories? Many people create keepsakes from weddings, anniversaries, or other meaningful events as a lasting reminder of that day.
This is a fun way to preserve the beauty of summer blooms, wild plants, or garden favorites. By choosing the right flowers, using different techniques like the wooden flower press, and giving your blooms ample time to dry, you can create stunning floral art that lasts for years.
Whether you’re making a great gift or simply enjoying a relaxing hobby, flower pressing is a timeless craft that connects you with nature in a unique and meaningful way. Happy pressing!
References
Spruce Crafts. How to Press Roses.
Reddit. How to Press/Dry Flowers Without Mold.
Other useful blog posts you might find interesting.

