Last updated on August 3rd, 2025 at 11:33 am
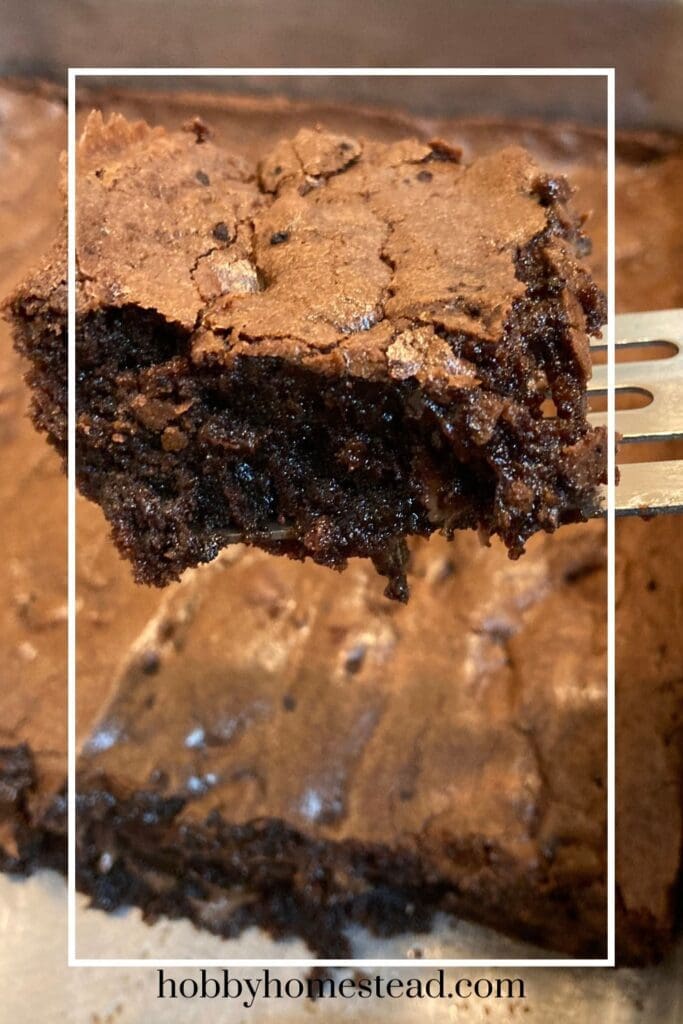
There’s something deeply satisfying about making a batch of homemade brownies from scratch. We love seeing the crinkly top and the super moist and fudgy brownies. While these can be stored in the refrigerator or frozen for longer storage, that is never an issue at our house. They rarely last more than two days. They are scrumptious.
For homesteaders and DIY enthusiasts, this recipe is more than just dessert. It’s an opportunity to embrace traditional skills, use wholesome ingredients, and create something truly delicious for your family.
Whether you’re baking for a special occasion or just need a little chocolate pick-me-up, these rich and chewy brownies are sure to become a staple in your homestead kitchen.
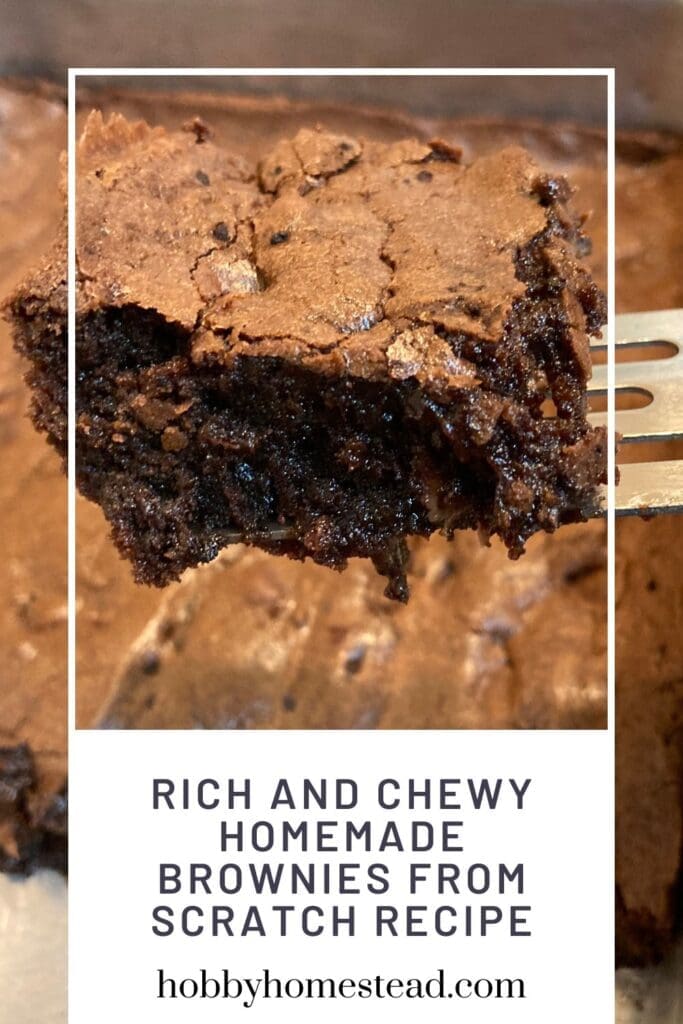
Why Make Brownies from Scratch?
Homemade brownies for us are superior to a store-bought box mix. By using simple ingredients like real butter, natural cocoa powder, and eggs from your backyard hens (if you’re lucky enough to have them!), you’re not only avoiding unnecessary preservatives but also reducing food waste.
Plus, the process of making brownies from scratch is easy and the results are so rewarding.
Rich and Chewy Homemade Brownies from Scratch Recipe
As an Amazon Associate I earn from qualifying purchases.
Equipment
Ingredients
- 3 Cups Granulated Sugar
- 1 Cup Butter melted
- 1 Tablespoon Vanilla Extract
- 4 Large Eggs room temperature for the best results
- 1 ½ Cups All-Purpose Flour
- 1 Cup Unsweetened Cocoa Powder
- 1 Cup Semisweet Chocolate Chips or chunks
Instructions
- Preheat your oven to 350°F (175°C). Line a 9×13-inch baking pan with parchment paper or aluminum foil, allowing the sides to hang over the edges for easy removal. Alternatively, you can prepare pan with a light spray of cooking oil spray.
- In a large bowl, combine the melted butter, white sugar, and vanilla extract. Stir until smooth. Crack in the eggs one at a time, mixing well after each addition to create a glossy mixture.3 Cups Granulated Sugar, 1 Cup Butter, 1 Tablespoon Vanilla Extract, 4 Large Eggs
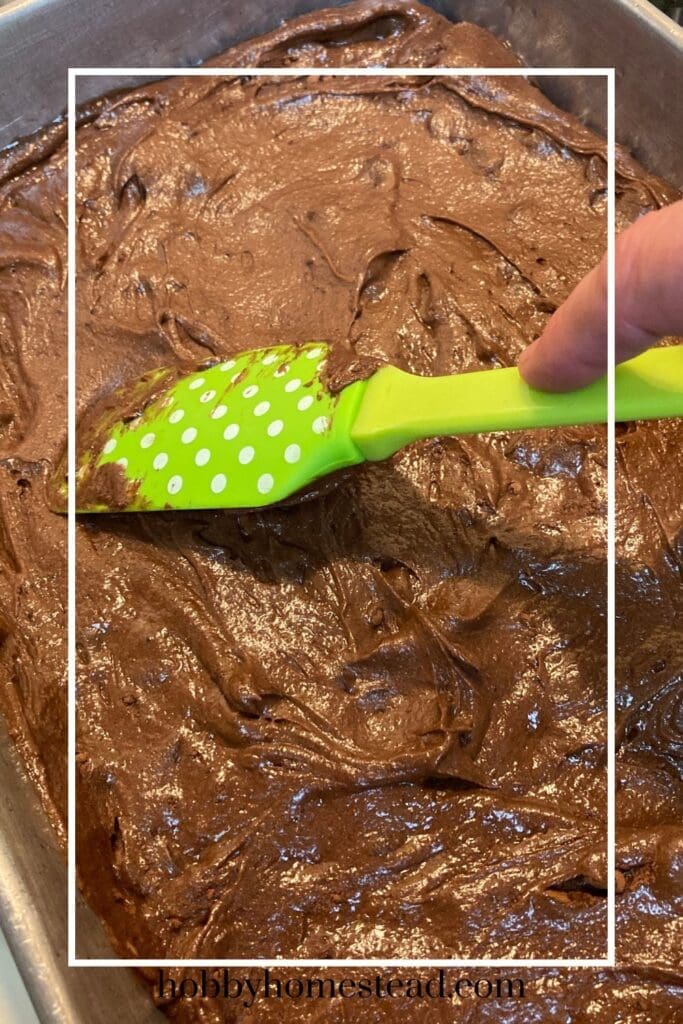
- In a medium bowl, whisk together the all-purpose flour and unsweetened cocoa powder. Gradually fold the dry ingredients into the wet ingredients, mixing just until combined.1 ½ Cups All-Purpose Flour, 1 Cup Unsweetened Cocoa Powder
- Stir in the semisweet chocolate chips or chocolate chunks for an extra burst of chocolate in every bite.1 Cup Semisweet Chocolate Chips
- Pour the brownie batter into your prepared pan and spread it evenly. Bake for 40-45 minutes, or until a toothpick inserted into the center comes out with moist crumbs (not wet batter).
- Let the brownies cool completely in the pan before using the parchment paper to lift them out. Slice into squares and enjoy.
Nutrition
Homestead Kitchen Tips
Egg Substitutes. If eggs are scarce, try using flaxseed meal or applesauce as an alternative.
Natural Ingredients. Use natural cocoa powder for a rich chocolate flavor or Dutch process cocoa powder for a deeper, smoother taste.
Waste-Free Storage. Store your brownies in an airtight container lined with reusable beeswax wraps. They’ll stay fresh for 3-4 days at room temperature or up to a week in the fridge.
How to Customize Your Brownies
On the homestead, flexibility is key. This recipe is no different. Try these variations to suit your pantry and tastes.
Flour Substitutes. Use almond flour or coconut flour for a gluten-free option.
Sweetener Swaps. Substitute some of the white sugar with brown sugar for a deeper molasses flavor.
Add-Ins. Stir in nuts, dried fruit, or even a drizzle of homemade caramel sauce for a decadent twist.
Top It Off. Sprinkle sea salt on top of the batter before baking for that sweet and salty contrast.
Why This Recipe Belongs in Your Homestead Kitchen
Homemade brownies are more than just a treat; they’re a reminder of the joys of cooking from scratch. With every step, you’re reinforcing the values of sustainability, resourcefulness, and creativity that define homesteading.
Plus, these brownies are the perfect dessert to share with family members after a long day in the garden or as a reward for tackling a big DIY project. Trust us, the rich chocolate flavor and chewy texture make them the best brownies you’ll ever bake.
Common Brownie Troubleshooting Tips
Even the most experienced bakers can encounter hiccups. Here are some common brownie problems and solutions to ensure your brownies turn out perfect every time:
Dry or Overbaked Brownies
Cause. Overbaking is often the culprit.
Solution. Keep a close eye on the bake time and use the toothpick test. For fudgy brownies, the toothpick should come out with moist crumbs, not wet batter or completely clean.
No Crackly Top
Cause. The sugar and eggs weren’t fully combined.
Solution. Beat the sugar and eggs together until the mixture is light and fluffy. This aeration helps create that signature crackly crust.
Brownies Sink in the Middle
Cause. Overmixing the batter or using too much leavening.
Solution. Mix the wet and dry ingredients just until combined. Avoid adding extra baking powder or soda. This recipe doesn’t require any!
Too Cakey
Cause. Overmixing or too much flour.
Solution. Stick to the exact measurements, and gently fold in the flour to maintain a fudgy texture.
Pairing Suggestions for the Perfect Treat
Enhance your brownie experience with these delightful pairing ideas.
Fresh Dairy Options. A glass of cold milk from your homestead cows or goats is a classic choice. The creamy, cool taste complements the rich chocolate flavor beautifully.
Fruit Companions. Serve Homemade Brownies from Scratch with fresh berries like strawberries, raspberries, or blueberries. Their tartness balances the sweetness of the brownies.
Whipped Cream or Ice Cream. Add a dollop of homemade whipped cream or a scoop of vanilla ice cream for a luxurious dessert. Try making your own ice cream for an extra homestead touch!
Coffee or Tea. Pair your brownies with a cup of strong coffee or herbal tea. A shot of espresso enhances the chocolatey richness, while tea adds a subtle contrast.
Savory Contrast. Feeling adventurous? Pair brownies with a sprinkle of sea salt or a small piece of aged cheese for a sweet and savory twist.
Drizzles and Toppings. Drizzle warm caramel sauce or dark chocolate ganache over your brownies. A sprinkle of chopped nuts or coconut flakes adds texture and flavor.
These pairings not only make the brownies more indulgent but also turn a simple dessert into a memorable experience.
What Kind of Baking Pan is Best for Fudgy Brownies?
The type of pan you use for baking brownies can affect the results. Here’s a breakdown.
Glass Pan
Pros. Glass is an excellent insulator, meaning it retains heat well and distributes it evenly. Once hot, it keeps the brownies warm for a longer time, making it a great option if you’re serving them fresh from the oven.
Cons. Glass heats more slowly, so your brownies may take slightly longer to bake. Over time, the retained heat can lead to overbaking, especially around the edges.
Tips
- Lower the oven temperature by about 25°F to prevent overcooking.
- Keep an eye on the bake time, particularly toward the end.
Aluminum Pan
Pros. Aluminum is a great conductor of heat, allowing for quicker, more even baking. It’s lightweight and typically more affordable than glass.
Cons. Aluminum cools down quickly after being removed from the oven, so brownies won’t stay warm as long. It can react with acidic ingredients (like lemon juice or vinegar), but this isn’t an issue with brownies.
Tips
Use light-colored aluminum pans to avoid over-browning the edges. Dark-colored pans absorb more heat, which can lead to crispier edges.
Which Should You Choose?
For fudgy brownies with soft edges, a glass pan may work better, especially if you reduce the baking temperature. If you want a quick bake and are aiming for even texture throughout, go with an aluminum pan.
Other Considerations
Nonstick Pans. Nonstick metal pans work similarly to aluminum but can produce a slightly darker crust.
Lining with Parchment Paper. Regardless of the type of pan, line it with parchment paper for easy cleanup and to prevent sticking.
Homemade Brownies from Scratch Wrap-Up
This Rich and Chewy dessert Recipe is as easy as it is rewarding. Whether you’re a seasoned homesteader or just beginning your journey to self-sufficiency, this recipe is a simple and delicious way to enjoy the fruits of your labor.




My family loved this!