Last updated on August 3rd, 2025 at 11:35 am
Render pure lard from pork fat and create a liquid gold. It’s a rewarding process that connects homesteaders to traditional cooking practices.
When I was first married years ago, my mother-in-law taught me how to render lard. She just used a roasting pan to melt the fat at a very low temperature. On the farm, she was happy to spend the day in the house.
While she used large chunks of fat, I’ve since learned it is better to use smaller pieces. It melts faster, you can use a lower heat, and it takes less time.
It allows you to create your own lard, free from preservatives and additives found in many store-bought fats. Rendering your own lard, you’re embracing a sustainable approach to cooking that not only reduces food waste but also promotes a zero-waste kitchen ethos.
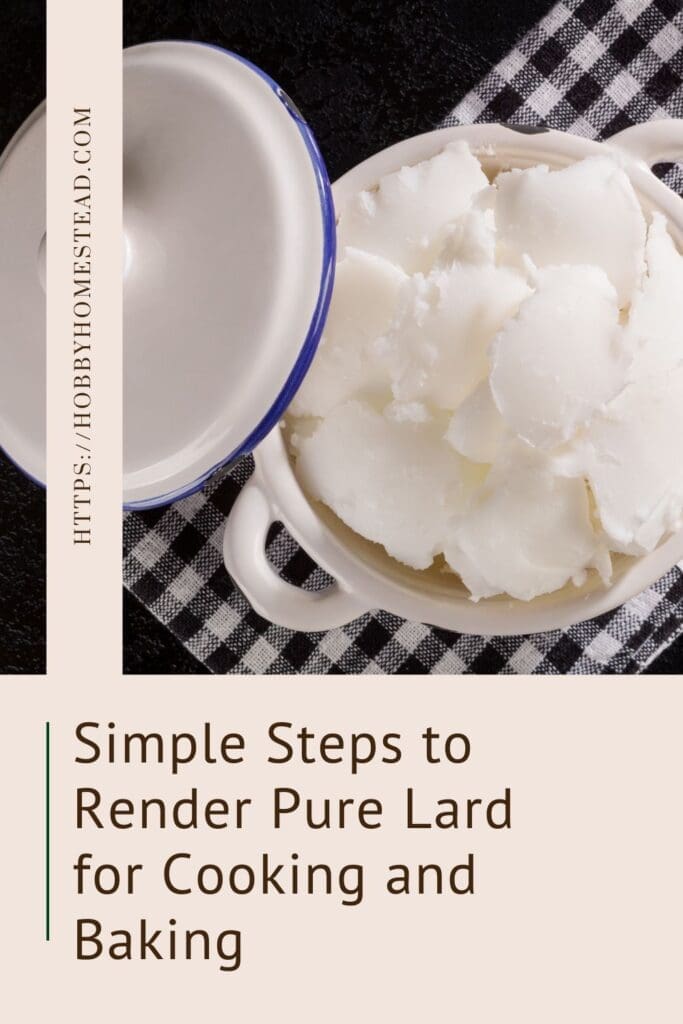
Simple Steps
There are different types of fat. Pork belly fat can be used to render lard, though it’s not the traditional choice. Pork belly fat is typically softer and has more meat attached than the firmer leaf fat (from around the kidneys) or back fat (from the pig’s back), which are often preferred because they render a purer, milder-tasting lard.
If you render lard from pork belly, you’ll get a flavorful fat, but it may have a stronger porky taste and possibly a darker color due to the meat content. This type of lard works well for savory dishes and frying but might not be ideal for baking where a neutral taste is desired.
However, if it’s what you have on hand, pork belly fat can still produce a versatile cooking fat. Just keep in mind that the flavor profile may vary.
Whether you choose to use leaf lard, which is prized for its purity and mild flavor, or back fat, which offers a robust flavor, you’re tapping into a valuable resource.
With just a few simple steps and some time, you can transform raw fat into a creamy, white melted fat. That is perfect for baking flaky pie crusts, frying, and enhancing the flavor of various dishes.
Overview of Rendered Fat
To begin the rendering process, chop your pork fat into small pieces for optimal surface area. This allows the fat to melt evenly and quickly.
You have several options for rendering: the slow cooker, stovetop, or roasting in the oven. The slow cooker method is a favorite among homesteaders because it allows for a hands-off approach; simply set it to low heat and let it work its magic for 4–5 hours.

On the stovetop, cook the fat over medium to low heat for 2–4 hours, stirring occasionally to prevent any sticking.
If you prefer to use the oven, preheat it to 250°F (120°C) and render the fat in a roasting pan for 3–4 hours. Regardless of the method you choose, the goal is to melt the fat slowly, turning it into a liquid state that can be easily strained.
Once rendered, the fat will separate into rendered lard and bits of meat. You will then strain out using a fine mesh strainer or coffee filter. The resulting liquid fat will solidify as it cools. It turns into the purest lard that you can store in a glass jar or other airtight container.
What to Use Lard for?
Properly rendered lard has a high smoke point, making it suitable for high-heat cooking. Like deep frying and sautéing, and it can even be used as a substitute for shortening in baked goods. It’s a great way to enjoy the nutritional benefits of animal fats over seed oils, vegetable oils, or canola oil.
Shelf Life
Storing your lard is simple. It can last for a long time in the refrigerator or freezer. Up to one year, 6 to 12 months.
With each jar of homemade lard, you’re enriching your pantry with good fats. It improves the flavor and texture in your meals, making it a great addition to your homesteading lifestyle.
This guide will take you through each step of rendering, storing, and preserving your lard, ensuring you have high-quality, shelf-stable lard ready to use in countless recipes.
Simple Steps to Render Pure Lard for Cooking and Baking
As an Amazon Associate I earn from qualifying purchases.
Equipment
Ingredients
- 4 Pounds Pork Fat leaf fat or back fat for best results
- ¼ Cup Water optional
Instructions
- Trim off any remaining bits of meat and gristle from the pork fat. Cut the fat into small 1/2-inch cubes or use a food processor to pulse the fat into pea-sized pieces (this maximizes surface area for quicker rendering).
- Optional Step. Add a few tablespoons of water to the bottom of your pot, slow cooker, or roasting pan to prevent early browning.
Render the Lard. Choose one of the following methods.
Slow Cooker Method
- Place the pork fat cubes in the slow cooker and set to low heat. Allow the fat to slowly render, stirring occasionally.
- Cook for 4–5 hours, or until the small cubes look shrunken, and golden liquid fat has pooled in the slow cooker.
Stovetop Method
- Place the fat in a large, heavy-bottomed pot or Dutch oven on the stove over low heat. The lowest heat setting possible. Making sure not to boil.
- Render the fat for 2–4 hours, stirring occasionally to prevent sticking or burning. The fat will slowly melt, releasing the liquid fat.
Oven Method
- Preheat the oven to 250°F (120°C). Spread the fat evenly in a large roasting pan and place in the oven.
- Render the fat for 3–4 hours, stirring every 30–45 minutes to ensure even melting.
- Once the fat has fully rendered and no more liquid is being released, turn off the heat.
- Use a fine mesh metal strainer or cheesecloth to pour the liquid fat into jars, filtering out any remaining bits.
- Let the jars cool at room temperature until the lard solidifies to a creamy white color.
- Store in an airtight container in the refrigerator for up to 6–12 months.
- For long-term storage, freeze in small, airtight containers for up to a year or more.
Notes
Tips
- For a cleaner flavor, use leaf fat from around the kidneys.
- Avoid high heat to keep the lard white and mild.
- Store any lard used for frying separately, as it will take on the flavor of the foods cooked in it.
- Yield. Approximately 1–2 cups of rendered lard per pound of pork fat.
Nutrition
One My Favorite Things is the Versatility
When it comes to cooking and baking, few ingredients are as versatile and treasured in the homesteading world as pure lard.
From homemade pie crusts to savory dishes, rendered lard has been a trusted kitchen staple for generations. Learning to render your own lard offers independence from processed oils. It brings a wholesome, traditional fat into your cooking. Sourced right from your own kitchen, butcher shop, or local farm.
How to Store Lard
It will last the longest in the freezer a year or more. Freeze it in portioned sizes in airtight containers, and it will keep for up to a year or more without compromising quality. Frozen lard stays fresh and easy to scoop once thawed.
In the refrigerator in a sealed glass jar or other airtight container, 6 to 12 months.
If kept at room temperature in a dark, cool place, it can last for a few weeks. However, warmer climates or direct sunlight can cause it to spoil faster, so refrigeration is often best.
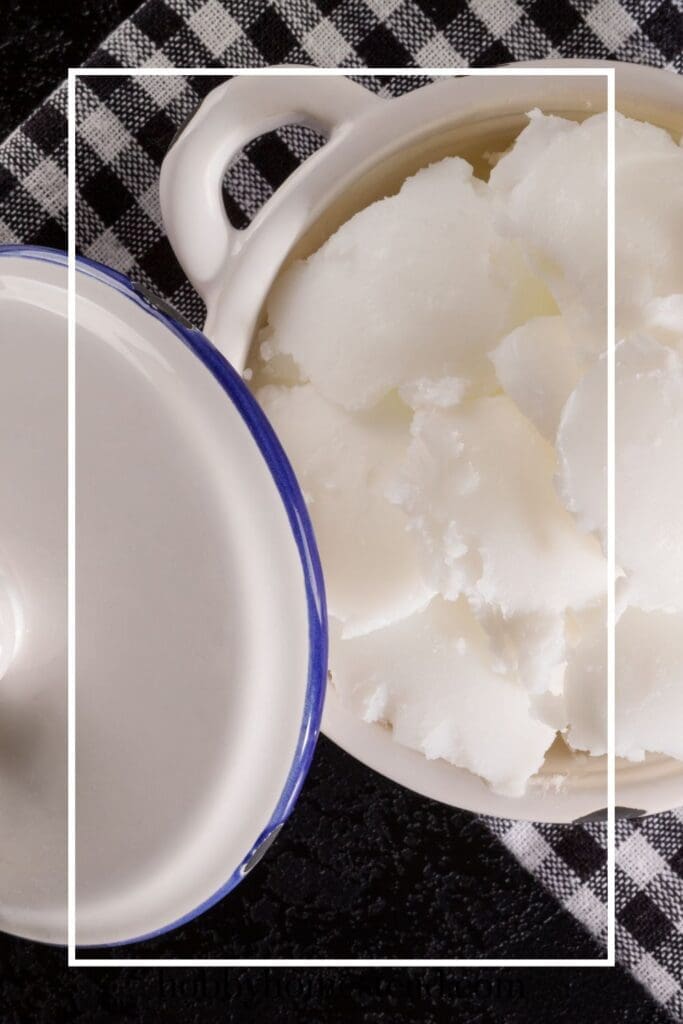
How to Store Lard After Frying
Once lard has been used for frying, it can still be reused, though it will take on a bit of flavor from whatever was fried in it. Let the lard to cool, then strain it through a fine mesh, cheesecloth, or paper towel to remove any bits of food.
Store it in a sealed container in the refrigerator and aim to use it for frying or roasting rather than baking delicate recipes, as it may carry a hint of flavor.
How to Use Lard in the Homestead Kitchen
Rendered lard is incredibly versatile. Use it to replace vegetable oil or shortening in frying, baking, and even sautéing.
It adds a beautiful richness to pie crusts, biscuits, and tortillas, and its high smoke point makes it ideal for deep frying.
You can also use lard as a base for homemade soap, a traditional practice among homesteaders, since it creates a firm, moisturizing bar.
Embracing the Homesteading Tradition of Rendering Lard
Rendering your own lard brings the satisfaction of self-sufficiency and connects you with traditional practices of making the most out of every resource.
By learning this process, you’re choosing a healthy, natural fat source that aligns with sustainable living. Whether you’re using it for cooking, baking, or soap-making, pure lard offers versatility and flavor that modern fats can’t match.
Plus, with every jar you fill, you’re carrying on a craft that has sustained generations of homesteaders.
With these steps, you’ll be well-equipped to render lard at home, a simple yet rewarding process that yields a versatile and enduring ingredient.
Is lard made from pig fat just bacon grease?
While lard and bacon grease are similar, they’re not exactly the same.
Pure lard is made from slow rendering (melting down) raw pig fat. This rendering process produces a mild, white, pure fat with a neutral flavor, making it excellent for baking and cooking.
Bacon grease, on the other hand, is the fat rendered from cooking bacon, which is cured and often smoked. This gives bacon grease its distinctive smoky, savory flavor and slightly darker color. While bacon grease works well for adding flavor to dishes, it’s generally not as versatile for recipes requiring a mild fat, like a flaky pie crust or pastry.
In short:
Lard is pure, unflavored pig fat and is ideal for versatile cooking.
Bacon grease has been flavored by the curing and smoking of bacon, making it more suitable for savory dishes where you want that smoky taste.
Both are valuable fats to keep in the kitchen, but lard’s neutral taste and versatility make it a favorite for baking and frying without affecting the dish’s flavor.
How can you tell if lard has gone bad?
Like any fat, it can go bad over time. Here are some things to check to see if your lard has spoiled.
Smell. Fresh lard has a mild, neutral smell. If it has developed a sour, musty, or “off” odor, it has likely spoiled. This is often the first and most obvious sign of rancidity.
Appearance. Look for a white or cream-color. If you notice any yellowing or dark spots, it’s likely gone bad. Discoloration indicates oxidation or contamination, which occurs over time, especially if it’s not stored in a cool, dark place.
Texture. When it’s good-quality it should be smooth and creamy when at room temperature. If it’s become grainy or has a slimy consistency, this could mean that it’s no longer fresh.
Taste. If the lard has a bitter or sour taste, it’s definitely past its prime. You should always test cautiously, as the flavor of rancid fat can overpower your dish.




Thanks for this information.