Learn how to Clean Pots and Pans Using Baking Soda and Vinegar. If your pots and pans take a daily beating the way ours do, you know how quickly they can go from shiny to scorched.
Between canning sessions, big-batch meals, and the inevitable “oops” moments, I’ve relied on this baking-soda-and-vinegar cleaning method more times than I can count. It’s simple, non-toxic, budget-friendly, and uses ingredients already sitting in almost every pantry.
Today I’m sharing exactly how to clean pots and pans with baking soda and vinegar. Plus, the best methods for burnt bottoms, stubborn stains, and tough stuck-on food residue.

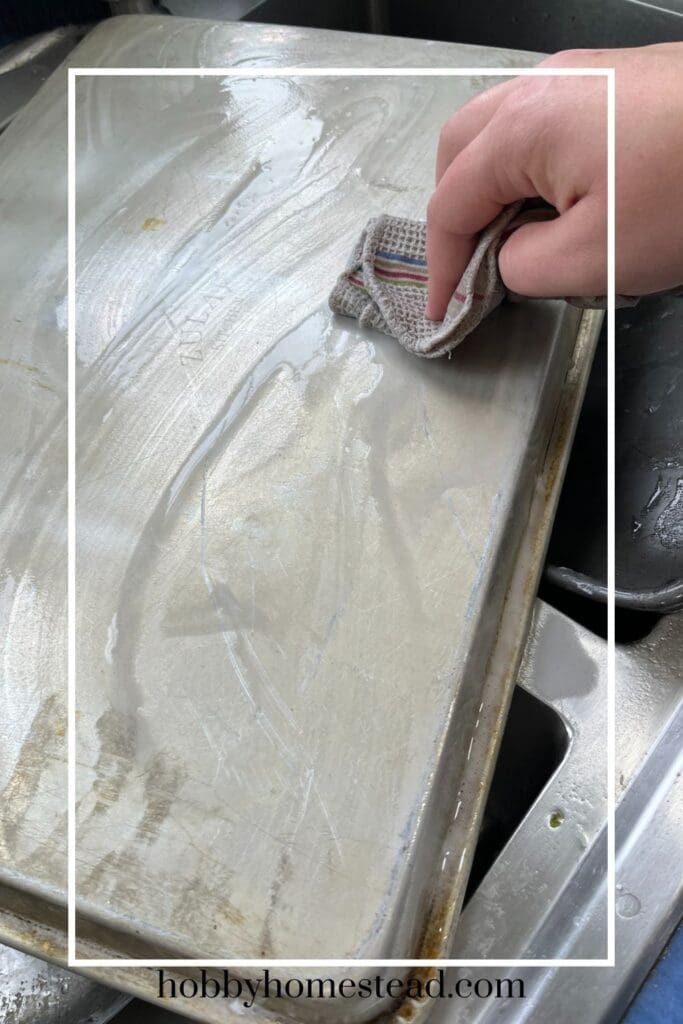
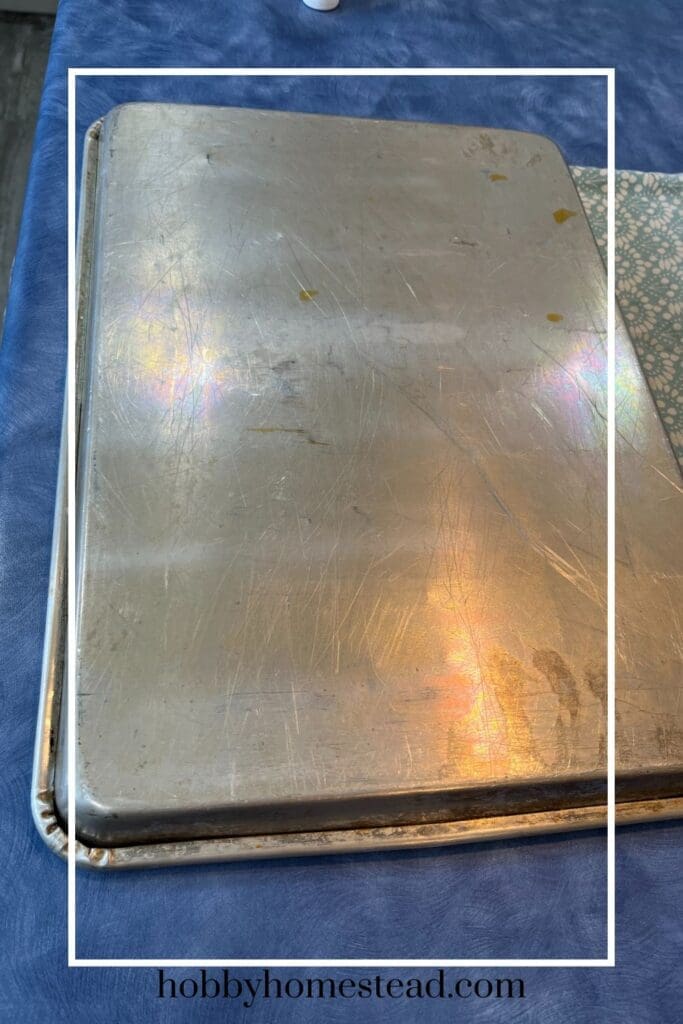
I am cleaning a few cookie sheets and a roasting pan before they get too stained. While they won’t return fully to their former glory, they will look better.
Whether you’re trying to revive a favorite stainless-steel pot or tackle a pan that looks beyond saving, this step-by-step guide will help you get your cookware sparkling again.
Why Baking Soda and Vinegar Work So Well
Baking soda and vinegar aren’t just old-fashioned remedies passed down from grandma. They’re genuinely powerful natural cleaners.
- Baking soda is a gentle abrasive that lifts residue without scratching most surfaces. It also neutralizes odors and helps break down oils.
- Vinegar is acidic, making it excellent at cutting through grease, dissolving mineral deposits, and loosening stuck-on grime.
When used correctly (more on this below!), these two simple ingredients can transform dull, dirty cookware into something that looks nearly new.
Best Types of Cookware for This Method
This baking-soda-and-vinegar cleaning method works beautifully on:
- Stainless steel
- Enameled cookware
- Glass or ceramic pots and baking dishes
- Copper-bottom pans (vinegar helps reduce tarnish)
With a few notes of caution
- Cast-iron pan. You can use baking soda sparingly, but avoid vinegar entirely. Vinegar strips seasoning and can rust the pan.
- Nonstick pans. Baking soda is safe, but avoid aggressive scrubbing to protect the coating.
What to Scrub With (and When to Use Each Tool)
Choosing the right scrubbing tool makes all the difference. Not just for getting your pots clean, but for protecting the finish.
🔹 Soft Sponge (Best for Most Cookware)
Use a standard kitchen sponge or non-abrasive scrubber for
- Stainless steel
- Enameled cookware
- Glass or ceramic dishes
- Nonstick pans (most important!)
A soft sponge removes residue without scratching or dulling surfaces.
🔹 Non-Scratch Scouring Pad
Use a blue “non-scratch” pad for
- Tougher stains on stainless steel
- Burnt-on spots after using the vinegar simmer method
- Heavier buildup on enamel or ceramic
These offer more scrubbing power but won’t gouge most cookware.
🔹 Stiff Brush
Great for
- Textured surfaces
- Around rivets, grooves, and seams
- Cookware bottoms with cooked-on grease
A brush helps lift debris without wearing down finishes.
🔹 What to Avoid
- Steel wool / metal scouring pads on nonstick, enamel, glass, or ceramic. They scratch easily.
- Abrasive pads on coated cookware.
- Anything metal on cast iron (unless you’re re-seasoning and intentionally stripping it).
Quick Summary
- Nonstick. Soft sponge only.
- Stainless steel. Soft sponge → non-scratch pad for tough spots.
- Enameled cookware. Soft sponge most of the time; non-scratch pad if needed.
- Cast iron. Brush only; avoid vinegar altogether.
Step-by-Step Cleaning Instructions
Method 1: Standard Cleaning
Use this for everyday grime, light discoloration, and general refreshes.
- Sprinkle baking soda over dirty or greasy areas.
- Add a splash of warm water to form a loose paste.
- Let it sit for 10–15 minutes.
- Gently scrub with a sponge or soft brush.
- Rinse clean and dry thoroughly.
This quick process removes residue while preserving the finish on your pots and pans.
Method 2: Deep Clean for Burnt Food or Stuck-On Food
If you’ve ever scorched a pot while multitasking (no judgment—we’ve all been there!), this is the method you’ll want.
- Add enough water to cover the burnt area.
- Pour in ½ cup white vinegar.
- Bring the mixture to a gentle simmer for 5–10 minutes.
- Remove from heat and add 2–3 tablespoons of baking soda. Expect fizzing. That’s the magic!
- Let everything sit for 10 minutes.
- Scrub, rinse, and repeat if needed.
This loosens even heavy black burned-on layers without harsh chemicals.
Method 3: Overnight Soak for Extra Tough Messes
This is the “set it and forget it” method for cookware that looks hopeless.
- Sprinkle a generous layer of baking soda across the bottom.
- Fill with hot water and add a splash of vinegar.
- Let it soak overnight.
- Scrub in the morning. Most of the residue should lift easily.
Tips for Extra Tough Stains
- Spot treating. Apply a thick paste directly on dark stains and let it sit 30 minutes.
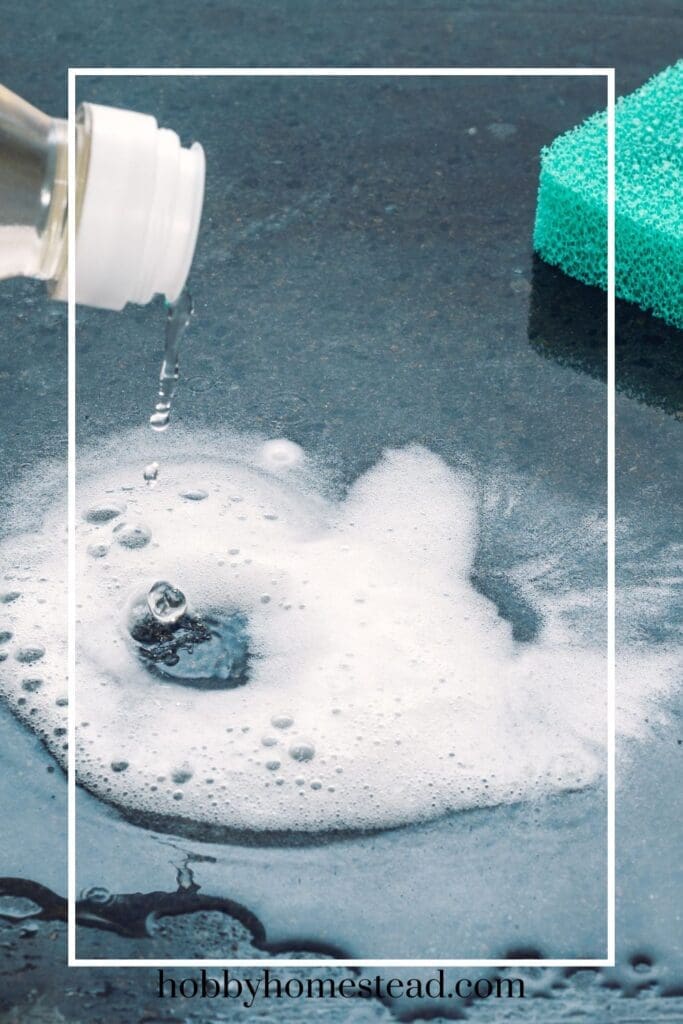
- Greasy residue. Add a drop of dish soap to your baking soda paste.
- Mineral buildup. Boil vinegar and water in stainless steel, then scrub with baking soda once cooled.
- Don’t use steel wool on nonstick or enameled cookware to prevent scratching.
Optional Boosters: Using Salt or Hydrogen Peroxide
If you’re dealing with extra stubborn, burnt-on messes, you can give your baking soda and vinegar routine a boost with either salt or hydrogen peroxide. Both offer additional cleaning power while staying in the “natural, budget-friendly” category.
Coarse Salt (Natural Abrasive)
Salt works like a gentle scrub that’s safe for many cookware surfaces.
Best for
- Stainless steel
- Cast iron (instead of baking soda or vinegar!)
- Enamel cookware
- Ceramic baking dishes
How to use
- Sprinkle a generous amount of coarse salt (kosher salt works best). If you don’t have any, regular table salt helps too.
- Add a splash of hot water or vinegar (depending on your cookware type).
- Scrub with a sponge or stiff brush.
- Rinse and dry.
Why it works
Salt provides grit without scratching like steel wool. It’s especially handy for cast iron because it removes residue without touching the pan’s seasoning.
Hydrogen Peroxide (For Heavy Burnt Residue)
Hydrogen peroxide can help lift deeply baked-on or burned spots that even vinegar struggles with.
Best for.
- Stainless steel
- Light-colored enamel (spot testing recommended)
Not recommended for
- Aluminum (can discolor)
- Cast iron
- Nonstick coating
How to use
- Sprinkle baking soda over the burnt area.
- Pour enough hydrogen peroxide to create a paste-like slurry.
- Let it sit 10–20 minutes for oxidation to break down residue.
- Scrub gently with a non-scratch pad.
- Rinse thoroughly.
Why it works
Hydrogen peroxide adds oxidizing power that lifts carbonized (burnt) food layers more easily than vinegar.
Which Should You Use?
- Salt → Best for physical scrubbing power, especially if you want to stay ultra-natural or are cleaning cast iron.
- Hydrogen peroxide → Best for heavy-duty burns on stainless steel when you need a little more science on your side.
- Baking soda + vinegar alone → Best all-purpose combo for everyday cleaning.
What Not to Do
A few quick things to avoid:
- Don’t use vinegar on raw cast iron (it removes seasoning).
- Don’t scrub nonstick pans with abrasive pads.
- Don’t combine baking soda and vinegar before applying them. This neutralizes their cleaning power. They work best when used sequentially.
Eco-Friendly
One reason this cleaning method is a favorite in our kitchen is because it checks all the boxes:
- Uses cheap, multipurpose pantry staples
- Non-toxic and safe around kids and pets
- Reduces reliance on store-bought chemical cleaners
- Perfect for a homestead where pots and pans are used heavily every day
It’s simple, practical, and effective. Exactly the kind of generational wisdom we love sharing.
Storage and Maintenance Tips
- Always dry cookware thoroughly to prevent rust or water spots.
- Give pots a quick baking-soda scrub once a month to maintain shine.
- For stainless steel, a vinegar simmer helps remove cloudiness.
- For cast iron, always re-oil after a deep cleaning session.
Can I use vinegar on aluminum?
Use caution. Vinegar can discolor aluminum if left too long. A quick soak is fine; don’t let it sit overnight.
Why does the fizzing help?
The bubbling action helps lift stuck-on debris and break down burnt residue.
Will this damage cookware coatings?
No, as long as you avoid abrasive scrubbing on nonstick pans.
How often should I deep clean my pans?
Whenever they start looking dull or burnt. Usually every few weeks for heavy homestead cooking.
Does the vinegar smell linger?
The smell dissipates quickly once rinsed. A drop of lemon juice helps if you’re sensitive.
Cleaning pots and pans doesn’t have to involve harsh chemicals or expensive cleaners. With just baking soda and vinegar, you can restore shine, remove burnt spots, and keep your cookware in top shape.
All while keeping your home a little more natural and budget-friendly. This method has served generations well, and I hope it becomes a go-to in your kitchen too.