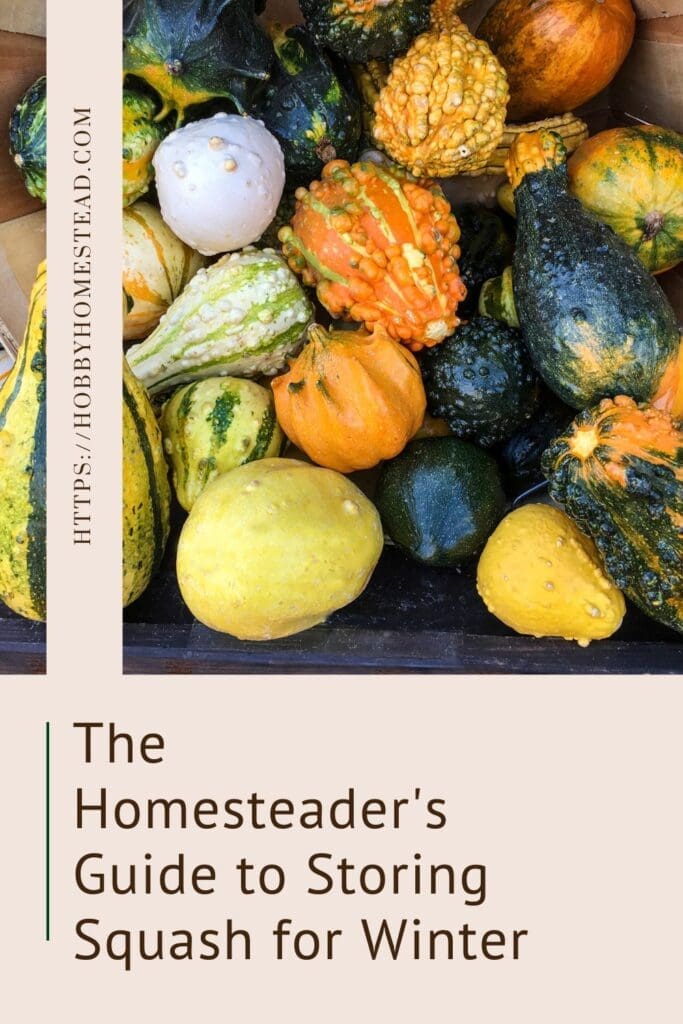
We spend so much time and effort in our gardens, storing squash for the winter is just as important to us. We had to do some research to find the best methods. Don’t worry, we are sharing with you so you can be successful in preserving your harvest too.
As the growing season winds down and the first frost approaches, homesteaders everywhere start thinking about how to store their winter squash for the months ahead. From butternut squash to spaghetti squash, proper storage is key to ensuring that these hearty, nutrient-packed crops last through the winter.
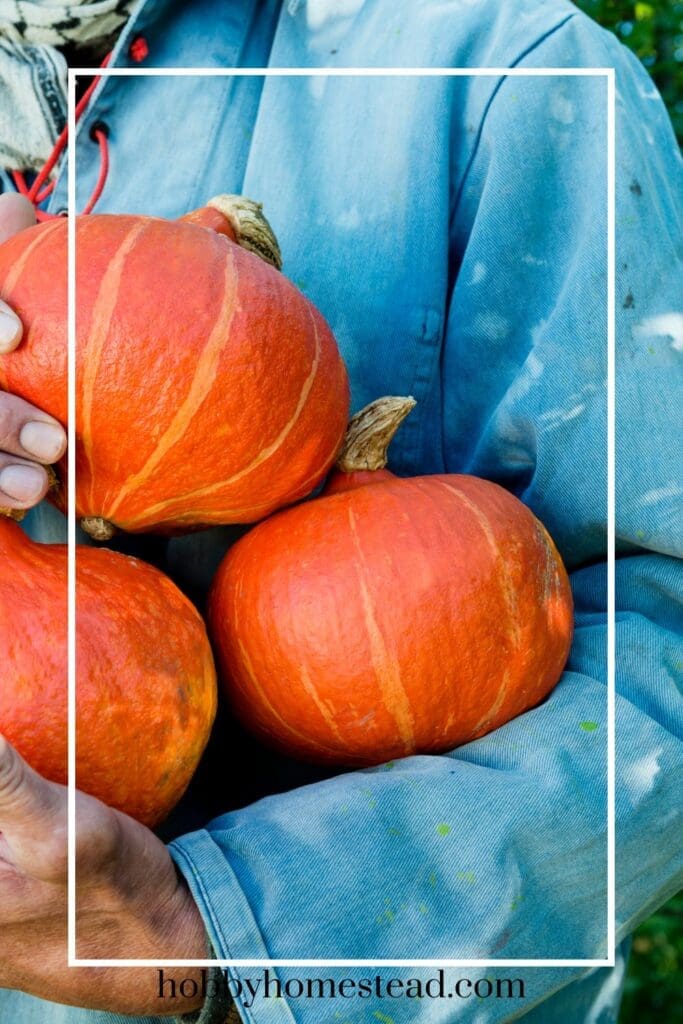
Storing winter squashes like pie pumpkins, sweet meat, and blue hubbard requires just the right combination of temperature, humidity, and air circulation to maintain the hardened skin that protects the delicate flesh inside.
With good storage conditions, your squash can keep for a long time—giving you the perfect ingredients for soups, stews, and pies all winter long.

Hearty Squash for Storing
Storing winter squashes like butternut, acorn, and spaghetti squash can be a great way to extend your harvest for the months ahead. These hearty squashes, with their thicker, harder skins, are perfect for long-term storage when handled properly.
Whether you’re tucking your harvest away in a root cellar or storing it in a cool, dark place in your home, understanding the curing process and ideal storage conditions will help you preserve these valuable crops for a long time.
Quick Squash Storage Summary
To achieve the best results for long-term storage, it’s important to start with the curing process.
Harvest mature fruit before the first frost, leaving a couple of inches of stem attached.
Cure winter squash in a warm, sunny spot for a couple of weeks to harden the rind, which extends the storage life. Once cured, store your squash in a dark place with good ventilation. A place like a root cellar, in milk crates, or on shelves in a single layer.
Maintaining the ideal temperature of 50-55 degrees Fahrenheit, with relative humidity around 60-70%, is a good rule of thumb.
Avoid excess water and ethylene gas exposure to prevent soft spots and mold from forming, and you’ll have squash ready for cooking well into next year.
The Best Types of Squash for Long-Term Storage
While most winter squashes store well under the right conditions, some varieties are considered the best keepers.
Butternut squash, blue hubbard, and sweet meat squashes are known for their long storage lives, sometimes lasting up to six months with proper care.
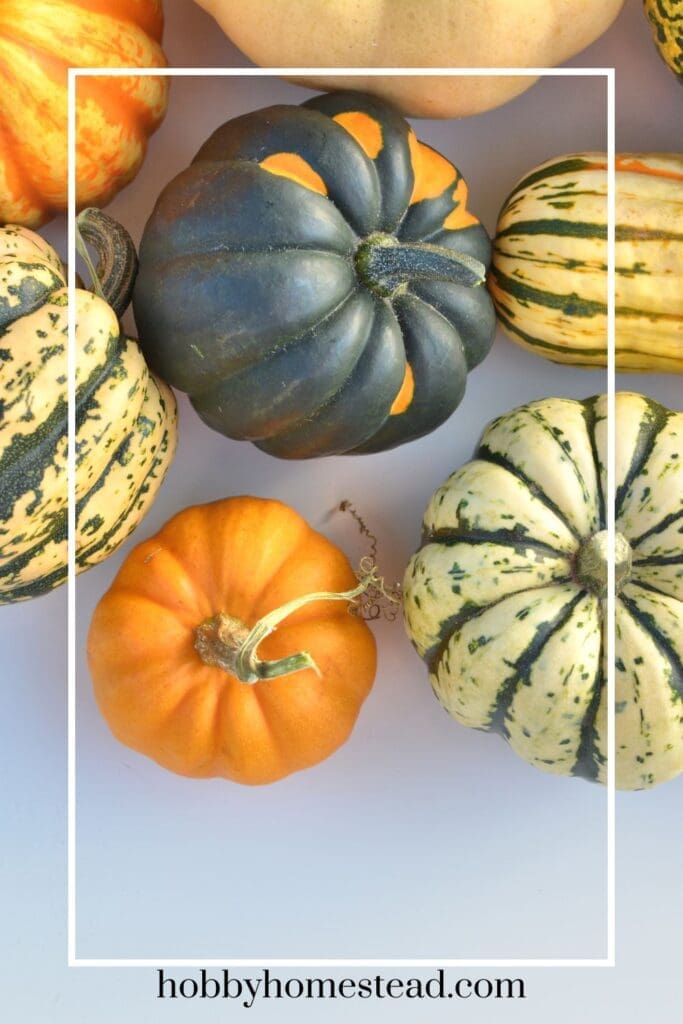
Delicata squash and acorn types, on the other hand, have the shortest shelf life and should be used within a couple of months. Keep an eye out for brown spots or any color change, which can indicate it’s time to use the squash before it starts to spoil.

Homesteader’s Guide to Storing Squash for Winter
Harvest at the Right time: The First Step for Long Storage
The timing of when you harvest your winter squash is important for successful long-term storage. Ideally, winter squash should be harvested when the fruit is fully mature. Mature squash will have a harder skin that can withstand the curing process and the rigors of winter storage. Here are a few key points to keep in mind.
Is it Ready to Harvest?
You can tell a squash is ready for harvest when the skin is hard and cannot be easily punctured by a fingernail. The color of the squash should have deepened, and the vines may start to die back.
First, check the rind. A mature squash will have a tough skin that is difficult to pierce with your fingernail. Check the color of the squash. As it ripens, its true color will develop, and the glossy shine will fade into a more matte, dull appearance.
In many varieties, you’ll also notice a ground spot—where the squash rests on the ground—that is a different color than the rest of the fruit.
Lastly, pay attention to the stem, or “handle,” of the squash. As the fruit approaches full maturity, the stem will begin to dry out and take on a corky texture, indicating it’s nearly time to harvest. This is known as “corking.” This is the loss of green and the development of brown, woody stripes on the stem where it joins the fruit
Harvest Before the First Frost
It’s best to harvest winter squash before the first frost in your area. Frost can damage the skins, causing soft spots and making them more prone to rot during storage. If frost is imminent, it’s a good idea to harvest your squash even if they’re not fully mature.
You can also cover your squash with blankets in the evenings when the temperature dips down to protect them from the frost. Take the blankets off in the morning when the temperature warms up.
Avoid Harvesting in Wet Conditions
If possible, harvest squash when the weather is dry to prevent excess moisture on the surface.
Squash that is harvested wet or during wet weather is more likely to develop mold during the curing and storage process.
Leave Some Stem
A good rule of thumb is to make sure each squash has a few inches of stem left attached to prevent rot from setting in.
Harvesting at the right time is the first step to ensuring that your winter squash will store well and last throughout the season.
Clean it, But Don’t Wash it
Before placing fruit in the storage shed, remove clumps of soil and plant debris with a dry cloth.
Curing Winter Squash
After harvesting mature fruit, allow the squash to cure for a couple of weeks in a sunny spot.
The curing process helps harden the skins, which is critical for preventing spots of mold and soft spots during storage.
The skin should be firm, with no dark spots or excess water on the surface, which signals the squash is ready for long-term storage.

Where to Store Squash
For the best results, store your cured winter squash in an area with good air circulation. Ideal conditions are a dry place, like a root cellar or an unused room with good ventilation, is ideal.
The temperature in your storage area should be kept between 50-55 degrees Fahrenheit, with relative humidity around 60-70%.
These conditions slow down the fruit’s respiration rate and prevent the squash from ripening too quickly.
Make sure to store your squash in a single layer. To decrease condensation and sweating, keep fruits in low piles. Cardboard bins, milk crates, paper bags, or nylon mesh bags are often used to store squash. It allows for added airflow.
Avoid Plastic Bags. They are not recommended, as they trap moisture and can lead to spots of mold or soft spots developing.
Avoiding Common Storage Issues
Maintaining proper storage conditions helps prevent common issues like soft spots or mold. Keep your squash in a dry, dark place, avoiding wet weather or higher temperatures that can cause rapid spoilage.
Ethylene gas, produced by ripening fruit like apples or tomatoes, can also shorten the storage life of your squash, so it’s a good idea to store these crops separately.
If you do notice any soft spots or mold, remove the affected squash right away to prevent it from spreading to others.
Using Stored Squash All Winter Long
With proper curing and storage, your winter squash can last all season, providing a versatile crop for your homestead kitchen.
Whether you’re making roasted butternut squash soup or using spaghetti squash as a substitute for pasta, these long-term storage crops are a great way to keep hearty, homegrown food on the table during the colder months. And when stored correctly, many of these squashes can be saved as seeds for planting in the next year’s growing season.
By following these steps, you’ll ensure a long storage life for your squash and have plenty of tasty options to enjoy through the winter months.
References
Penn State Extension. Prevent Rot of Winter Squash in Storage.
South Dakota State University Extension. Harvesting and Storing Pumpkins and Winter Squash.


